Knocking noises are never a good sign in any piece of machinery. Whether it’s your washer, your car, or your water heater, it’s almost always a sign that something is wrong.
So, why is my water heater making a knocking noise? Knocking sounds inside a water heater is caused by mineral deposits, also known as “scale”, that collects at the bottom of the tank. Water in the tank becomes trapped under the scale or sediment as it settles to the bottom of the tank. As the water heats and produces steam, the bubbles move the sediment around creating a knocking sound inside the tank.
Let’s discuss where this sediment build-up comes from, as well as what you can do to fix the problem and improve the lifespan of your water heater.
Where Does Scale Come From?
Scale builds up in your water heater when you have a source of water that has a high concentration of dissolved minerals. Typically called “hard water”, the most common minerals found in this mineral-rich water are calcium and magnesium. These minerals get added to your water source when groundwater picks them up as it flows through soil and over rocks.
When hard water enters your water heater, the heating process separates the minerals from the water. Over time, these sediments build up inside your water heater. Once enough of it accumulates, the steam bubbles that get trapped in it create a knocking noise.
The solution to this problem is to flush sediment from your water heater. This should be done about once per year. Flushing a water heater is simple and can be easily done in an afternoon.
How to Flush Your Water Heater
Flushing your water heater is something you should aim to do every year. However, if you haven’t done so recently and you’re heating knocking sounds inside your water heater, you need to flush your water heater right away.
There are a few viable methods you can use to flush your water heater. This is the one I prefer using, but you’re free to find an alternative if this one doesn’t suit you for some reason.
If your water heater has a water heater blanket installed, you’ll need to remove it to troubleshoot the steps below.
Step #1: Shut off the power supply to the water heater (electric water heaters)

The first step in flushing your water heater is turning off the power supply. If you have an electric water heater, you should shut off the service disconnect located near the water heater. If your water heater doesn’t have a service disconnect, locate the breaker in your home’s service panel.
This is important because running the electric elements with no water in the tank can damage the water heater elements and require replacement.
Step #2: Set the gas supply to Pilot on the bottom of the water heater (gas heaters only)
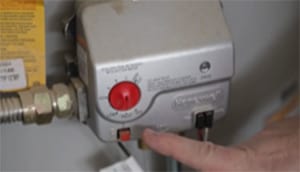
If you have a gas-powered heater, you should play it absolutely safe and set the gas supply to Pilot or Vacation mode on the heater. Locate the knob at the bottom of the water heater and turn it to the Pilot or Vacation position.
Step #3: Shut off the cold water supply coming into the water heater
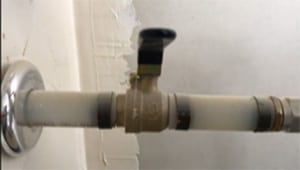
To properly flush the heater, you’ll need to shut off the cold water supply to the water heater tank. You can do this by locating the cold water shut-off valve ‒ usually situated at the top of the water heater ‒ and moving it into the off position.
Step #4: Turn on a hot water faucet at the kitchen or bathroom sink
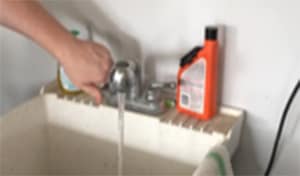
This releases pressure on the plumbing supply lines. If you don’t run hot water from at least one faucet while you flush the water heater, a vacuum can form in the pipes while you drain the water heater tank. This will interfere with the flushing process, so make sure to turn on a faucet before starting.
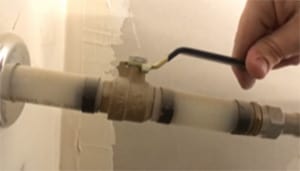
Step #5: Open the temperature & pressure (T&P) relief valve
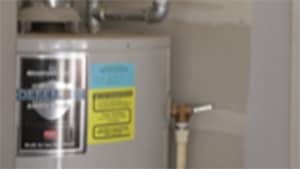
The temperature and pressure (T&P) relief valve is a safety mechanism that opens when the temperature or pressure in your hot water heater reises to a potentially dangerous level. This is generally located on the top or side of the water heater.
Opening this valve while you flush your water heater isn’t necessary, but it’s helpful because it lets you test whether this important safety feature is functioning properly.
When you do open the valve, make sure you have a bucket placed underneath the valve or discharge pipe. If it’s working properly, water will shoot out of the valve. Unless you enjoy cleaning water off of the floor, using a bucket or some other container to catch the water is probably a good idea. Be careful as water exiting the discharge valve will be hot.
If the T&P valve leaks or isn’t working properly, now is a good time to replace it. For details on replacing the T&P valve see our article Why Water Heater Pressure Relief Valves Leak
Step #6: Connect a hose to the drainage spigot at the bottom of the water heater tank
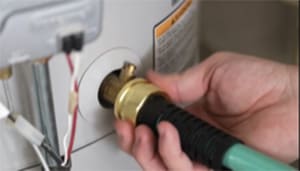
Now that the preliminary steps have been taken, it’s time to equip your water heater with one of the main weapons used in the flushing process: a garden hose.
This hose will connect to the drainage spigot near the bottom of your water heater. Ideally, this hose leads outside, or at the very least into a large bucket. If you don’t provide an adequate way for the water to leave your home, you may need to invest in a water pump to get rid of the water that will inevitably flood your basement (or wherever you keep your water heater).
Step #7: Turn on the drainage valve
It’s time to drain the tank. Open the drainage spigot and allow the water to flow out. The initial water that comes out will probably be discolored ‒ that’s some initial sediment exiting your water heater. The majority of the sediment won’t come out until the next step though.
Step #8: Flush the water heater
This is the step you’ve been waiting for ‒ the one that will rid your water heater of that pesky knocking noise. Turn on the cold water valve entering the water heater. Let it run for about 15 minutes, or at least until the water coming out of your hose is free of color and sediment particles. Once the tank has been completely flushed, turn off the cold water valve.
Step #9: Return your water heater to its normal state
Now that the heater has been successfully flushed, you’ll want to get your water heater back to its normal state and prepare it for heating water again. Rather than give each of these things its own step, you can follow this step-by-step list to get hot water flowing throughout your house again:
- Turn off the drainage valve.
- Disconnect the hose from the drainage valve.
- Go to the running faucet and turn it off.
- Turn on the cold water valve entering your heater.
- Once the tank is full of water, open the T&P valve for a bit to free the tank of extra air.
- Go back to your hot water faucet and turn it on again. This will also help to get the air out of the system. You may notice that cold water is coming out of the faucet. This is normal, as you haven’t turned on the water heater power supply yet.
- If you have a gas-powered water heater, turn on the gas supply. You’ll also need to turn the thermostat back on and relight the pilot light.
- If you have an electric water heater, simply return turn on the service disconnect or flip the breaker back into the on position.
- Wait about a half-hour and turn on the hot water faucet again to ensure the water heater is working normally. Most water heaters will take about an hour to fully recover.
Dealing with hard water
If your water is hard enough that sediment is building up in the water heater, it’s almost certainly causing other problems in your house as well. On top of the annoying knocking sound in your heater, hard water can cause the following problems in your home:
- It can damage your clothes and make them discolor and wear out faster.
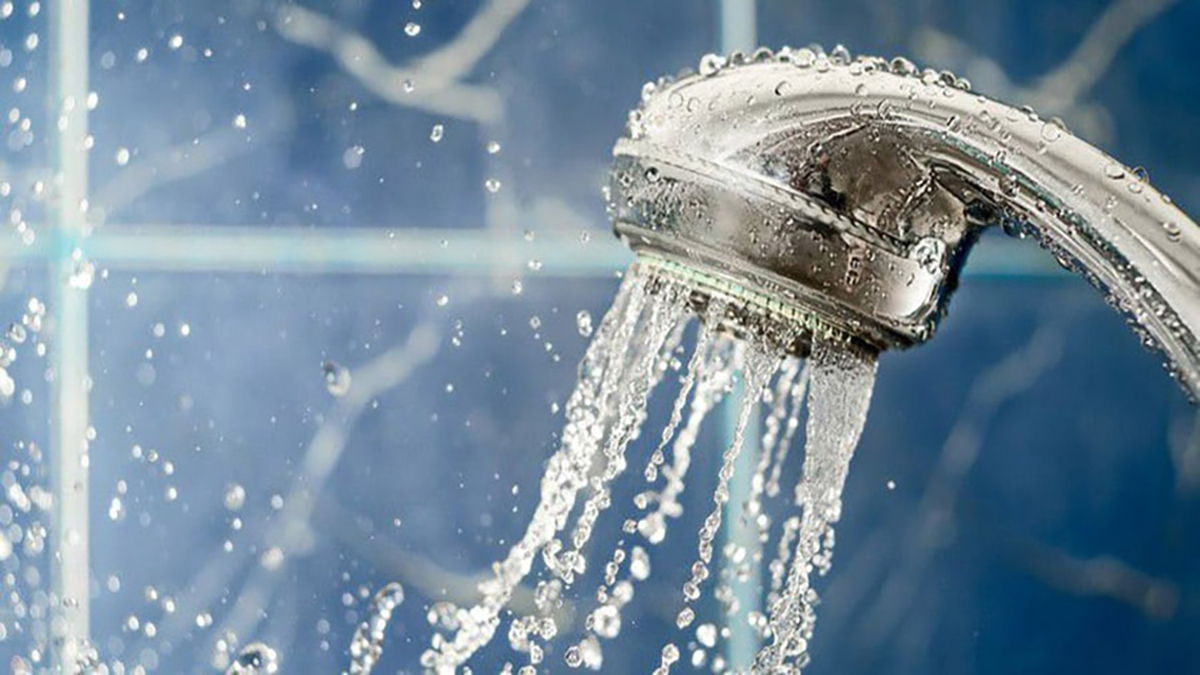
- It can clog your showerheads and reduce the water pressure when you take a shower.
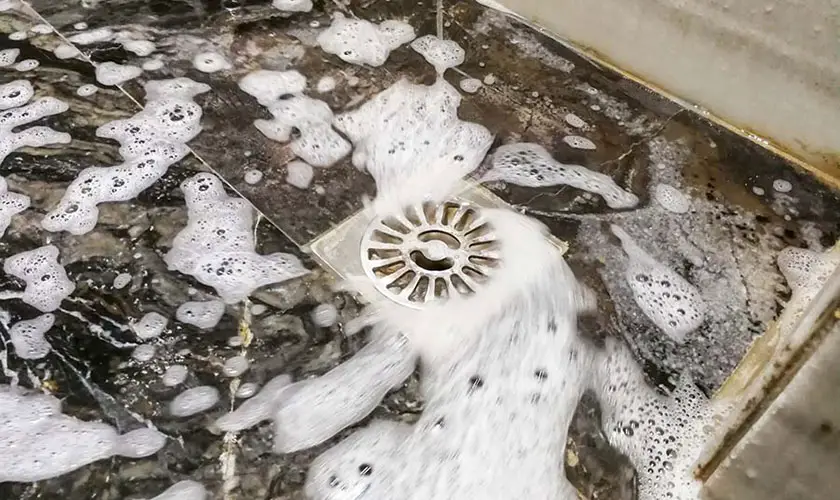
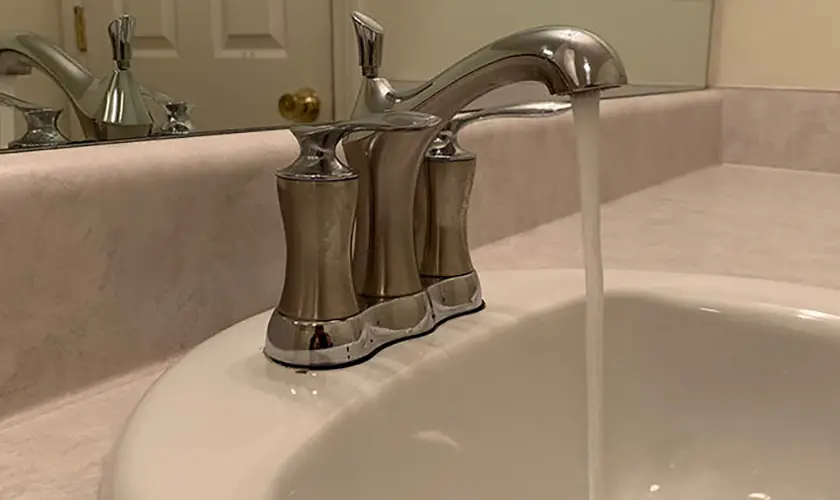
- It can discolor and damage your tubs, sinks, faucets, drains, and showerheads.
- It can damage appliances that use water, like washing machines, dishwashers, and coffee makers. Calcium deposits can build up around the valves and seals, which can lead to expensive leaks.
- It can make your hair look dull and rough.
- It can irritate your skin.
- It can clog your pipes and lower your home’s water pressure. If they become completely clogged, you’ll have to perform an expensive replacement.
While flushing your water heater every few years will drain the sediment, you can’t permanently eliminate the knocking noise and deal with the other issues caused by hard water unless you target the water itself.
You can do this by installing water softening equipment. While it’s a bit expensive ‒ and the installation can be complicated ‒ it’s a one-time fix. Once you’ve got a water softener, you’ll never need to worry about hard water again.
In severe cases, if the sediment is too bad, the drain valve can clog requiring replacement. Also if sediment build-up is too high it can harden and cause permanent damage to the tank. When this occurs your only alternative is to replace the water heater.