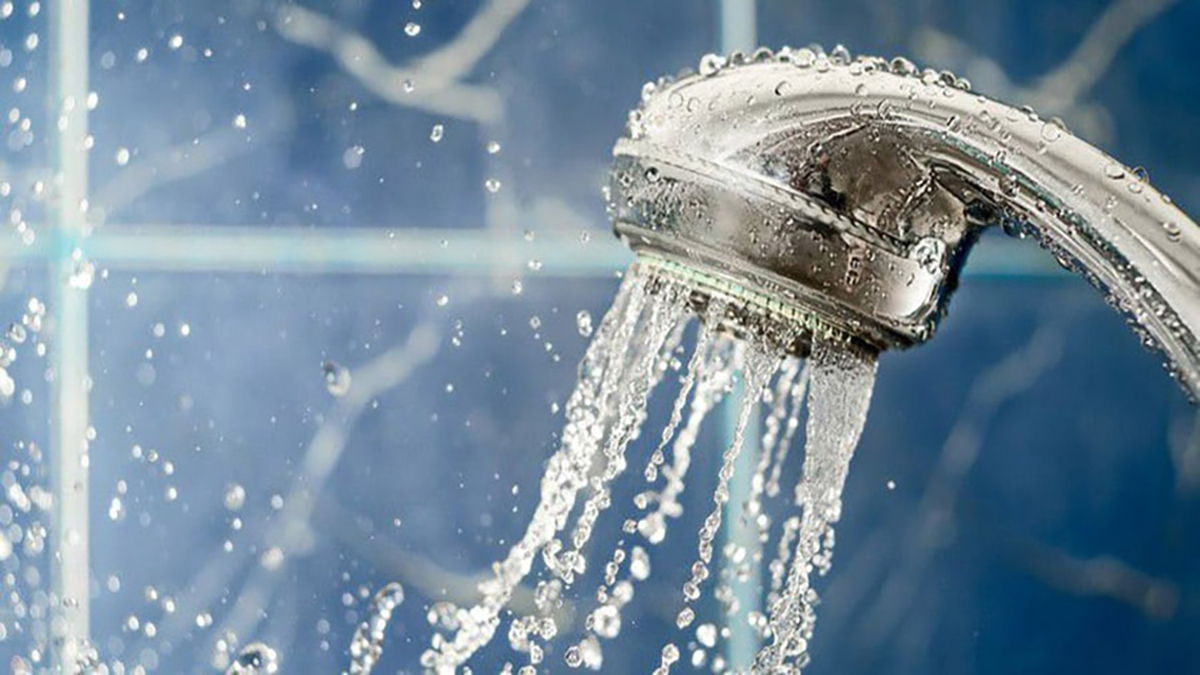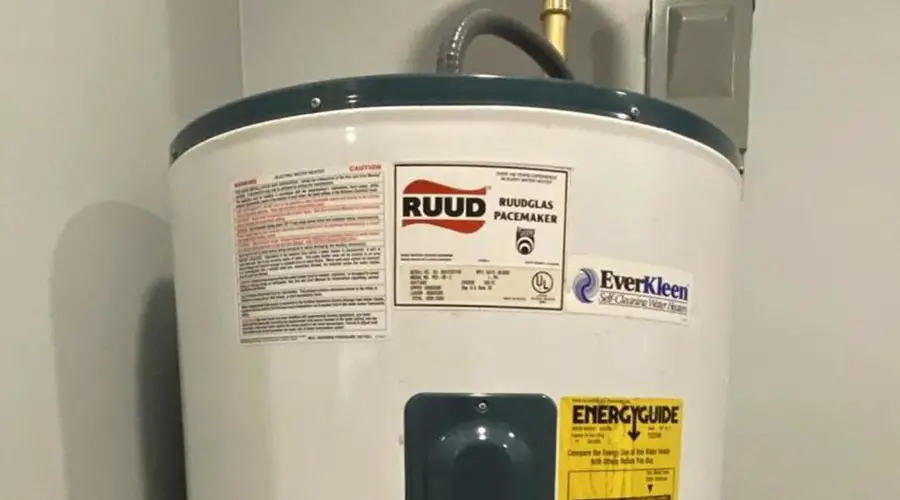
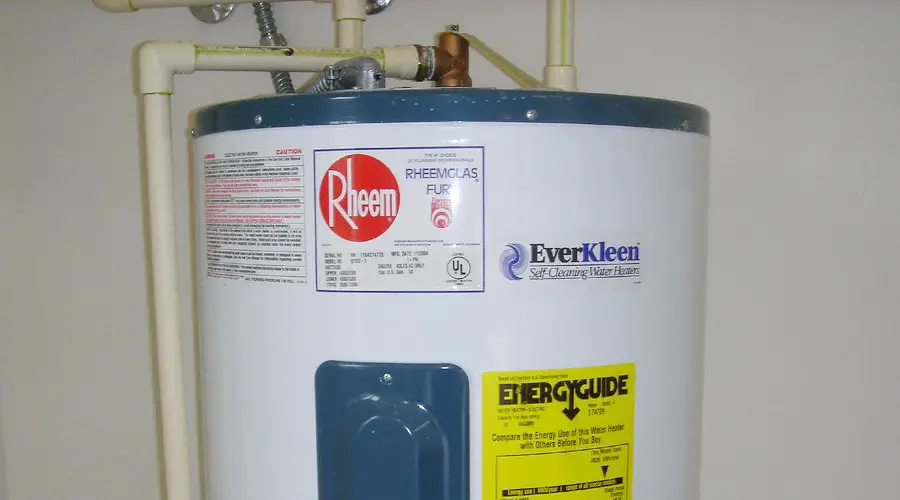
You may have or are tempted to buy a water heater with an Everkleen Self-Cleaning Water Heater label and are wondering how they work and are they even worth it.
Sediment is the primary issue when cleaning a water heater. It settles at the bottom of the unit and continues to pile up as you use the heater. So for many people, the idea of a self-cleaning water heater is pretty appealing. But how do self-cleaning water heaters work?
Self-cleaning water heaters come with an accessory on the curved dip tube attached to the bottom of the tank. The accessory swirls water coming into the tank, which unsettles the sediment from the bottom of the unit. The stirred water is expunged from the heater through the hot water outlet.
This article will explore how self-cleaning water heaters work, what you can expect from them, and how to maintain one.
What Is the Difference Between A Self-Cleaning And A Non-Self-Cleaning Water Heater
All water heaters come with a dip pipe. The primary difference between a self-cleaning and a non-self cleaning water heater is the dip pipe.
In non-self-cleaning units, the dip pipe is usually straight. But in a self-cleaning heater, the dip tube is curved and fitted with a small accessory at the bottom. The accessory causes turbulence in the water tank stirring the sediment from the floor.
That is in addition to the anode rod with all water heaters to attract and collect minerals.
How Do Self-Cleaning Water Heaters Work?
Water contains impurities that may escape the in-tank filtration process of your water heater. The build-up of sediment affects the heater’s ability to heat the water properly.
The sediment layers cover the bottom of the heater covering the heating element. This creates an insulation layer between the heating element and the water. As a result, the heater takes longer to heat water, and even when it does, the water doesn’t reach optimal temperatures.
With a self-cleaning water heater, water enters the unit and is taken to the bottom of the tank by the dip pipe as usual.
However, once the water reaches the bottom, the accessory at the end of the dip pipe swirls the water as it comes in and gets heated up. Finally, the stirred-up water containing the sediment comes out through the hot water outlet as you use the hot water.
How Long Does A Self-Cleaning Water Heater Last?
The typical lifespan of a self-cleaning water heater is between 8 and 12 years. The traditional non-self-cleaning water heater has a lifespan of between 6 and 12 years.
While the difference in lifespans is negligible, the convenience offered by the self-cleaning unit is immense. It makes all the difference, especially when you do not have the time to clean your water heater constantly.
And with the proper maintenance on the self-cleaning unit, it could even go as far as offering 15 years of service.
There are differences in opinions among the plumbing industry regarding water heater maintenance. Self-cleaning water heaters are designed to help reduce the buildup of sediment, but no water heater is 100% maintenance free.
The majority of plumbers I’ve spoken with over the years concur that water heater maintenance is a good idea provided it is done regularly. Water heater maintenance done irregularly or only when problems arise can cause more harm than good.
Here is how to make a self-cleaning water heater last
- Flush It Once In A While
Of course, the unit doesn’t need to be flushed often, but it could use some manual help once in three years or so.
That helps to remove any of the sediment that may have escaped the automatic self-cleaning process.
Here is the step by step process of flushing your water heater:
- Begin by turning off the water heater’s thermostat, the power source (gas or electricity), and the cold water supply.
- However, ensure that the hot water outlet is on to allow the water you flush out of the unit to be sent to the faucet. Also, open the tap in the bathroom or sink. Opening these two ensures that you do not create a vacuum in the plumbing lines as you drain the water out of the tank.
- Next, open the pressure relief valve to enable the water to flow out more quickly.
- Connect a garden hose to the tank’s drainage spigot. Put the other end of the hose outside where it can drain away. Or use a bucket to collect the draining water.
- Allow the tank to drain completely. It is essential to monitor the water draining out of the tank. Ensure that all the brown sedimented water comes out
- Now, you can flush the tank. To flush, open the cold water spigot that supplies water into the water heater. Allow the tap to run until the water coming out of the tank is clear. Let the tap run for a little longer to flush out stubborn sediment.
- Test The Tank’s Pressure Relief Valve
It is crucial to test your water heater’s temperature and pressure valve. Schedule this test every six months.
Testing the T&P relief valve helps you monitor the tank for leakages or corrosion that compromise the soundness of the unit.
The valve limits the tank’s pressure, preventing explosions.
Keeping an eye on the T&P relief valve is essential to help you identify areas that need repairs or replacement.
Check the valve for any debris that may be preventing the valve’s regular open and close operation as it relieves pressure.
There is a time limit on how long the valves can operate before you need to replace them. So, make sure that your valve is within the time limit and functioning correctly.
- Inspect The Anode
As earlier mentioned, the anode rod is present in all water heaters. The rod attracts harmful minerals and particles found in the water.
The minerals usually eat away at the lining of the tank, causing corrosion and compromising the structural soundness of the unit.
An anode that needs replacement looks heavily corroded. You can replace the anode with a longer-lasting unit if the corrosion rate is high in your heater.
- Turn The Thermostat Up
The lifespan of the water heater is affected by constant use. The more you use the unit, the more wear and tear it experiences.
However, if you turn on the thermostat, the water becomes boiling. If the water is boiling, it takes longer to cool, so you don’t have to switch the heater on to heat water all the time.
Also, you tend to use very little hot water compared to lukewarm water. And since you are using less water, most of the remaining hot water is stored in the tank and can be used by the next person without switching the heater on.
- Check The Heating Element
Monitor how the heating element is working. Typically, the heating element should last 6-10 years.
A telltale sign of a poorly function heating element is constant lukewarm to cold water when you switch the heater on.
The heating element may fail for the following reasons:
- Mineral deposit accumulation: The mineral sediments wrap around the element causing operational failure
- A problematic thermostat: When the thermostat fails to control the heat going into the element, the latter will experience too much heat and burn.
- Pockets of trapped air: These cause the section of the element that is not immersed in water to burn
- Structural breakdown: The element could break because of age or burn due to a power surge. Elements have a voltage rating which, if exceeded, results in a destroyed component.
- Poor connections: Wire connections to the element can be compromised, or they may result from poor workmanship. For example, if a wire slips from the terminal, the element could burn.
Since this is an electric appliance, it is best to call a plumbing professional with the correct and relevant tools to check on the element.
Schedule a regular check that should coincide with the temperature and pressure relief valve inspection.
- Remove Dust
Many people prefer to place their water heaters in out-of-the-way places like the garage or basement. Unfortunately, these places have a lot of dust.
Dust can accumulate in the heater’s components and clog them, making the unit less effective and shortening its lifespan.
Use a shop vacuum to remove visible dust from the surface of the tank. Also, target the area underneath the heater. You can also wipe any lingering film of dust with a cloth. Removing dust can be done every six months or annually, depending on where you live.
Advantages of Self-Cleaning Water Heaters
- Ease Of Maintenance
The self-cleaning aspect of these units ensures that they have little to no sediment build-up. Of course, you still need to flush the system, but that should happen every three years instead of after six months.
And even then, the amount of sediment you may find is much less than in a non-self-cleaning unit.
- Saves Money And Time
These units are energy efficient because they work fast and efficiently. The unit will be performing at optimum at all times, meaning it will need minor repair and maintenance.
The smoother the operation of your water heater, the less energy it consumes and the more you save on energy bills.
Also, you do not have to take the time to clean your tank. You can spend that time on something that you like to do.
- Convenience
It is convenient not to worry about scheduling a cleaning of the heater every so often. A self-cleaning unit allows you to keep using it without having to worry about the tank lining up with layers of sediment.
- Efficiency
Self-cleaning water heaters help control sediment problems allowing the heating element to work efficiently.
The reduction of sediment on the bottom also extends the lifespan of the tank itself. The tank doesn’t easily experience leaks because there is no sediment to cause corrosion.
Disadvantages of A Self-Cleaning Water Heater
- Expensive Initial Cost
The initial cost of acquiring this water heater is high compared to its non-self-cleaning counterpart.
- It Doesn’t Eliminate All The Sediment
Unfortunately, even the best self-cleaning water heater cannot expel all the sediment. That means that there is still some sediment to be found in self-cleaning units.
That is the reason why even self-cleaning water heaters need flushing annually.
What To Consider When Buying A Self-Cleaning Water Heater
- Cost
The purchase and installation costs are higher with a self-cleaning unit. But the good news is that the high price will offset with time as you save more when using this unit than a non-self-cleaning one.
- Size
The bigger the unit, the more capacity it has. Because these are such convenient water heaters, you may benefit more from purchasing a bigger unit for your primary household purposes.
- Energy Efficiency
The water heater needs to be energy efficient to save costs on related energy bills. Most of the models on the market are energy efficient, with some featuring the energy star label.
- Warranties
It is best to choose a model with an extended warranty. Durable, high-quality units tend to have more extended warranties, some even covering the heater’s lifespan. Reputable brands that believe in the quality of their units tend to have faith that their products will last the 12 years they promised.
Are All Water Heaters Self-Cleaning
Not all water heaters are self-cleaning. Self-cleaning units have been specifically developed to maintain low sediment and water impurity level.
But the good news is that all types of water heaters are available in a self-cleaning model.
Self-cleaning water heaters can be electricity or gas-powered, or they can even be tankless.
Flushing a tankless water heater to remove scale is much faster and easier than flushing a tank unit.
- Switch off the heater’s electrical circuit within the breaker panel. If it is a gas-powered unit, turn off the gas.
- Turn off the cold water supply to the heater and the hot water valve that sends hot water to the faucet.
- Attach one end of a garden hose to a sump pump and the other to the cold water isolation valve. Attach a second hose to the plumbing’s hot water isolation valve.
- Put the pump and the second hose into a bucket containing five gallons of clean, unused vinegar. Now open both the hot and cold isolation valves and let the pump circulate the vinegar through the heater.
- Allow the pump to go on for at least 45 minutes, then let the vinegar drain out of the heater via the hoses.
- Finally, open the cold water valve and let the water flow for five minutes. Remember to clean the inlet filter screen as well to get rid of any sediment on it.
- Now you can disconnect the hoses and open the hot and cold water isolation valves. Also, open a couple of faucets in the house to eliminate any trapped air that could affect the plumbing lines.
Conclusion
All water heaters need some maintenance, even self-cleaning ones. A self-cleaning water heater may be your way out of those tedious water heater maintenance chores less often. However, you’re not off scotch-free.
With a self-cleaning water heater, you may be able to do maintenance less often, but you still have to do it.
A good self-cleaning water heater should be efficient, fast, energy-saving, and of course, able to hold enough water for your needs.
Sources
How Do Self-Cleaning Water Heaters Work?
https://www.sobieskiinc.com/blog/how-tell-if-theres-sediment-your-water-heater/