One of the first things homeowners and landlords look into when buying flooring is comparing and contrasting two floors. That being said, you might be wondering if LVT, or luxury vinyl tile, is better than laminate or not.
At first glance, there may seem like there may not be very many differences between both LVT (luxury vinyl tile) and laminate flooring. There are many differences, such as the durability of each product, general costs, how well they hold up over time, maintenance, and what kinds of cleaning precautions to take for each one.
Although we know that there are differences between the two, we want to take you through a more in-depth process on each flooring-type to understand better why you should choose one over the other.
Where Can They Be Installed?
Let’s begin with some of the best locations to install both floors.
LVT Flooring:
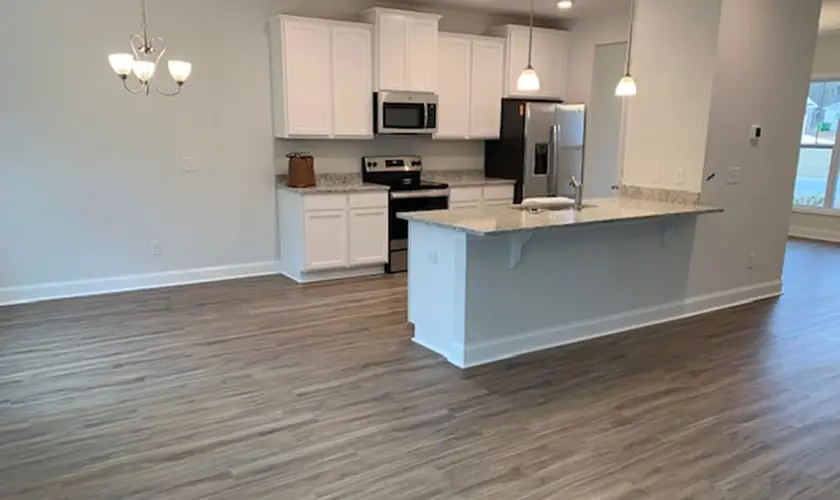
Typically LVT is made to mimic stone. As such, they would look best in places where you would install traditional tile flooring. Such areas like your kitchen, bathroom are excellent fits.
Still, in some cases, the living rooms can be comfortably fitted to make use of LVT’s beautiful texture and imagery. Another perk of LVT would be its natural water resistance, but we’ll go more in detail on that below.
Laminate Flooring:
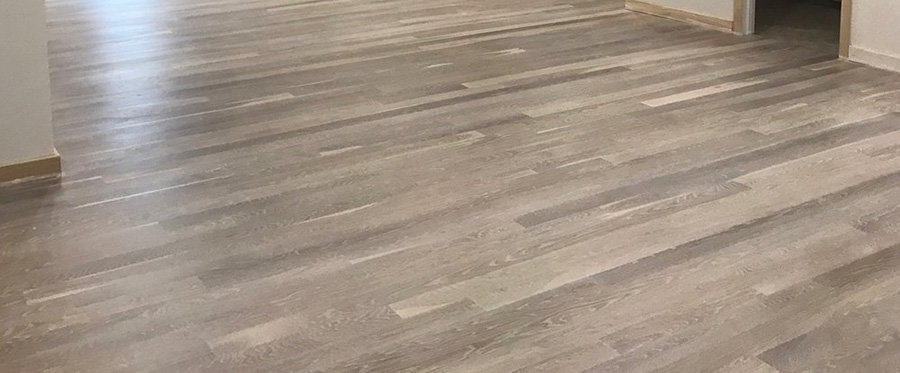
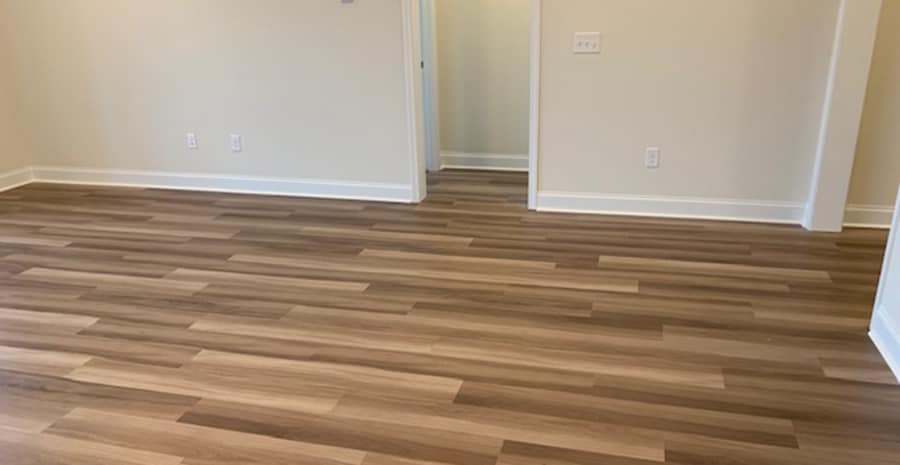
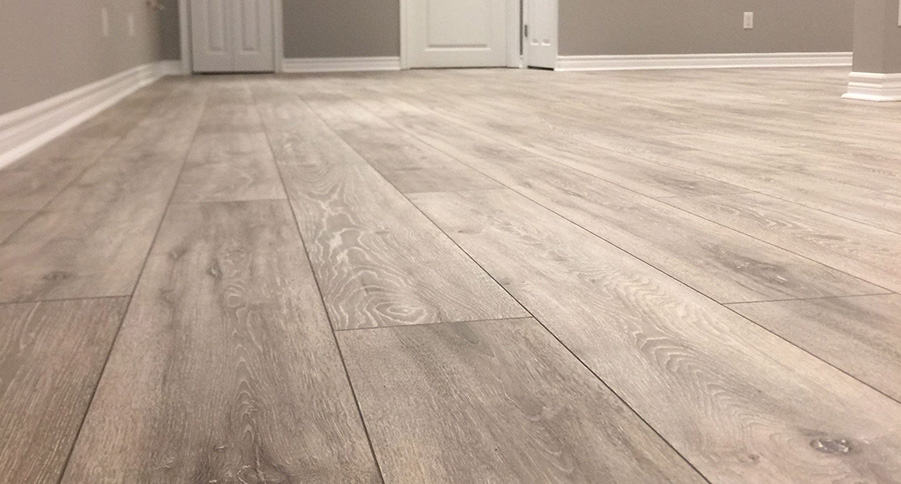
Moving on to laminate flooring, it is traditionally a stunning flooring that can be put to best use in wide-open rooms with a lot of natural traffic, so places like the basement, living room, and most bedrooms would be a perfect fit.
Laminate flooring also has some degree of water resistance but will see wear and tear much faster than vinyl flooring. Due to this, it’s highly recommended to stick to dry areas of the home for this purpose.
Durability Of Both
As with most durability cases in flooring, how you maintain and take care of both floors determines just how long the flooring in itself will last. Knowing just how busy the room you intend to install each flooring will also indicate which one would be the better choice when taking general room traffic.
LVT flooring is much more durable innately and doesn’t require the same amount of upkeep and effort to remain to look flawless. That said, if you had the spare free time to stay on top of wiping, sweeping, and cleaning the laminate flooring, they have roughly the same lifespan, but later on, we will dig deeper into how to get the most out of it for better longevity.
Heat and Water Resistance
Picking up where we were earlier with the water resistance, both luxury vinyl tile and laminate flooring have some degree of resilience, but LVT is the clear cut breadwinner here. It all boils down to how LVT is made.
Heat resistance is just another notch in LVT’s cap because luxury vinyl tile being renovated continuously and made to cater to different uses has some types that mesh very well with radiant heated flooring and other hot areas.
LVT Flooring:
Going a bit more in-depth on LVT, it utilizes its 100-percent polymer material bases to take no water immersion damage and come out in the same shape it was prior. You can soak the flooring in some cases, and after it has dried out, vinyl flooring can reuse it immediately with no ramifications for it.
Laminate Flooring:
On the other hand, laminate is not quite so handy; this is due primarily to its fiberboard core, a wood-based product. As such, it will soften after exposure to excessive amounts of water. Not only this, but laminate will also become deformed, and whatever designs were on, it will become ruined as well, meaning it will have to be replaced ultimately.
Laminate flooring has some degree of heat resistance, but the same problem as water submersion arises here. After being exposed to excessive heat, the surface can begin to warp, and designs get altered. However, laminate can also be used with radiant heat flooring, but on average, LVT has better sync with it.
Stain Resistance
Unlikely both our previous topics, this topic has a tie, for the most part. Vinyl flooring has a transparent wear layer that gives it some exceptional stain resistance, and laminate flooring uses several dense layers to achieve the same stain resistance level. They may have different methods of making this happen, but ultimately they both use a top layer of clear or transparent coating that yields a high resistance to staining, and as such, the ending result is them being tied in this area.

Cleaning and Proper Care
Taking care of your flooring can sometimes be a grueling task, but thankfully both luxury vinyl tile and laminate flooring have relatively straightforward cleaning methods.
LVT Flooring:
LVT can take a beating and keep on going. Almost all cleaning manners are up for grabs with this kind of flooring, but a little known trick of the trade would be using apple cider vinegar on them. Ample acidity in the vinegar aids in breaking down and removing the dirt and grime without leaving a heavy build-up like soaps and waxes.
All you need to do to utilize this method would be getting a gallon of hot water, one cup of apple cider vinegar, and a damp mop to get everything tidy. Make sure while you are using the mop, rinse it out with the hot water frequently to guarantee a beautiful clean without any excess chemicals.
Laminate Flooring:
On the other hand, laminate benefits heavily from dry methods due to its less than boastful water resistance. Things like a broom and dry mop will be your go-to methods for keeping your laminate flooring looking pristine. On the off-hand chance, something even messier than usual were to occur, such as liquid being spilled, you can make use of a damp mop then. You want to make sure it isn’t dripping wet and almost feels dry to ensure you don’t have any lasting damage on the floor itself.
Sound and Noise Suppression
Sometimes we forget that flooring can contribute heavily to an area’s general noise levels, but both LVT and laminate have some alternatives that can dampen that effect. However, the methods to achieve this are a bit different from one another.
LVT Flooring:
Vinyl flooring has a flexible cushioned surface available if you go with a foam-backed variant. Still, the extent of this suppression does go heavily with the quality you go for when picking your LVT. Cheaper brands may not offer the same caliber, so make sure you do some personal testing to ensure you get the effect desired when making this choice by samples provided by the companies.
Laminate Flooring:
Alternatively, laminate flooring is noisier than LVT but can reduce noise pollution with a strong underlayment with the installation. The underlayment’s effective use can add a feeling of comfort and solidity that ultimately reduces the hollow sound made by footsteps on it. The underlay works just like padding does on under carpet, increases the flooring’s general warmth, and provides a moisture barrier!
The Initial Cost
Everyone’s big question always boils down to the cost, and this is no different. The prices of both laminate flooring and LVT are pretty similar and boil down to thickness and brands.
Bearing that in mind, both LVT and laminate price ranges from $1 to $5 per square foot, depending on each flooring type’s quality. Just note that LVT can come in even higher features than this with better textures or design patterns that can raise the price to $7 per square foot, but this is only at premium brand pricing.
They cost roughly the same as one another, with both being cheaper than hardwood or natural stone tiles.
If you want to know a couple of top brands to check out for each, here is a small list:
- Laminate flooring: Pergo, QuickStep, and Dream Home
- Vinyl floorings: Mannington, Shaw, and Armstrong
Installation Process
Getting these floorings installed can sometimes be more problematic than expected, so you may want to get professional help, but we will go over how it is done.
LVT Flooring:
On the other hand, we have LVT installation, which is similar but also a beast in its own right. Installing this will require:
- Tape measure.
- Spirit level.
- Ruler.
- Pencil.
- Stanley knife or saw.
- 7-10mm spacers.
- LVT underlay.
- Trusty rubber mallet.
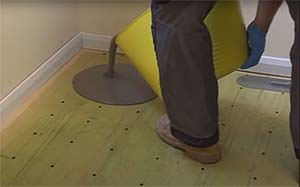
Site preparation is a huge part of laying down any vinyl flooring, and this is done with proper vacuuming and brushing, and checking the subfloor. Take notice of any rough patches, incredibly uneven portions in the surface, which may be caused by lumps of concrete nails or anything else that would prevent the LVT from laying flat as intended. Taking some time to make use of the spirit level to test for an uneven subfloor will also allow you to get it right the first time. If you do find anything, specifically something over 2mm in a 1-meter run, you should level out with any floor leveling compounds.
Getting the LVT itself prepped will require you to acclimatize it, and to do that, you will want it to lay the planks in the room you will be installing it in for at least 48 hours. Doing this will ensure that the heating conditions requirements are met, and the boards will react before they are laid down. This will also dramatically reduce how much movement the planks will have after installation, which typically crops up later if left unchecked.
Luxury vinyl tile also must be installed using LVT specific underlay if you wish to go that route, although it is deemed unnecessary. Using other types of underlay will usually lack the support required for the click joints of the tile. A quick fix to speed up the entire installation would be self-adhesive vinyl tile underlay, which is excellent for all LVT flooring thanks to its strong anti-slip nature and robust construction.
Roll the underlay out at a right angle to the direction the floor is being installed, and make sure any moisture barriers need to go on the underlay’s underside. Any overlaps the moisture barrier might run directly beneath the next row of underlay.
Then, lay the LVT flooring directly on top of the underlay, starting against a straight wall using 7-10mm spacers to maintain an even gap between the LVT board and the wall. Make sure you do not lay the flooring in any single direction for more than 7m. This means breaking up rooms using threshold strips, which are used to hide any expansion gaps. Threshold strips should also be used at all door openings enabling expansion gaps to be used in the first place.
Before we jump into installing the LVT directly, two significant kinds of installation: the fold-down click vinyl and the traditional angle click, however, we will only be going over the traditional here, but your manufacturer’s instructions will guide you further if you are interested in the fold-down style.
TRADITIONAL ANGLE CLICK INSTALLATION:
Starting with a 1/2 board, cut a board by scoring with a Stanley knife on the surface and then snapping it off, then use a set square to ensure a straight cut. The click system’s female parts should be facing away from the wall, and the end joints must be installed first. After the female click is in place on the ground, insert the male click system starting at a 45-degree angle and gently pushing it flat.
Continue until the entire row is installed and ensure that the joints are flush. If they aren’t, you may need more board and to completely re-do that section. It’s worth noting you may need to cut the last panel to guarantee a snug fit.
Start the second row off with a full board, ensuring that the joints are staggered and avoid repetition in design. Click all plank ends of the second row together in the same way, keeping this row close to the first row. Ensure the male endpoints towards the first row’s female end once all the short ends are joined, gently angle the entire second row into the first row, and press into place. Continue across the room until the whole floor is covered.
As stated earlier, some boards will require more cutting. Mark the cutting line of each panel on the reverse side, so no marks are shown, and cut 7-10mm back from the wall or object you fit against. Doing so will ensure that the desired expansion gap is maintained.

Laminate Flooring:
There are two ways to install them on the laminate side, but first and foremost, it all begins with what you will need to install it. Typically you are going to need these tools:
- Tape measure.
- Rubber mallet.
- Table saw.
- Chop saw.
- Compass.
- Tapping bar.
- Pull bar.
- Jigsaw.
- Spacers.
- Flexible 100% silicone sealant.
FIRST WAY:
Always make sure the area is ready for the flooring to be installed underneath. This says that the subfloor needs to be even and clean, and floorboards are out of the way. Then keep the laminate flooring in the room for 48 hours for the planks to get used to the temperature. If you are installing the floors underground, consider using a moisture barrier for better protection.
The nitty-gritty side would be removing the tongue along all the long side joints with the table saw and following that up with a clean trace and cut. If you are dealing with some relatively uneven walls, you will need to trace the contour with a compass on the tongue side of the planks you will be using and follow suit with cutting on the jigsaw.
After you’ve got everything lined up, you want to assemble the first row, which will be your guide for the rest of the installation, so getting this one right is paramount to a sound structure. Put the planks with the tongue side way away from the wall, and insert the end tongue into the end groove and rotate downwards to assemble. Make sure everything is aligned and your joints are closed.
Next, you will want to leave some space for expansion, and to do that, use wooden spacers to give yourself a 3/8-inch gap to work. (Two spacers going from thick-side to thick-side are 3/8-inches.)
We need to cut for the new rows, so we will be chopping the first piece at least 8 inches long using our table saw. You want to start new rows using pieces trimmed from the previous row. Make sure you have at least a 12-inch end joint offset. Putting the second row together requires you to insert the tongue of the second-row plank into the groove of the first-row plank at a very slight angle until the laminate edges meet.
After this, rotate downwards until the joints lock, and for the next plank, join the short end of the plank first. You will see a gap on the long-side joints when the plank is rotated downwards, and you will use this.
Next, you will raise the plank’s outside edge upwards approximately 1-inch, keep maintaining the angle as you push the plank in until the laminated edges meet. Slowly rotate the plank downwards until the joint locks, and repeat the previous steps to complete the installation.
SECOND WAY:
Make the proper preparations in the room, as mentioned above.
Another route you could take for installation would be aligning the tongues into the planks’ long and short sides’ grooves. Install the long side by placing a tapping block no closer than 8 inches from either end and tapping lightly along the long side until the joint is closed.
Tap the end using the tapping block into a lock position but be cautious because too much force may damage the joint! Use the tape measure we spoke of earlier to ensure a ⅜ inch gap after the joint is fully closed to ensure there is enough room for expansion.
Bringing things into the home stretch, you are going to be installing the last row. To do that, you want to align the plank so you’ll connect the second to the previous row properly. Utilizing a full-width plank as a spacer, lightly trace the wall’s contour and cut the plank to the proper size.
Install the long side tongue into the groove with the end joint aligned. Make your way down the plank’s length evenly and lightly tap the joint closed using a pull bar and rubber mallet. After tapping the long side joint closed, tap the short side closed using the tapping bar or pull bar and remove all spacers.
Finally, you want to apply the sealant mentioned earlier to the entire perimeter to create a watertight seal around it. This was an incredibly long explanation but fundamental to getting it done correctly.
Final Thought
Overall, both luxury vinyl tile and laminate flooring will make excellent additions to your home. Since you know the differences between the two, it is entirely up to you to determine which flooring works better for your lifestyle and family.