Self-leveling compounds are a great way to finish uneven floors or prepare a surface for delicate tile installation. Many specifically mention using it on old concrete, but what about wood subfloors?
You can use self-leveling compounds on wooden subfloors to achieve a surface finish similar to concrete. Preparing the wood subflooring beforehand is essential to ensuring it can handle the load, cleaning it well, sanding it, and sealing any imperfections before applying the compound.
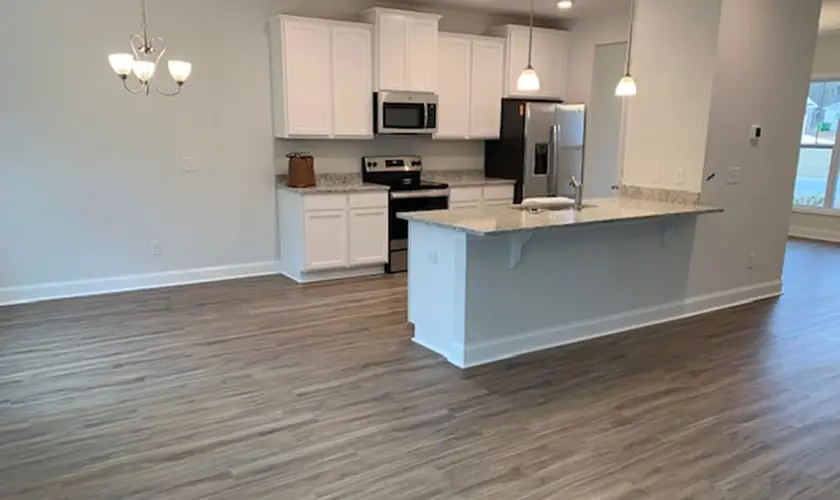
Get FREE quotes from local tile installation contractors near you. Whether you need a tile floor installation, a tile shower, bathtub surround, or a tile backsplash, We Can Help! All contractors are screened, licensed, and insured.
When pouring self-leveling compounds onto a wood subfloor, the most important thing is to prepare everything ahead of time. You only get one shot at pouring the mixture, so be sure to read to the end before starting anything.
Using a Self-Leveling Compound on a Wooden Subfloor
When using self-leveling compounds on wood floors, you must ensure the wood does not absorb the water in the mixture. If plywood does absorb water, it can cause it to expand and alter contact, leaving a void or warped area on the floor.
Over time, this can worsen, leading to the need to replace the floor or repeat the entire process. So, proper surface preparation is the main factor to focus on when using the compounds on a wood floor.
The steps for using the compound on a wood floor are detailed below. Once you begin pouring the compound, you need to do all the work quickly as it cures rapidly, and you cannot retool it.
1. Clean the Wood Floor Thoroughly
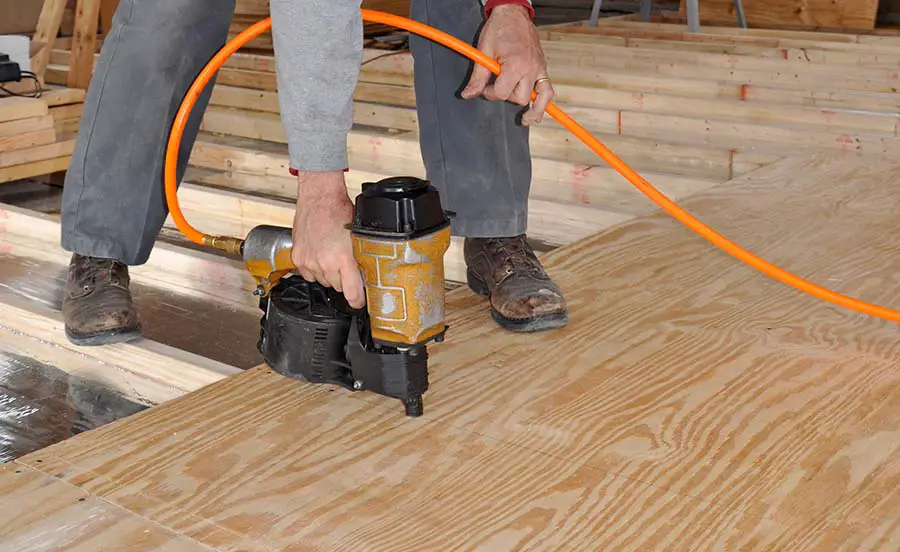
Remove all debris, including anything projecting from the floor, such as wood splinters or chips. Remove them with a saw, razor knife, or sander.
Next, sweep or vacuum the floor thoroughly to ensure no dust or debris is left behind. Dust and dirt can reduce the compound’s ability to adhere to the floor and lead to problems later.
After you’ve removed all dust and debris, use a damp sponge or towel to wipe the floors down and then allow them to dry.
2. Seal all Cracks and Seams
The end grain of the plywood is the most susceptible to water infiltration. Use painter’s caulk to seal any gaps between boards, the wall, and the plywood. You can also use the caulk to fill holes or cracks in the plywood where you suspect water could get in.
3. Install a Sill Sealer to Wall Bases
Use a stapler to install a sill sealer at the base of all the walls that make up the floor’s perimeter. Sill sealer helps prevent cracking when walls expand or contract. It also prevents water or moisture from going under the concrete compound.
Don’t worry too much about the color or height of the sill sealer, as you will cut off all exposed material after the floor has cured.
4. Block Areas Where You Don’t Want the Compound to Flow
If your room has drains or doorways, you must create a dam or block to prevent the liquid compound from seeping through. You can use cardboard or plastic sheeting to form a ring around drains, caulking the base to avoid seepage.
You can use a piece of scrap wood for doorways to create a barrier, which you can later cover using a threshold.
5. Seal The Plywood Well
Next, seal the plywood using a thick coat of primer. It is best to use latex-based primer and a roller to get heavy and even coat the entire surface. Allow this to dry thoroughly before proceeding to the following steps, usually 24 to 48 hours.
6. Mark Low Areas For Best Results
If the floor has some low spots, circle these with a permanent marker. You can do this using a laser or long bubble level. Later, when pouring the compound, ensure that you pour at these areas to ensure that they are filled and brought to the same level as the rest of the floor.
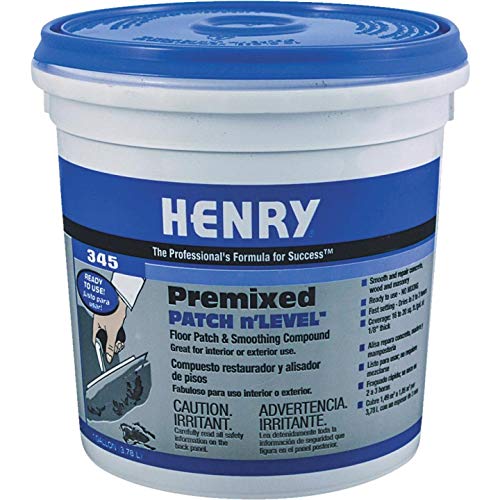
7. Buy the Right Self-leveling Compound
Mix to your desired consistency for spreading or pouring. Suitable for interior plywood.
Estimate the amount of compound needed by measuring the area of the floor and multiplying it by the desired height. When purchasing, buy more than you need and err on the side of caution.
Once you start pouring, you will not have time to run out and purchase more as a new layer cannot properly bond to an existing layer easily. You need to do the entire process in one go.
Although most compounds are suitable for concrete or wood subfloors, check the package to ensure that wood flooring is listed.
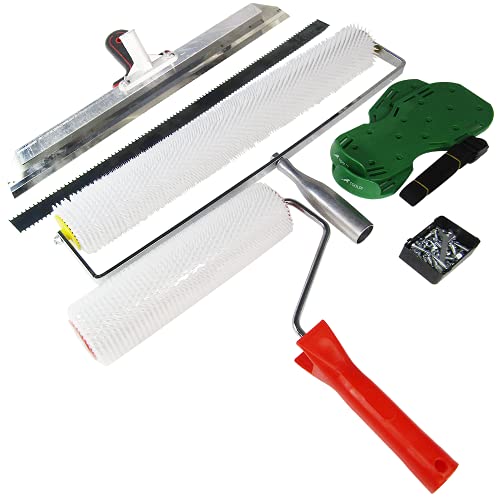
You will also need to buy the tools required for mixing and pouring the self-leveling compound, including:
- Paint and Drywall Mixer attachment for a standard power drill
- Several buckets to prepare and mix the compound in
- Adjustable gauge rake
- Safety glasses and water-proof gloves
Read the instructions on the self-leveling compound thoroughly to ensure that you have everything needed and understand the mixing ratio.
If you plan to pour a thick layer of self-leveling compound, consider adding metal lath to the floor before pouring. Doing so will help increase tensile strength, similar to how rebar reinforces concrete.
You should also add lath if you are fixing a floor that is warped or cracked due to settling or movement of the foundation. The lath will help create a more robust substrate that will resist cracking.
8. Prepare Multiple Buckets Before Doing any Mixing
Read the instructions on your specific compound to know the proper amount of water used. Measure and fill each bucket you have with the needed amount of water so that you can mix multiple batches of the compound in succession quickly.
Use one bucket of water to store the mixing attachment and drill when not in use to prevent it from drying out between mixes.
Create a plan for pouring, starting from the area furthest from the doorway and working backward. Once you feel comfortable with your plan and have all the tools, you are ready to begin.
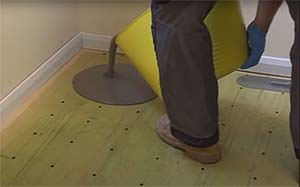
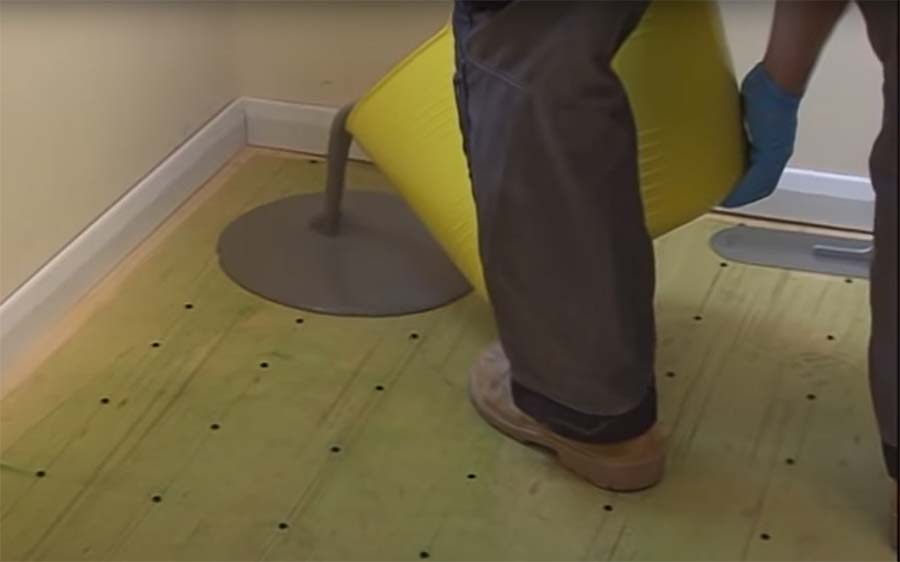
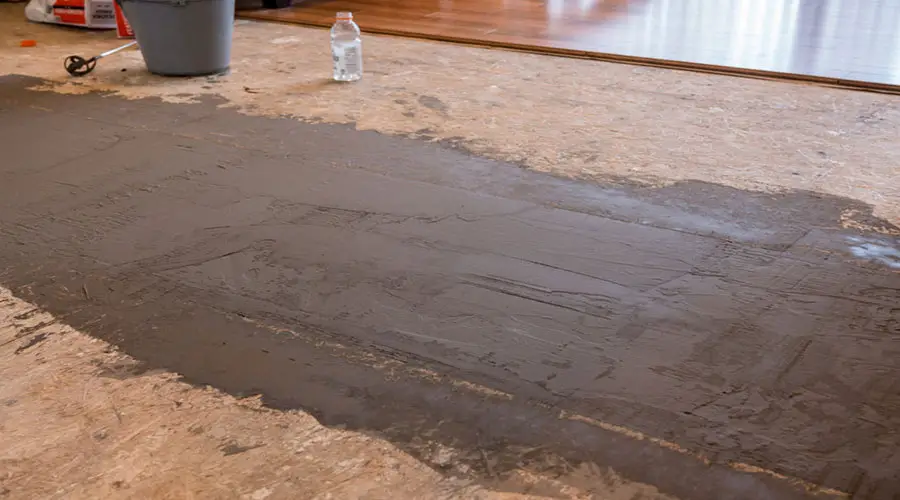
9. Mix and Pour the Compound Quickly but Evenly
After all the preparations and planning, the actual pouring should now be easy. Add the dry compound to the measured water in the bucket and mix with the drill and attachment.
Mix thoroughly for about 2 minutes, achieving a consistency about the same as pancake batter. Ensure you get all the compound from the sides and bottom of the bucket and break up any dry clumps.
Do not add more water than needed. You have added too much water if you notice a white film on the compound’s surface. Once the mixture is consistent and thoroughly mixed, begin pouring.
Start from the back and pour back and forth to get a more or less even coat. Next, use the gauge rake to smooth the compound and achieve a consistent depth.
When you finish pouring one bucket, move quickly back to mix the next one. Cover the entire area and use the gauge rake to ensure an even coat.
If you inadvertently get some compound on the walls or baseboards, do not stop to try to clean it. Instead, let it dry and then scrape it off later. You need to keep moving, as you only have about 20 minutes before the compound starts to cure and set up.
10. Wash All Tools Immediately After Finishing
Use a bucket with soap and water to wash off all tools before the compound dries on them. In doing so, clean-up should be relatively quick and easy.
Do not pour the wastewater down the sink or storm drains, as it could cure and cause blockages. Instead, pour it on a dirt area of your yard, remove the leftover compound after it dries out, and throw it in the trash.
11. Give It Time Before Walking On it or Laying Flooring
Check the manufacturer’s directions as to how long to wait. Some fast-drying compounds can withstand foot traffic in as little as 45 minutes, while others can take several hours. Also, check how long to wait before applying tiles. It can be as little as 4-6 hours with some compounds.
What Exactly is a Self-Leveling Compound?
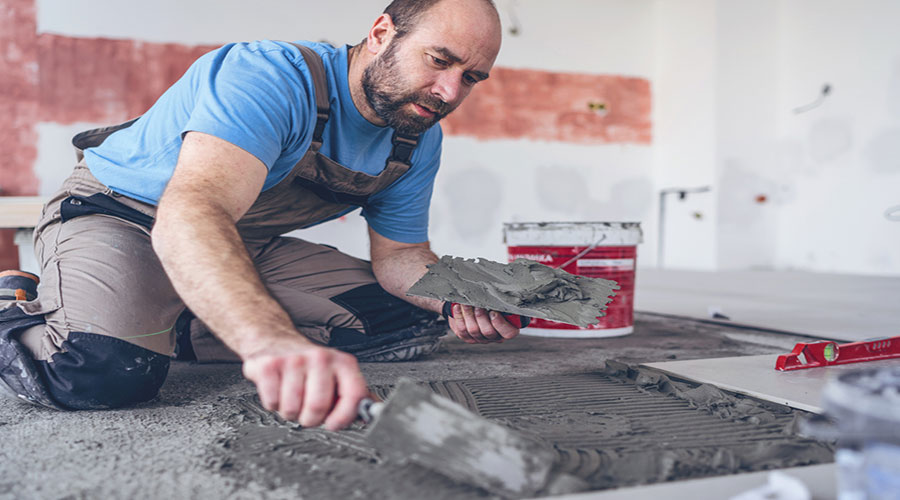
A self-leveling compound is a cement mixture that includes a polymer to make it more viscous, ensuring it cures more uniformly. Unlike standard cement, which takes a lot of tooling and skill, a self-leveling compound can be poured onto an uneven surface and achieve beautiful results.
While it has many uses, the most common ones are restoring uneven floors and ensuring perfectly level floors before applying tile or other flooring types. It can be applied and left as is or coated with a broader range of other products to suit your needs and preferences.
Self-leveling compounds come in a variety of polymer mixes, including:
- Acrylic-based
- Water-based
- Latex-based
These bases are pre-mixed with concrete to form a resin dense enough to self-level while remaining strong and durable. You may see it labeled as self-leveling compound or self-leveling concrete at the hardware store, but know that they are the same thing.
In most cases, you add the correct proportion of water to the powder compound to prepare the mixture. However, some brands also include a liquid latex additive that you often purchase with the dry mix.
For concrete floors, the preparations are straightforward and usually involve a thorough cleaning to ensure the mix bonds well to the existing surface. Things get a bit more complicated with wood, though, as you need to seal it to prevent warping as it will absorb the water in the compound.
While a few extra steps are necessary, it is still easy, attractive, and long-lasting to create an even and level floor surface or base for tile and other flooring types.
When to Use Self-leveling Compounds?
Self-leveling compounds are helpful in several circumstances when the existing floor is not even or level. Some of the typical applications include:
- Repairing cracked or splitting concrete floors
- Raising or leveling a concrete floor
- Installing radiant floor heating
- Preparing for carpet, tile, or other flooring types
Self-leveling compounds are a quick and easy way to get a great floor with little tooling or dry time.
It works well in basements and patios that are chipped or cracked, but it would be too expensive or difficult to replace the entire slab. The compound will not provide structural support but will improve the appearance and prevent water intrusion.
It is also great when you need to raise a new floor or home addition to match the level of an existing floor. Depending on your product, you can pour the compound as thin as an eighth of an inch or as thick as 5 inches.
This gives you a wide range of applicability and makes raising the floor much more manageable than traditional concrete.
The product makes installing a radiant floor simple as it easily flows around and between the tubing or wires. It has about the same thermal properties as concrete and can withstand high temperatures.
Many tiles, such as ceramic ones, require a perfectly level floor, or they can break or come loose. Self-leveling concrete allows you to get a perfectly level floor and fill in low spots before applying tile or other flooring materials.
If you work with old floorings, such as in remodels or houses built on pier and beam, self-leveling concrete can save you from replacing the subfloor.
Conclusion
Applying a self-leveling compound is all about preparing the surface properly, using the correct mixing ratios, and working efficiently. If you follow all the tips above and plan well, you can achieve great results without seeking professional help.
Get FREE quotes from local tile installation contractors near you. Whether you need a tile floor installation, a tile shower, bathtub surround, or a tile backsplash, We Can Help! All contractors are screened, licensed, and insured.