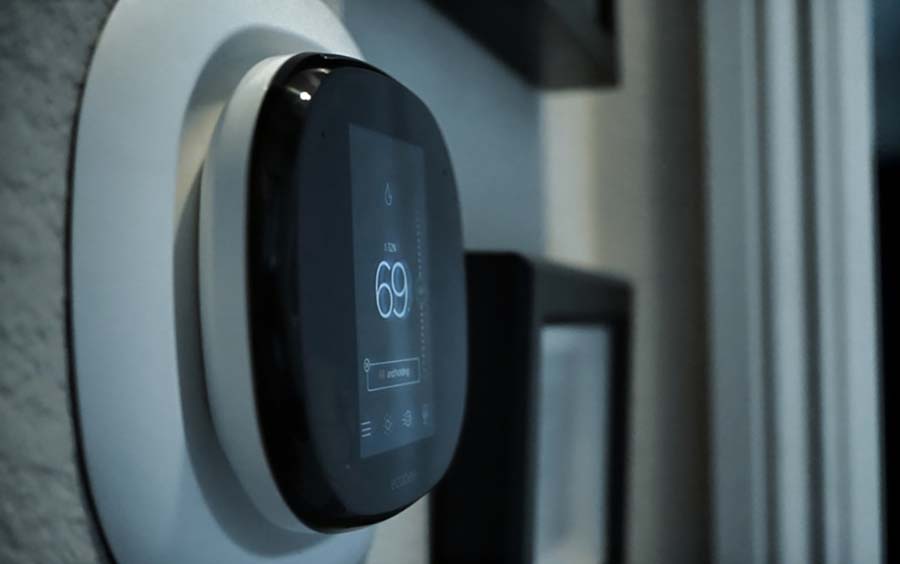
If you just ordered an ecobee, you know that it’s a smart thermostat device. You know it will read temperatures through its smart sensors, and it will be able to heat and cool the room to as precise a temperature as possible. However, you may not know how to add ecobee to Google Home Assistant.
You set up Google Home Assistant for ecobee by using ecobee’s API key. There is a monthly fee for ecobee if you want to have a home security service. You can locate ecobee’s API key under the Development section of the device. Finally, ecobee also has Alexa integration.
There’s more to know about adding your ecobee to Google Home Assistant. Here, I’ll discuss the API key you need, the monthly fee for ecobee, other compatible devices you can connect to the thermostat, and common ecobee problems.
What is the ecobee API Key for Google Home Assistant?
The ecobee API key for Google Home Assistant is a code used by the Home Assistant to identify what is using the application, in this case, ecobee. It is also used to track and control the application’s interface and is an authentication token and unique identifier for the ecobee.
You will need the ecobee API key to enable you to use its interface for Google Home Assistant. To generate the API key, take the following steps:
- Log into the ecobee developer website.
- Accept the SDK agreement
- Log into the consumer portal
- Click the Developer Tab, located under the profile menu (the silhouette of a person)
- Click on New
- Enter the Application Name
- Fill out the Summary field
- Click the authorization Pin and choose ecobee Pin.
- Click Create New
This process creates the ecobee API Key. Make a note of the key.
Does ecobee Work with Google Home Assistant?
ecobee works with Google Home Assistant. To get started with Google Home Assistant integration, first create the ecobee API key. Then, download the ecobee App. Finally, log on to the Home Assistant web interface. Once you complete these steps, you can move on to the rest of the steps.
On the Home Assistant web interface, follow these steps:
- Log into your Home Assistant Web Interface.
- Click on the Configuration tab and then “Add Integration” (or click the plus sign).
- Search for “ecobee” and click on it.
- Enter the API key that you created in the previous section.
- A dialogue box will come up with a PIN on it.
- Make a note of the PIN.
- Do not close the dialogue box.
- Click the link in the dialogue box.
Next, on the ecobee app, take the following steps:
- On the ecobee profile menu, go to My Apps
- Click add application
- Enter the Pin Code from the dialogue box, and click add application
Return to the Home Assistant web interface and Click submit on the dialogue box. If you completed it correctly, your ecobee would now show up on the Home Assistant Dashboard.
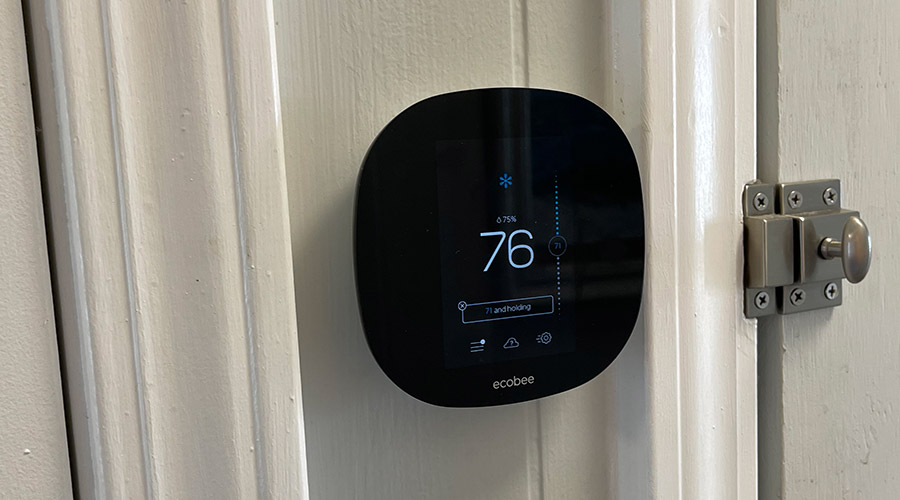
You can do many different things now that you have integrated ecobee with Google Home Assistant. In addition to controlling the maximum and minimum temperature, you can also show a variety of data, including:
- The temperature in each room from a readout from the temperature sensors
- The weather outside
- The humidity in each room
- A chart of temperature trends per room
- Whether ecobee has detected occupants in the room
These data can be sorted and presented in many ways. ecobee also integrates with Alexa, so all you have to do is talk to the device, and it will raise or lower the temperature or do any number of commands. Alexa’s commands also include playing music through ecobee’s speakers.
Is There a Monthly Fee for ecobee?
There is only one monthly fee for Ecboee, which ranges from $5 a month to $10 a month for their Haven Security System.
If you don’t want to pay the extra money, move on to the next question. If you’re interested in reading more about the Haven Security System, read on.
The Haven Security System is a decentralized home monitoring service. If ecobee detects an intrusion into your home, it sends you a notice to your phone through the ecobee app. There is no keypad required. It is an entirely passive system, which is good because ecobee sometimes loses track of authorized individuals.
ecobee’s Safe Haven System can:
- Protect doors and windows but ignore motion
- Play a siren through all of the ecobee speakers.
- Allow you to use Autopilot, which arms and disarms the system.
- Allow you to access the 14-day video clip storage.
- Allow you to track family members and other authorized people in your house to avoid false alarms.
If you want to pay for the Haven Security System and use all of its features, we highly recommend that you purchase the SmartCamera, which costs $179.99, and contact and motion sensors (which cost $79.99 for a pack of two). The SmartCamera supports two-way talk, and automatic panning can be disabled.
If you’ve lost your ecobee API Key, read on to discover how to find it again.
How Do You Find Your ecobee API Key?
Losing a crucial bit of information like the ecobee API Key could cause problems when integrating the smart thermostat with other applications and smart home tools. Fortunately, there is a three-step solution to finding your API key:
- Click the Developer Tab
- Click “Create New”
- The API Key will be at the middle-right-hand of the screen
What are Other Requirements to Use ecobee?
You can use two main types of SmartCamera devices in conjunction with ecobee’s Safe Haven Security System. To use either of the SmartCameras, you must have 3 GB of data per month to store the footage they record.
| Device | Requirements |
| SmartCamera | Minimum upload bandwidth of 2MpsConstant wireless connection |
| SmartCamera with Voice Control | Bandwidth range between 100kps and 600kps |
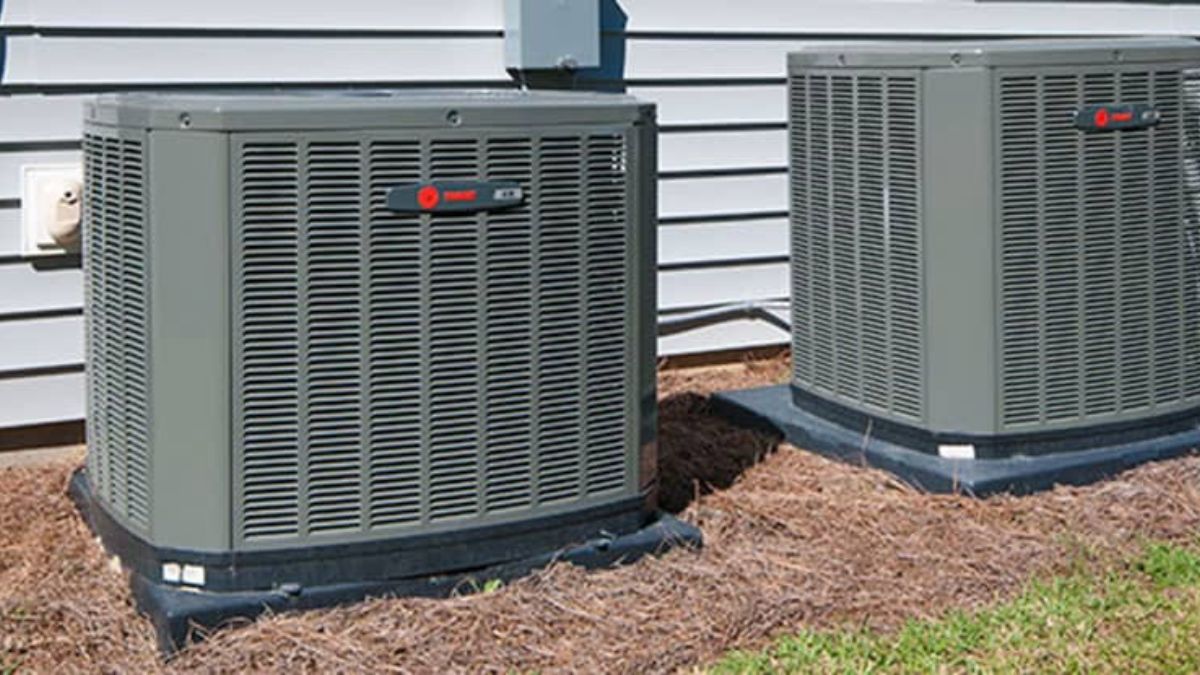
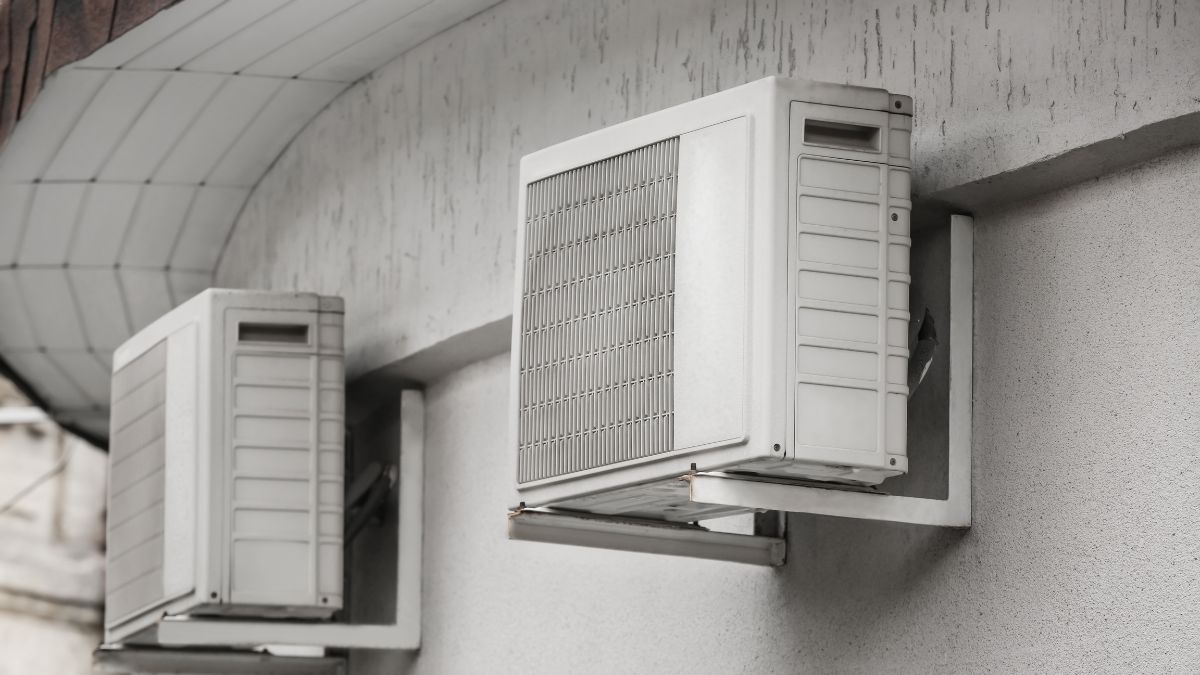
What HVAC and Electronic Systems are ecobee Compatible With?
The ecobee family of products is generally compatible with nine types of HVAC and electronic heating and cooling systems, while it is incompatible with most accessories. See the below chart for information.
Compatible Systems
- 24VAC Controls
- 2 Stages of Heat and 2 Stages of Cool
- Supports a single accessory
- Single-Speed Fan Control
- Power Extender Kit (PEK) installation for HVAC systems without a C-wire
- Air-to-air and Geothermal Heat Pumps
- 4 Stages of Heat and 2 Stages of Cool for Heat Pumps
- 2 Stage of Heat for a Boiler
- 2 Stages of Heat and 2 Stages of Cool for a dual transformer
Non-Compatible Systems
- Millivolt systems
- DC Voltage
- Line/High Voltage Systems
- Boilers are not PEK-compatible
- A dual transformer is not PEK-compatible
How Does ecobee’s Requirements Compare to Nest’s Requirements?
Nest and ecobee’s requirements are similar. The main difference is that Nest is battery-powered. See the chart below for more details:
| Nest Model | Requirements |
| Nest Thermostat | – It might require a C-wire – 2 AAA batteries – 20-30V requirement – 50 MB upload and 50 download bandwidths – Requires WiFi internet connection, Android or iOS phone or tablet, or the Google Home App – Works with most 24V systems |
| Nest Thermostat E | – Works with 85% of 24v systems – 20-30 V AC – WiFi Internet Connections, Nest app, or iOs or Android phone or tablet |
| 3rd Generation Nest Learning Thermostat | – Works with 95% of 24V systems – C Wire not required – 20-30V AC required – WiFi, Nest App, or iOs or Android Phone or Tablet |
| 2nd Generation Nest Learning Thermostat | – Works with 95% of 24V Systems – C-wire not required – WiFi, Nest App, or iOS or Android Phone or Tablet – Battery-powered |
What Are Some Common Problems with ecobee?
Many users have experienced problems with ecobee. These range from the WiFi not working to not having a C-wire.
1. WiFi Not Working
If the WiFi doesn’t work, first confirm that your router is broadcasting on a 2.5 GHz network and that you set your encryption type to WPA/WPA2-AES. Then, check the network signal strength, which should be at 75% or higher. Install any firmware updates. Finally, if you recently lost power, you might have to re-enter the information manually.
2. No Connection from Router to ecobee
If the ecobee is not connecting to the router, follow these steps:
- Disconnect and reconnect the ecobee and the router
- Unplug them both and then plug the router back in
- Then, reconnect the ecobee to the wall
- The ecobee should automatically connect to the router
- Check the status of your connection
- Ensure that you have installed the latest version of firmware available
If all else fails, try using the mobile hotspots of your phone and see if that works. If the ecobee connects to the hotspot but not to the network, then the network has the issue and not the ecobee.
3. Cannot Connect to ecobee Servers
If the ecobee is not connecting to the ecobee servers, follow these steps:
- Power-cycle the ecobee by unplugging it and then plugging it back in
- Tell your ecobee to connect to your network
- Connect the ecobee to the mobile hotspot
- If it connects, then your network’s firewall may be interfering
You should configure your firewall so that it allows all connections to ecobee.com and *.ecobee.com.
4. No C-Wire
If you don’t have a C-wire, you can use the power extender kit (PEK) included in your ecobee packaging. Follow these steps:
- Turn the thermostat up so that your HVAC system goes on
- Turn the power off to the HVAC system at the furnace or circuit breaker
- Pull the face of the thermostat off
- Take the cover off the HVAC system
- Find the wiring that goes to the thermostat on the circuit board and where those terminals are labeled
- Take a picture of the wiring configuration
- Find the bundled wires that go to the thermostat
- Remove the wires
- Put the cables in the correct slots, marked by the letters of their colors (R for red, etc.)
- Note that the Y wire might be blue.
- Place the wires from the PEK into the terminals
- The cables have labels that indicate the electric terminal they will go in
- Make sure the wires are tight and secure in the terminals
- Remove the existing thermostat from the wall
- Take a picture to show how to arrange the wires
- Attach the ecobee base plate to the ecobee wall plate
- Attach the ecobee wall plate to the wall, making sure that the wires are coming through the center of the base plate
- Press the wires into the correct terminal
- The Y wire goes into the PEK terminal
- The G wire goes into the C terminal
- Push the ecobee onto the wall plate
- Turn the HVAC system back on
If you did this correctly, the ecobee thermostat should turn on. Next, go to the device itself and tap on Getting Started. Follow these steps:
- Tap on Getting Started
- Ensure that the wires you have behind the ecobee match how ecobee displays them
- Continue the setup process
The above steps require you to rewire the furnace, so contact a professional if you cannot rewire an HVAC or heat system yourself. Read on to discover the best ecobee thermostats.
What Are the Best ecobee Thermostats?
If you have the requirements and already have an ecobee, you might be looking to upgrade. Here’s a comparison of the newest ecobee Thermostats:
1. Smart Thermostat with Voice Control
Price: $219.00
Positives
- It comes with a wide array of features
- Use Amazon Alexa
- Controls air conditioning accessories
- Connects to the WiFi quickly
- User-friendly app
- Can cut your energy bill by as much as 26%
- It functions as an Echo device
- You can turn off the device microphone
- Eco+ mode will help use energy more efficiently
- Schedule heating and cooling cycles
- Set a preferred temperature by sensor measurements
- can adjust the screen brightness for in-use and sleep modes
- You can protect its settings via a password
- It displays the weather forecast
Negatives
- Initial calibration is difficult
- The placement of the sensor can alter the temperature reading
- Servers can suffer extremely extended outages (up to 16 hours)
2. ecboee 3 Lite Smart Thermostat
Price: $201.99
Positives
- Energy Savings
- Simple design
- Works with most smart home systems
- Simple installation
- Can cut your energy bill by as much as 24%
- iOS and Android-compatible
- Emergency AlertsProgram heating and cooling for a week in advance
- Displays Weather Forecast
- Sensors average the individual temperature with the thermostat – no precise room temperature set
- Can work with multiple systems
- Energy-efficient settings save you money by turning the heat down when you’re not home
- It has a low price point
- It comes with a free temperature sensor
- HomeKit compatible
Negatives
- It does not connect to Bluetooth
- Numbers for temperature adjustment are small
- Limited window and door sensor functions
- Not compatible with humidifiers or dehumidifiers
- Heating and Cooling scheduling is not intuitive
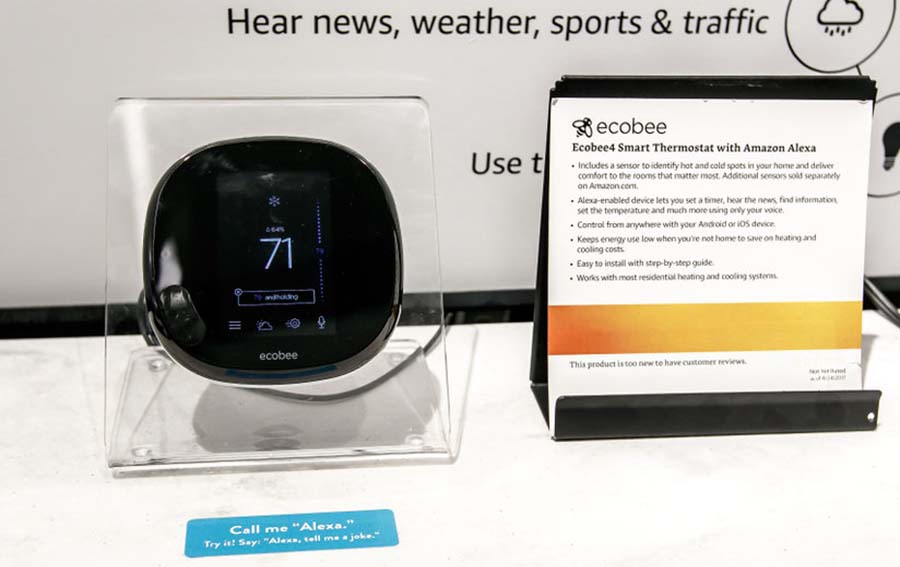
3. ecobee 4 Smart Thermostat
Price: $229.49
Positives
- Best for Amazon Alexa
- Works with Android and iOS
- Bright DisplayRoom Sensor included
- User-friendly App
- You can cut your energy bill by as much as 23%
- High-quality customer support
- Pair up to 32 sensors with ecobee
Negatives
- If configured incorrectly, the heat could blow out cold air and the air could blow out hot air
- 2-pack of sensors is $79
Final Thoughts
The ecobee API Key is the most crucial part of the device because it enables you to connect to Google Home Assistant and other smart home assistant programs. Fortunately, if you lose the API key, you can find it on the web developer portal. Finally, you will only have to pay a monthly subscription if you subscribe to their Haven Security System.
Keeping you and your family comfortable in the hot summer months and the cold winter months is essential. We wish you success with your ecobee!