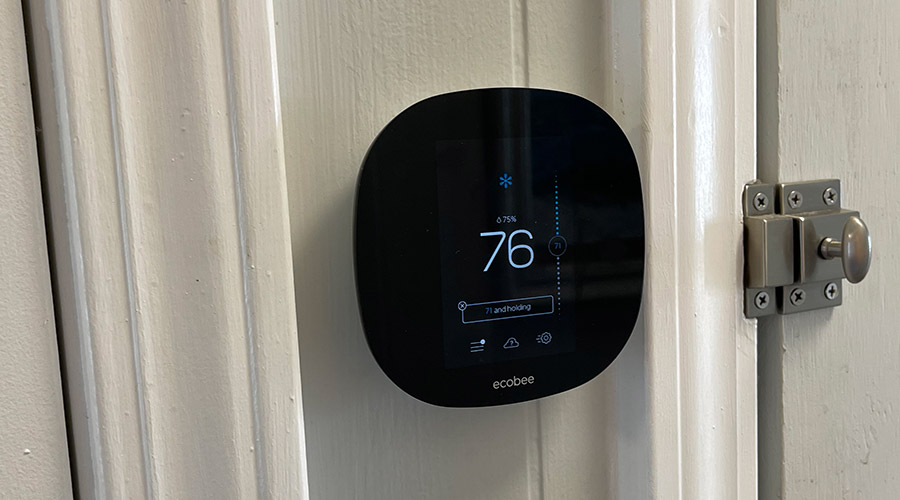
ecobee and other smart thermostats are compatible with many different devices. These include a range of accessories, heating and cooling systems, and HVAC systems. However, one of the problems that ecobee and other smart thermostats have is that they cannot work with a mini-split by default.
You cannot use a smart thermostat with a mini-split. However, three workarounds will allow you to use a mini-split as if it was smart. You can tell what ecobee is compatible with by looking at the wires that it has. Finally, ecobee does work with a second-stage heat pump.
Read on to discover the three workarounds for your mini-split.
Does ecobee Work With Any Heat Pump?
If you still want to get or have a heat pump, ecobee works with a single and second-stage heat pump, including geothermal and air-to-heat pumps.
To set ecobee up for a geothermal or air-to-heat pump, take the following steps:
- Determine how to energize the pump reverse valve
- Figure out if the heat pump and auxiliary heat need to run at the same time
- Ensure that ecobee is compatible with the heating system you have
- Consider how much certain functions would change the energy usage of your house
For a single-stage heat pump, configure the device as you would a standard furnace.
Read on to discover other options besides using ecobee to heat or cool your residence.
How To Check If Your Heating System is Compatible with ecobee?
To check whether your heating system is compatible with ecobee, go to the company’s compatibility website here. Once there, follow these instructions:
- Select Thermostat
- Select the Wires that are behind the thermostat
- Click Check your Wires
Other Smart Thermostat Options Besides ecobee
| Device | Works With |
| Google Nest | Compatible with 84% of 24V systems, including gas, electric, forced air, heat pump, radiant heat, oil, hot water, solar, and geothermal systems. |
| Honeywell Evohome | Your heat pump must be compatible with Time Proportional and Integral (TPI) control, change the Cycle Rate to 3 and the Minimum on time to 5 |
Read on to discover how to check whether your device is compatible with ecobee.
What HVAC Systems is ecobee Compatible With?
If you’ve decided to get an HVAC system or other heating and cooling system compatible with your ecobee, you should first ensure that your system is not high voltage. You can tell that it is not high voltage by the absence of these:
- Terminals listed as L1 or L2
- A danger/warning symbol
- A charge over 110 volts
Next, figure out what wires you have. The following wire combinations will work for a SmartThermostat with Voice Control, ecobee 3 lite, ecobee 4 Voice-Enabled, and ecobee 3:
- Rh, C, and a W or W1 Wire, a W2 (Aux), Aux wire, and/or an E/Aux wire.
Other combinations will also work if you have specific devices to modify your wiring:
- If you have an Rh, W, W1, and a W2 wire, you will need a plug-in transformer or a Fast-Stat Common Maker installed, and then you can install the ecobee
- If you have an Rh, W1, and G wire, you can use an additional wire as the C wire, install a Fast-Stat Common Maker, or repurpose the G wire as the C wire.
- If you have an Rh, Y, Y1, and G wire, you will need to install the Power Extender Kit (PEK)
ecobee is not compatible with the following wire combinations:
- Rh, W1, and W2 (aux) or Aux
- Rh, O, and V+, V-, VH+, VG-, A, B, C, D, 1, 2, 3, or 4
- Rh, B, and V+, V-, VH+, VG-, A, B, C, D, 1, 2, 3, or 4
- Rh, Y(O), and V+, V-, VH+, VG-, A, B, C, D, 1, 2, 3, or 4
- Rh, B(O), and V+, V-, VH+, VG-, A, B, C, D, 1, 2, 3, or 4
- Rh, W(B), and V+, V-, VH+, VG-, A, B, C, D, 1, 2, 3, or 4
- Rh, Y3, and V+, V-, VH+, VG-, A, B, C, D, 1, 2, 3, or 4
- Rh, W3, and V+, V-, VH+, VG-, A, B, C, D, 1, 2, 3, or 4
- C, O, and V+, V-, VH+, VG-, A, B, C, D, 1, 2, 3, or 4
- C, B, and V+, V-, VH+, VG-, A, B, C, D, 1, 2, 3, or 4
- C, Y(O), and V+, V-, VH+, VG-, A, B, C, D, 1, 2, 3, or 4
- C, B(O), and V+, V-, VH+, VG-, A, B, C, D, 1, 2, 3, or 4
- C, W(B), and V+, V-, VH+, VG-, A, B, C, D, 1, 2, 3, or 4
- C, Y3, and V+, V-, VH+, VG-, A, B, C, D, 1, 2, 3, or 4
- C, W3, and V+, V-, VH+, VG-, A, B, C, D, 1, 2, 3, or 4
- Rh, Dehum, and V+, V-, VH+, VG-, A, B, C, D, 1, 2, 3, or 4
- Rh, Hum, and V+, V-, VH+, VG-, A, B, C, D, 1, 2, 3, or 4
- C, Dehum, and V+, V-, VH+, VG-, A, B, C, D, 1, 2, 3, or 4
- C, Hum, and V+, V-, VH+, VG-, A, B, C, D, 1, 2, 3, or 4
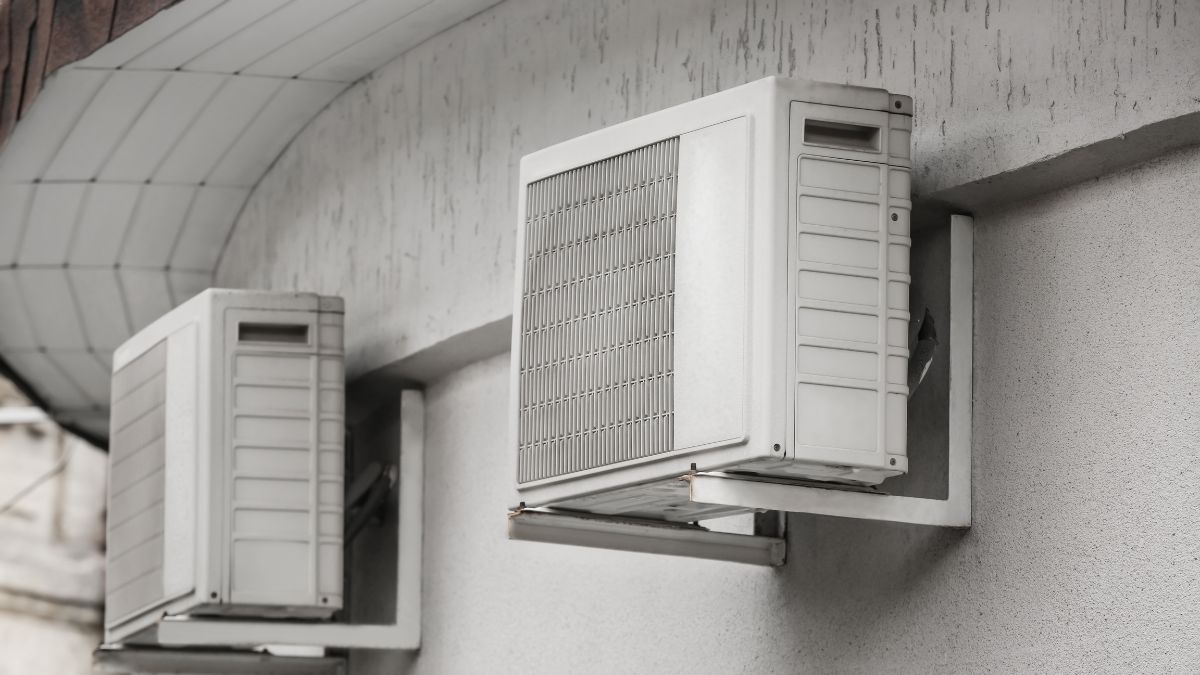
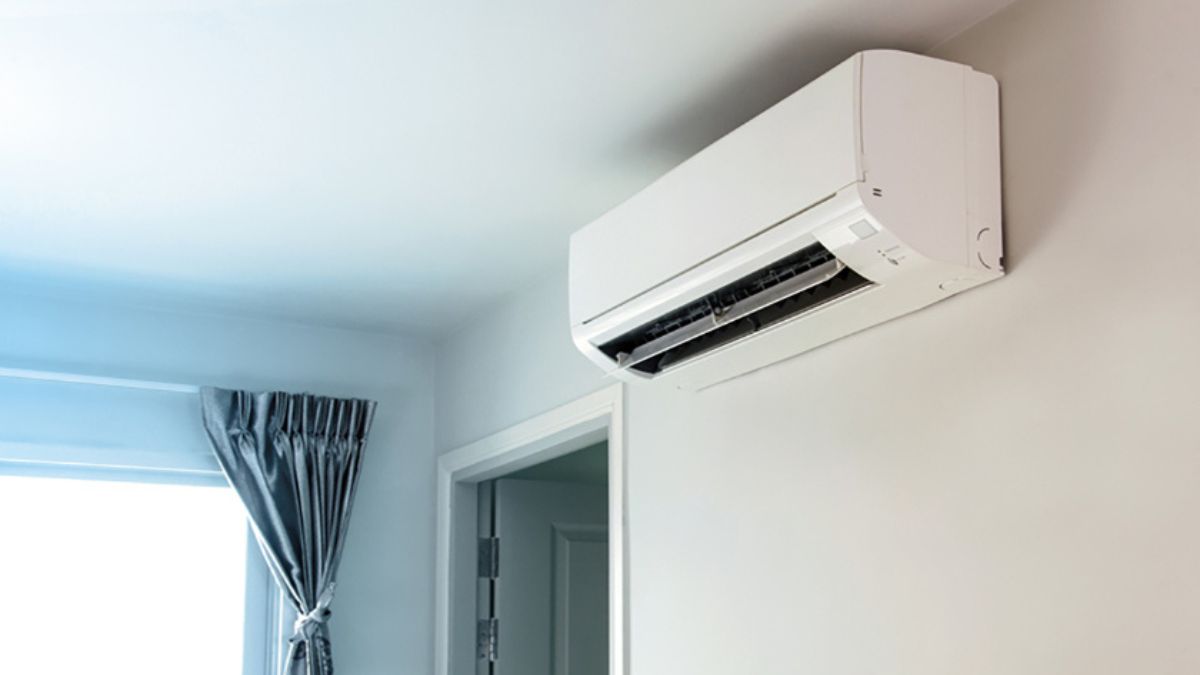
Can You Use a Smart Thermostat with a Mini Split?
The short answer is that no, you can’t use smart thermostats with ductless mini-split units. Additionally, not every mini split has WiFi capabilities. However, there are some workarounds to this problem. Smart WiFi controllers are one such workaround:
| Product | Thermostat Features |
| Celio Breeze Plus | Control from anywhere in the world, set triggers for comfort settings, lock temperature ranges, geofencing activates your mini-split when you’re within 10 miles of your house, seven-day scheduler, must connect via USB cord. |
| Sensibo Sky Works with remote control split unit, quick installation, works with window AC units, 7-day scheduler, geofencing, reacts to climate, control it from your smartphone, works with Google, Siri, and Alexa. | |
| Sensibo Air | Smartphone control from anywhere, 7-day scheduler, geofencing, reacts to climate, easy installation, compatible with window AC units, works with Google, Apple Homekit, and Alexa. |
| Atomi Smart | Mobile app control, turn on and off automatically, set schedules, works with a window air conditioner, and is compatible with Alexa or Google Assistant. |
Connecting a Mini Split to a Smart Thermostat
For an experience closer to a smart thermostat, you may also want to use a Flair Puck, which works on IR devices, such as a mini-split. First, you need to set up your initial Puck as a Gateway Puck by connecting the device to A/C Power. Follow the app instructions to complete the setup process.
The Gateway Puck will communicate to the Flair Cloud and serve as the mini-split or other IR device hub. You can convert any Puck to a Gateway Puck, and you will need at least one Gateway Puck. To set up the system:
- Remove the Puck door on the reverse side
- Connect the MicroUSB cable to the back of the Puck. Note that the Puck system is not compatible with chargers or wires other than what Flair provides.
- Connect the Puck to A/C Power
Then, go to the Web App:
- Choose Sign Up
- Enter Name and Email
- Create Password
- Click “yes” or no depending on if you want your cell phone to let Flair know when you are home
- This option is only available on your smartphone
- Click “Create a Home”
- Name your home
- Enter your address. This step will enable weather information and geofencing, which will have your Flair system turn on when you are near your home.
Then, plug in the Flair Puck and ensure that it is in Gateway mode:
- The Puck shows you a unique ID code
- If the code does not show, tell the Puck to forget WiFi. Note that Flair will only work with 2.4 GHz networks.
Return to the App:
- Type in the ID code.
- Enter the password to the network
- Click Next
- The Puck will connect to WiFi
- Once the W-Fi symbol appears on the Puck, confirm on the App
Note that if you are setting up the Puck on a computer, you will have to change your computer’s network to the Flair network.
Back on the App:
- Select Home’s WiFi SSID and enter password
- Select the IR device you are using (in this case, MiniSplit)
- Create a nickname for the device and select the brand
- Enter the name of the room that the IR device is in
- Select the Puck that will control the IR device
- Enter in the model number of the remote
This process begins the model setup mode. The Puck will find the correct code set to use with your device. Once it finds possible codes, the process will automatically move to the IR Setup screen:
- Aim one of the IR beams at your IR device
- Make sure the Puck is as close as possible to the IR device
- Press down on IR setup on the Puck
- Select one of the models to test the IR codes
- When you find the correct model, your mini-split will make a sound or activate a feature
- Select the models that work
- The Puck downloads the complete set of codes from the Flair cloud
- The status in the IR settings will say “Ready” if successful
Once set up, you can use Auto Mode under System Mode for maximum customizability. Auto Mode includes the following settings:
- Set Away Mode
- Set Geolocation for the device to determine when you are home or away
- Set the main house as default
If WiFi controllers and Flair Pucks do not appeal to you, you might want to try custom boards for your ecobee or other smart thermostats. Careful, though, as this process may void the warranty. To set up a custom board, first, you need to obtain or create the board. When your board is purchased or built, follow these steps:
- Take off the backplate of the thermostat that is supposed to be attached to the wall
- Connect the custom board to your computer
- Connect to the WiFi hotspot
- It will ask you about the brand you would like to connect to
- Set the WiFi settings for your network
- The custom board will now work without using a smart thermostat
This will work for Google, Alexa, and Apple Home Kit. It has an infrared transmitter and receiver, which makes it work. However, it needs a wire to connect to the smart thermostats to send commands. In short, it essentially installs another program over the smart thermostat program and then uses the smart thermostat as a vessel to control the mini-split or other IR device.
If these methods do not appeal to you, read on to discover ecobee-compatible devices.
Final Thoughts
While no smart thermostat can control a mini-split by default, there are different workarounds that you can use, including WiFi controllers, the Flair Puck, and building a custom board for your smart thermostat.
ecobee is compatible with many different types of wires found in an HVAC system. Meanwhile, it is the most compatible with most heating and cooling devices out of the three major smart thermostat brands, followed by the Nest and then the Honeywell Evohome.
If you choose an ecobee or other smart thermostat, you should ensure your residence’s heating and cooling system is compatible with the smart thermostat. The worst feeling in the world is to waste money on a device that is not compatible with your residential heating and cooling system.
Sources
- Can You Use a Smart Thermostat with a Mini-Split?
- 3-wire heat-only thermostat (R, G, W)
- Using Ecobee with Single and Second-Stage Heat Pumps
- Are Nest thermostats compatible with heat pumps?