Building a home by yourself is a daunting, exhilarating task, and you can’t afford to get a single space wrong. Building codes and conventional processes are things you will have to consider in each room. For floors, you will want to weigh your options. You can choose between carpet, hardwood, vinyl, and various kinds of tiles.
When deciding to install tiles in your home, it is critical to think about every detail before you begin your renovation. It’s crucial to stay on top of every step of the process to ensure that everything goes as smoothly and as quickly as possible.
Tiles need a lot of work to fit the floors. Learn how to check your tile work below.
Is Tile A Good Option For Flooring?
Tile floors are attractive and waterproof. The many fashion and function perks of tile make it a go-to for architects. For centuries, tiles have added design and character to structures. Famous architectural applications of tile work include the Case de Greco in Spain.
When installing a tile floor, you will need a tile cutter, a rubber mallet, tile spacers, a level, tile trowel, thin-set mortar, or another mortar type. Apart from the resources you’ll need, you’ll also need to think about things like your operating budget, sampling materials, and other details.
Determine Your Tile Flooring Budget
Do you know what you can spend on your home improvement project? Determining a budget will give you a fixed range of materials. Within that range, you can price tiles.
Pricey glazed fish scale tiles tempt the DIY builder. Exotic tiles are on the market, such as glow-in-the-dark pool tiles.
These will cost you a hefty sum of money.
With a few tricks on this list, buying materials that stay within your budget is simple. Go for a cheaper to the middle-price range. You don’t have to sacrifice quality or beauty to get tiles for less. You can keep your quota costs down for a bulk bundle of tiles and still get clever design work in.
Calculate The True Price Of Tile Before Shopping
When you go to price tile, you have the extra challenge of seeing through marketing schemes. You will have to do a little bit more research at this stage to calculate the actual price of the tile that suits your purposes.
Tile prices will fluctuate due to disruptions in the supply chain and other factors. Experts suggest using a spreadsheet document to list and compare in one place the varying local prices or online store of choice.
Determine The Scope Of Your Project
Once you investigate some price comparisons, you are ready to choose materials based on the realistic prices versus your committed budget. You are now ready to move on to the stage of planning the project dimensions and the number of tiles you need to buy to cover your whole room.
Be mindful that, to get these tiles to lay correctly, you will need precise dimensions, a way of keeping track of them, and you will need spacers to keep that equidistance consistent throughout the project.
Where Do You Start When Tiling A Floor?
Begin placing tile at the room’s center and work outwards. To ensure that your tile pattern is perfectly centered, the first step in laying out tile is to draw a guideline, or layout line, in the room.
Measure The Space You Intend To Tile
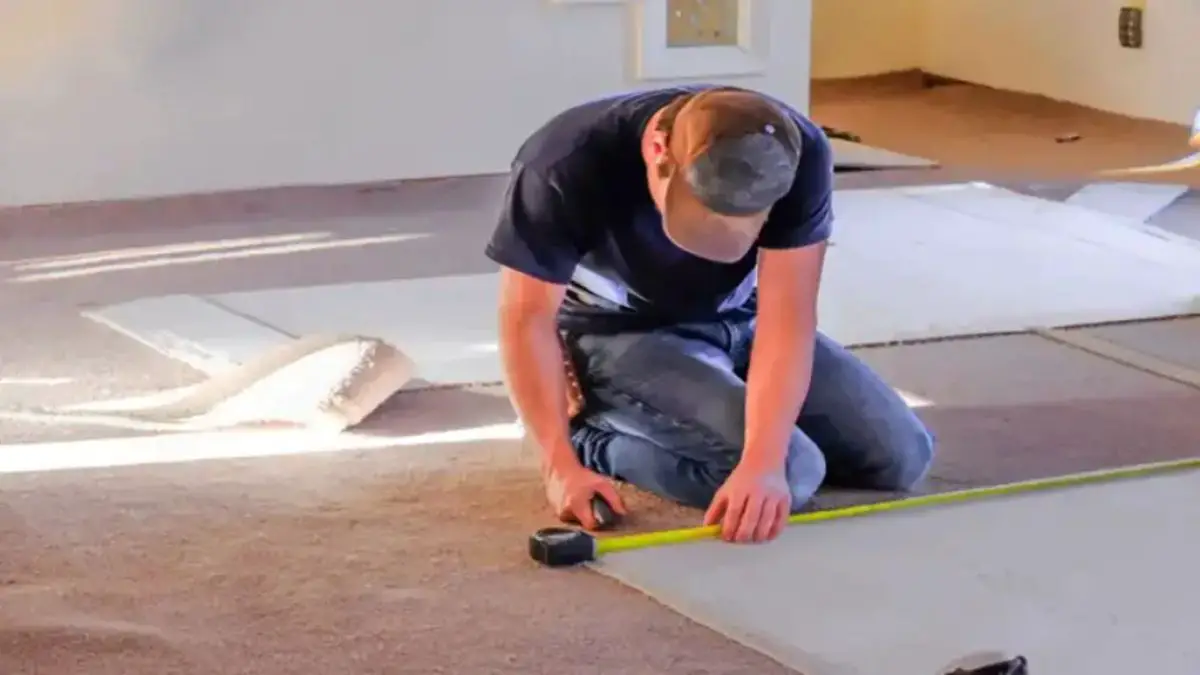
When collecting materials, measure the entire space first. You want to be sure you know the precise number of backer boards, tiles, and tiling cement you need.
You can make a grid of measurements for the room. Use a chalk line to lay an equator line through the center of the room. Then, make a perpendicular line to run vertically through the center of your horizontal room centerline, which will form a grid you can use for measurements.
Consider also dry setting the room tiles, meaning you can lay down the tiles on the floor before coat on any floor sealing. Laying out tiles side by side dry first will let you see if they fit evenly together.
Then, you can use a woodworking pencil to trace the tiles around the measurement grid you made. By drawing space for the tile on the floor, you will have a guideline to match the tile to when applying sealants, which lets you know with certainty that you are following your grid measurements to a T.
Identify The Tools You Will Need
Pair your project with the right tools. Experts suggest tile cutters, a rubber mallet, tile spacers, a level, a tile-trowel, and a thin-set mortar. DIY pros may know of other tile work accessories. Research the comments made by experts to get a sense of what tools help them do their tile work and emulate as needed.
Be determined to go over the tools you select before proceeding with your project. Getting the tools on this list right will ensure your tile spaces out correctly. Match the trowel size to the tile size for a more even distribution of mortar. A large tile will require more mortar, so you will need a larger trowel to match.
Take Your Time Choosing The Right Tiling Material
Researching your materials is one of the most critical aspects of tiling a floor. You must match your tile material with your project scope. If you want to do a vintage tile design, you will want to look for vintage-styled tile.
If you want a modern approach, you may want to consider types of vinyl or other materials found on current architectural trends sites. Save some pictures of tilework from social media sites such as Houzz or design magazines such as Dezeen.
Mix the tile type you have selected with tiles from each available box at your hardware provider. Slight coloration differences exist with manufactured tiles. You will want to mix them up so that these coloration shade differences will not be noticeable.
When you go to purchase under flooring, you will want to pair plywood with waterproofing cement. Consider luan, a wood known for flexible under flooring but swell after prolonged water exposure. Paint-on waterproofing is a favorite.
When choosing mortar, experts recommend a thin-set. However, there are other kinds. You will want to research the scope of your project, the environment, and what experts recommend based on the criteria your project meets.
Consider Budget-Friendly Designs With Same Tiles In Different Colors
DIY tilers do not have to have a fancy budget to execute some crafty style schemes. Apartment sprucers suggest laying tiles of your picked style but in different colors. Mixing up contrasting colors, such as rose-colored with white, can add a retro style to a floor without going out of the budget. Some DIY home builders have even written messages that look like vintage signage in their tile work by tiling in text with black tiles and background with white.
You will need to measure your tile designs to fit the tiles precisely for the look you want. Refer above to the subsection on measurements for some tips on laying out a grid and tile tracing. Draw the tile the template out beforehand to see what it looks like and tweak its appearance before you seal it to the floors.
Choose Sample Materials Before Buying
Modern tile services provide samples for seriously interested customers. You can sign up for sample pieces of tile, usually for a subscription fee of about $5, so you can get a look and feel of a tile product before making a bulk purchase decision. Consider sampling various tile types that you can keep. Use them to practice cutting to shape the tiles to fit the stencil design you picked.
Subscribing to a small purchase of sample tiles is helpful if you will be using an e-commerce store to get your tile. You will want to test the product before shipping mass quantities because tile is not an item you can cheaply return to the sender. Samples are good to invest in if you want to avoid racking up shipping fees from ordering and then sending back products that do not fit your project vision.
Consider Your Style Personality When Sampling Tile
Apart from its housing functions, tile is one of those materials that makes a bold interior design statement. Consider your home style personality when buying tile.
Here is another reason to sample tile before buying in bulk. Tile sample catalogs often have pictures of finished homes that pair the tiling project with the interior design choices of the photographer. These design choices can help you determine a style personality. If you do not know for sure what yours is yet, this can help you launch it.
What Should I Put Down Before Tiling?
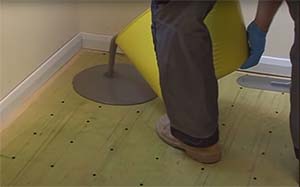
Underlayment is a layer of material placed on top of a substrate to prepare it for tiling. The ground is the substrate (or subfloor), whether it’s composed of plywood or cement. The most common underlayments are cement boards or backer boards.
Floor Prep is Key To a Long-lasting Tile Floor
Prepping the floor before you lay tile is everything. Without the proper prep work, your tile will not stick to the new underfloor correctly.
If you install new floors on old flooring, you will need to remove all of the old floorings first. Take caution here. Wear a respirator when removing old floors to prevent breathing problems from the dust and other particles of old flooring.
Check Your SubFloor or Slab For Defeciencies
You may lay down new under flooring on old floors, or you may be starting from scratch. Either way, you want to check to be sure your underflooring ply seams staggers. Nail down loose flooring.
Plywood Substrate
Consider plywood substrate for its flexibility in the underfloor. Some highly recommended substrates include luan for their flexibility. However, plywood quality is a topic of concern and debate among experts. It is prudent to consider these debates when choosing plywood.
Plywood Alternatives
If you are not convinced plywood is your best option, consider some alternatives. Favorites include cement backer board.
Backer Board brands such as Durock or Wonderboard come with high recommendations by professionals of DIY home improvement. Experts say that the backer board is the safest solution to supporting imperfections in plywood substrate. You place the backer board over any other under flooring you put down as an alternative reinforcement.
Why Consider Cement Backerboard
A cement backer board innovates to pair with tiling. For this reason, a cement backer board is an optimal solution to consider when reinforcing your tile against the underflooring.
Concrete Slabs
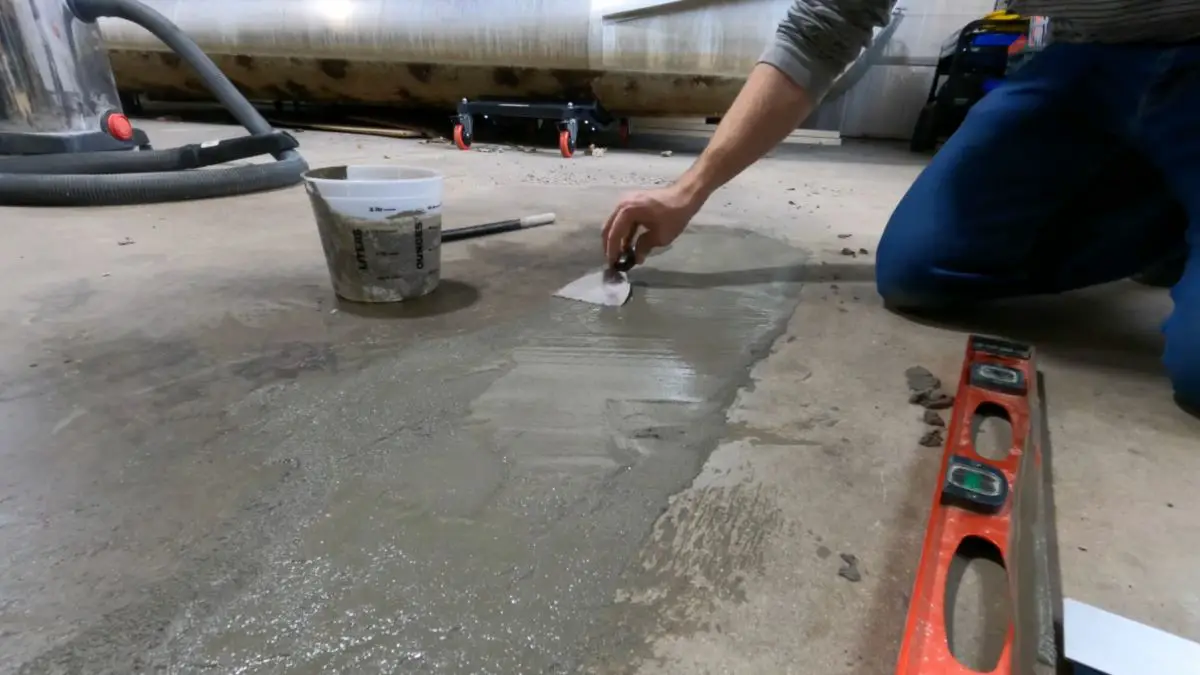
Concrete slabs don’t require a subfloor or a backer board. However, a leveling compound is recommended to prevent voids and cracked tiles. You can identify low spots on your concrete slab using an 8 foot 2×4 turned on its side.
Work your way across the floor and mark low spots with chalk. You can level the slab using a self-leveling compound prior during the prep phase. The drawback is that the leveling compound will need time to cure, adding a day or two to your project.
A Word On Laying Down Vinyl Tiles
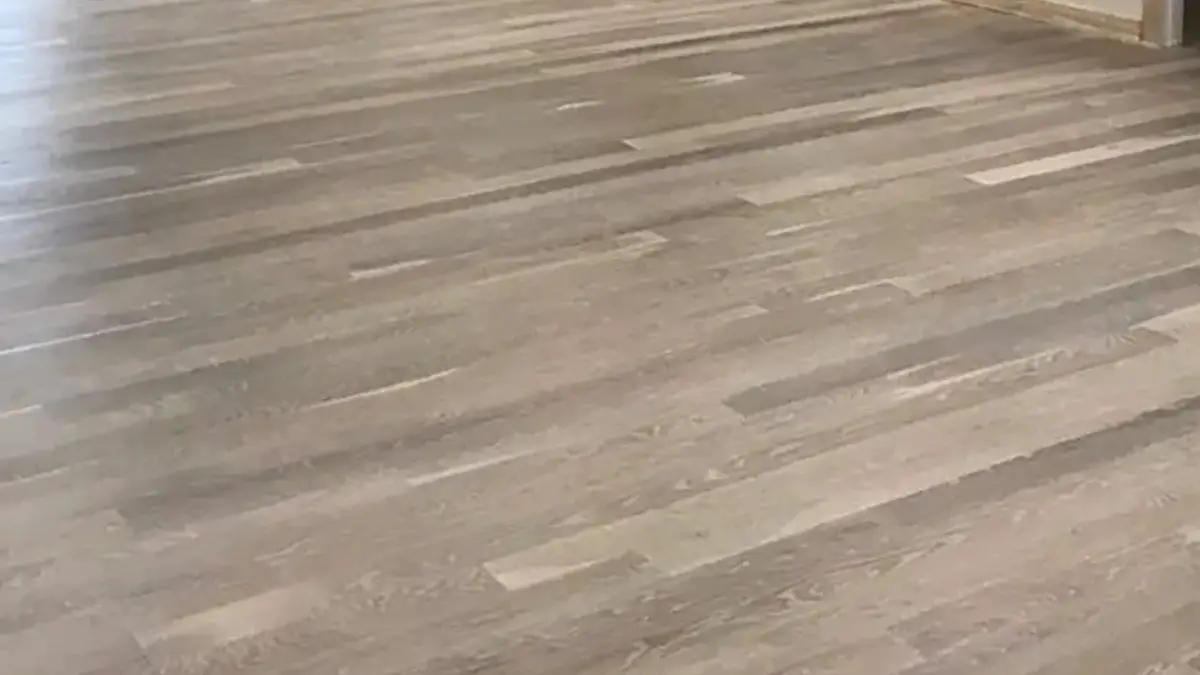
Vinyl Tiles are a peel-and-stick type of tile. They will require a lot less material preparation than ceramic tiles.
Vinyl tiles sometimes make a good budget option for tile. Also, if you have a tight deadline on the project, the less intricate vinyl tiling might work best for you.
Yet, if you want to pursue vintage designs or if you want something that will be more permanent and durable, consider ceramic or porcelain options.
Factors In Tile Durability Vs. The Room
Keep also in mind the wear and tear on your tiling. In some cases, ceramic or porcelain tiles may not be the best solution. Consider the risk of cracking the tile in the room you want to lay new flooring. Will heavy equipment be stored in this room?
If there are regular utilities for the room that will increase the risk of cracked tiles, the more flexible vinyl alternative may be your better option.
Consider Ceramic Over Porcelain
If you were considering porcelain tiles for your project, you want to pause and examine the perks of ceramic instead. If ceramic could work for the scope of your project, it will likely be cheaper. The cases where porcelain is more favorable than ceramic are high-moisture areas such as bathrooms.
Laying Ceramic Tiles
Ceramic tiles require lasting adhesive to stay in place. You will have more material prep work to do.
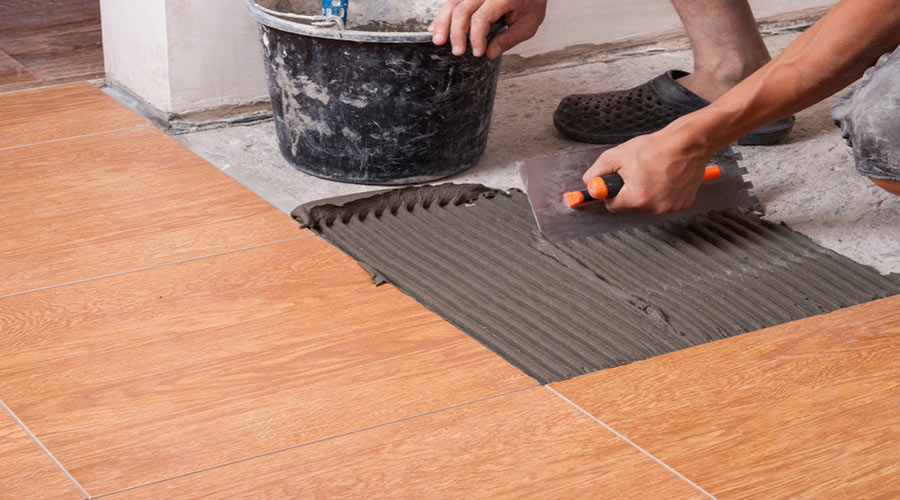
Before you begin to lay tiles, you will need to prepare your thin-set mortar.
Mix Thinset Before You Lay Tiles
Get the correct consistency for the thin-set. Ideally, you will mix the thin-set shortly before you lay the tiles. You want to mix it well and let it sit for about 10 minutes before you begin to use it.
After you mix and set the thin-set, you will want to go ahead and use it before it clots and dries in the mixing bucket. Your window of work time is within 30-40 minutes after mixing.
Butter The Back Of The Tile As Well For a Strong Bond
When you are laying down tile, you will want to cover 80-90 percent of its back with the mortar you mixed, ensuring that the tile will fit snugly in place with the under flooring.
Other Tiling Projects
Your floors are just one of the surfaces you can use tiles on in your home. Consider tiling surfaces that need to be waterproof, such as shower walls, kitchen counter backsplash, or bathroom floors. Ceramic tiles make a great surface in these areas because they are durable surfaces that do not absorb water. Whenever considering a tiling project, calculate exact measurements, materials, and style plans before undertaking a tile job.
Why Consider All These Points
Considering all of the points mentioned above will help you form a doable and affordable work plan for your next tiling job. It will also help you avoid rookie mistakes with buying, placing tiles, and other aspects of home improvement. Finally, applying these concepts to consider will help you develop a home design personality and empower your home improvement.


