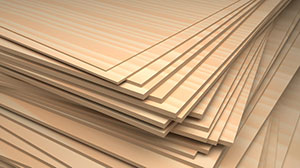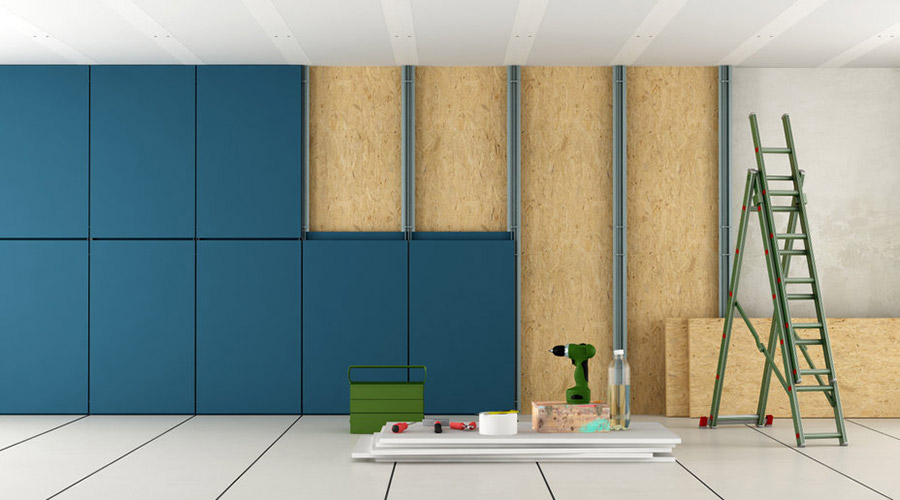
Wood paneling is an excellent way to create an accent wall or add character to an otherwise unremarkable room. There are many ways to install wood paneling, but a standard method is to use adhesive to attach the panels.
Using Liquid Nails or another construction adhesive is a great and strong way to install wood paneling. To glue wood paneling, apply the adhesive on the back of the paneling in continuous 1/4 inch lines about 10 inches apart. Press the panel onto the wall and secure it in place with finishing nails.
Installing wood paneling using glue can seem daunting and complicated, but it can be a quick and easy process with the proper instructions and preparation. In the following few sections, I’ll go over some of the best adhesives to use for the job, and I’ll break down the process of gluing the wood paneling to the wall or surface of your choice.
What Is The Best Glue For Paneling?
The best glue for paneling is the ones that provide a strong and durable bond, with reasonable working time after application and adhesives that have easy clean up if ever you need to remove it. There are many construction adhesives and glues in the market, but which one is the best? Let’s take a more in-depth look at the options and the pros and cons of each.
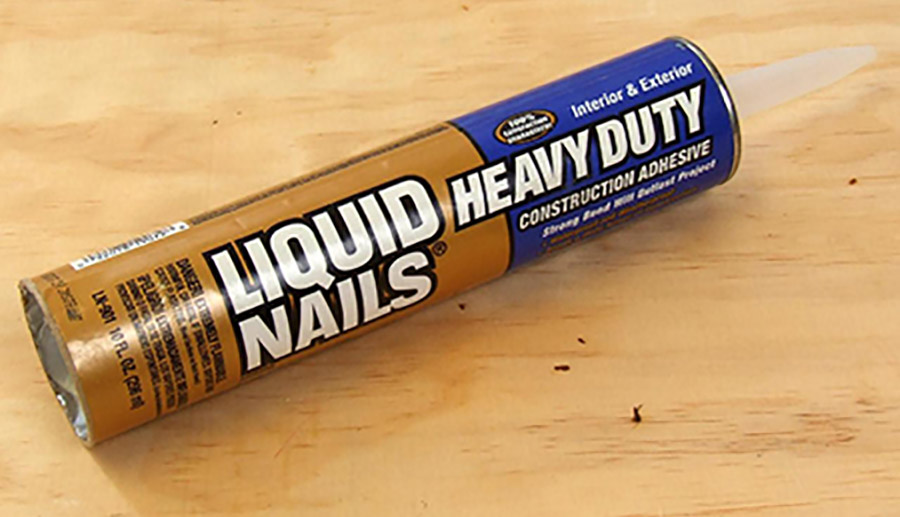
1. Liquid Nails Heavy Duty Construction Adhesive
Considered somewhat of an industry-standard, Liquid Nails is an excellent latex-based construction adhesive for attaching wood paneling. It will work wonderfully for attaching wooden paneling to most materials, including studs, plywood, sheetrock, particleboard, and most other common wall and ceiling materials.
Liquid Nails is a low-solvent adhesive, which means it has a low concentration of volatile organic compounds (VOCs) and doesn’t put off large amounts of toxic fumes. UL Environment also certifies Liquid Nails to meet the GREENGUARD Gold Standard. However, you should always use Liquid Nails in a well-ventilated area to be safe.
Using Liquid Nails is also extremely straightforward and beginner-friendly. It typically comes in a tubular-shaped cartridge that you load into a standard caulk gun.
Liquid Nails is good at creating an initial bond between materials that will hold most wooden paneling in place, but it also has a working time of about 20 minutes for you to make adjustments.
While the initial bond that Liquid Nails creates between the paneling and surface is strong, it may not be strong enough to hold up the paneling on its own right away.
You’ll likely need to hold the paneling in place and let the adhesive cure for a few minutes before releasing. Liquid Nails fully cures and is at its strongest after at least 24 hours.
Pros:
- Extremely strong and durable bond
- Reasonable working time after initial placement
- Suitable for outdoor and indoor use
- Low-emission but not ideal to use in confined areas
Cons:
- The initial bond may not be strong enough to hold paneling right away
- It takes 24 hours or more to fully dry
- Cleaning up can be difficult and time-consuming
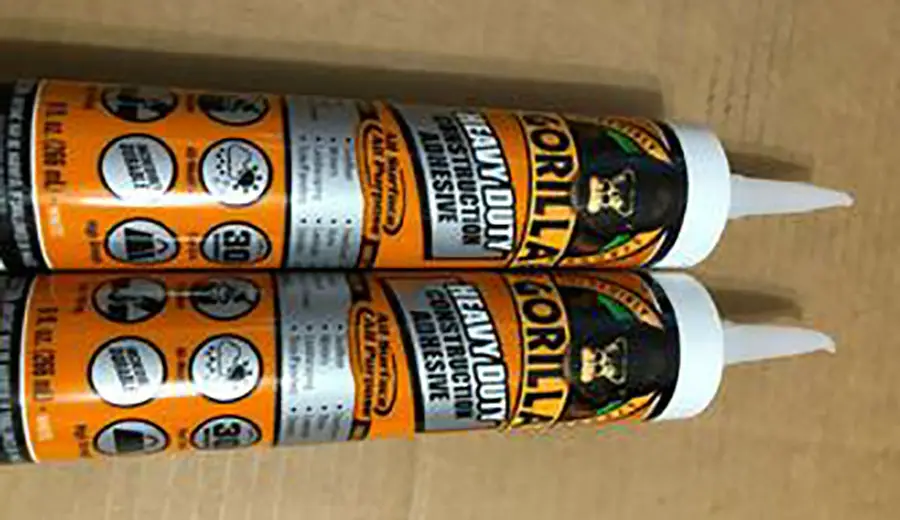
2. Gorilla Heavy Duty Construction Adhesive
Gorilla Heavy Duty is another excellent construction adhesive for installing wood paneling. You should have no worries about the strength and durability of the adhesive if you’re using Gorilla to attach wood paneling to sheetrock, plywood, studs, or other common wall materials.
When you first apply Gorilla construction adhesive to your paneling and install it on your surface of choice, the initial bond may not be strong enough to hold the paneling right away. You may need to hold your paneling in place for a few minutes to let it cure and dry a little bit.
Unlike Liquid Nails and other construction adhesives, Gorilla Heavy Duty closely resembles standard glue. Gorilla Heavy Duty construction adhesive is made of polyvinyl acetate (PVA) and doesn’t put off toxic fumes.
PVA-based glues, like Gorilla, are generally safe to use in confined spaces without the worry of breathing in chemicals and toxic fumes. Gorilla Heavy Duty construction adhesive is also easy to clean up with warm water and soap if you get it on yourself.
Gorilla Heavy Duty construction adhesive forms a near-instant bond between the paneling and surface, which can be good or bad depending on how you look at it. On the one hand, it fully dries in a matter of hours (usually around 1-2 hours), but it doesn’t have a very long working time for you to make adjustments.
Pros:
- Powerful and durable bond
- It fully dries in a matter of hours
- Low-emission and generally suitable for confined areas
- Easy clean up with a bit of soap and water
Cons:
- It doesn’t have a very long working time because it dries quickly
- The initial bond usually can’t hold the paneling up right away
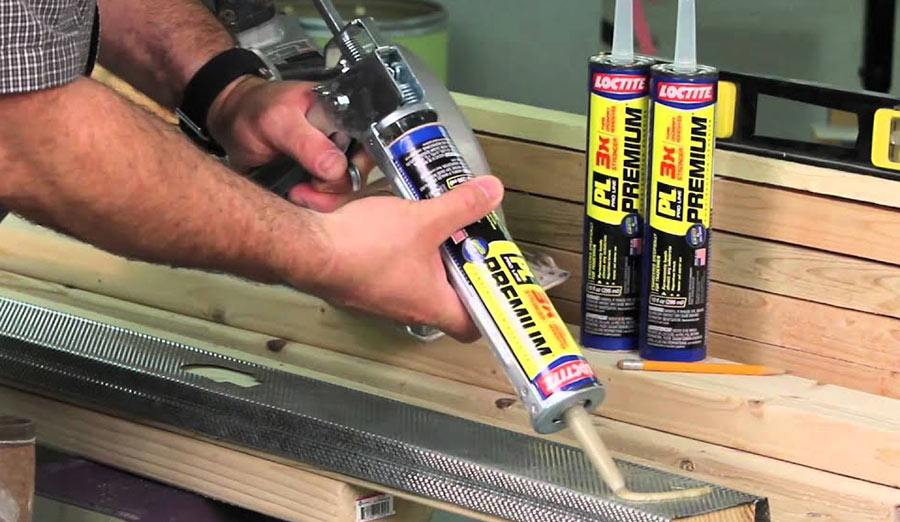
3. Loctite PL Premium Construction Adhesive
Loctite PL Premium is similar to Liquid Nails and is perfect for gluing wood paneling to a wall or ceiling. Loctite is a latex-based construction adhesive that creates a powerful bond when dry.
The initial bond when you use Loctite is powerful, and in most cases, will hold paneling to a wall right away. While still initially strong, Loctite has a reasonably long working period (usually about 20 minutes) where you can make adjustments. The adhesive takes up to 24 hours to fully dry and reach its maximum strength.
Since Loctite is a latex-based adhesive, it releases chemicals and toxic fumes when first applied, so it’s best not to use it in places that have poor ventilation. After the Loctite has thoroughly dried, the chemical and fume off-put is minimal, if at all noticeable.
Loctite emphasizes the consistency and ease of application of its product, making it some of the easiest and best construction adhesives to use. It doesn’t excessively drip or develop air pockets that create a weaker bond between the paneling and surface.
Pros:
- An extremely strong and powerful bond
- Strong initial bond
- Reasonably long working time
- Good consistency; not runny and doesn’t develop air pockets
Cons:
- It takes up to 24 hours to fully dry
- Clean up can be difficult
- Not ideal for use in confined spaces because of emissions
How Do You Glue Wood Paneling?
You need to secure the paneling to the wall with panel adhesive and finishing nails. Fill a caulking gun halfway with panel adhesive and dab a small dab on the wall every 10 inches or so. Put the panel up against the wall and press it into the glue. Allow the adhesive to become tacky before pulling the panel away from the wall.
Choosing the best construction adhesive is only a small portion of what you must do correctly for your wood paneling to look good. Now that we’ve gone over some of the best adhesives for the job, let’s look at how to glue and install wood paneling properly so you get the best result.
Prep the Surface
Before installing wood paneling, you need to properly prep the wall or ceiling where you intend to work.
Remove all baseboards, wall plates, crown molding, trim, nails, and anything else on your wall. Once finished, the wall should be completely flat without any interruptions, plates, or protruding objects.
Ensure to carefully remove everything from your wall if you intend to reuse or reinstall the materials once you’ve put up the wood paneling.
Next, it’s essential to clean the surface so the construction adhesive will hold. Wipe down the surface with a dry rag or duster to eliminate any cobwebs, dust, or loose dirt.
If you’re installing wood paneling onto a painted wall, wiping down the partition with some warm water and soap usually works great. However, cleaning other materials can require different methods, so make sure to do your research.
Cut and Prep the Paneling
Begin by measuring the area where you want to install wood paneling and figure out how many sheets you’ll need. Don’t forget to account for any window or door openings in your calculations.
Most walls aren’t exactly straight, and it’s crucial to position one panel in a corner (without adhesive) and cut all the following panels accordingly. Once you’ve cut the sheets of paneling into the correct width and height for the wall, make paper templates for all wall outlets and light switches.
Place the templates in the correct location on the paneling sheets and cut them out using a fine-toothed saw. Use sandpaper to smooth over the cutouts and edges of the paneling if needed.
Apply the Adhesive
Once you’ve cut your paneling into the correct shape and cut out all the light switches, electrical boxes, and wall outlets, it’s time to install your wood paneling using your adhesive of choice.
To stay organized, you may want to number your paneling sheets and lay them out on the floor to ensure the edges fit flush together.
Take your first panel and apply a smooth, 1/4 inch thick snaking pattern of glue to the back of the sheet about 10 inches apart. Applying adhesive to the back of wooden paneling isn’t an exact science, but make sure you don’t use too much (it’ll drip) or too little (it won’t be strong enough).
Once the adhesive is on the back of a panel, press it into place and tap it lightly with a rubber mallet to make it flush with the wall or ceiling. Repeat with the remaining sheets until the surface you’re paneling is completely covered.
Let the construction adhesive dry for the amount of time on the packaging (usually 24 hours for Liquid Nails, 24 hours for Loctite, and 2 hours for Gorilla). Then, move on to the finishing touches for your paneling project described in the following sections.
Finishing Touches
After all of your wooden paneling is installed, you can add a few finishing touches for aesthetic purposes and hold the paneling in place a little better.
- Add finishing nails
- Use wood putty on seams
- Install baseboards or crown molding
Putting finishing nails on your wood paneling is an excellent way to add a finishing touch to your project and add a little more strength, so the panels don’t have to rely solely on the construction adhesive to stay in place. Just use a standard stud finder to find the studs in the wall and hammer in finishing nails in a consistent pattern.
Depending on the paneling pattern and texture, the seams between sheets can either be very noticeable or nearly invisible. If your particular wooden paneling has noticeable seams, you can use wood putty to smooth them over and hide them.
Installing baseboards and crown molding (or reinstalling if you removed them before putting up paneling) is another excellent way to finish off the room and provide more stability for the paneling. While they aren’t necessary, baseboards and crown molding can help hold the edges of wooden paneling in place.
Once you’ve installed and put the finishing touches on your wood paneling, you can reinstall all of your outlet and light switch plates.
Do You Need To Use Finishing Nails After Gluing Wood Paneling?
Finishing nails are advisable to use if your wood paneling is significantly heavy. If your wood paneling is exceptionally lightweight, you may get away with only using glue to attach it to the wall, but it is not recommended.
As a general rule, it’s a good idea always to use finishing nails to help secure paneling after gluing it in place.
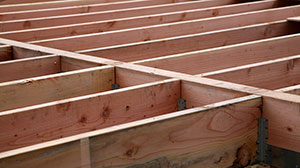
Can You Glue Wood Paneling Directly To Studs?
Most construction adhesives will work excellent with bonding paneling to studs, but it doesn’t allow you to apply the adhesive in the standard continuous line pattern. Instead, you’ll be stuck only using glue wherever the studs are located, which can get tricky and result in not having enough contact area.
Gluing wood paneling directly to studs is possible, but it is not as sturdy as gluing it to a flat surface like a finished wall or ceiling.
Installing wood paneling directly to studs using adhesive is possible but isn’t recommended in most cases unless you have experience and know what you’re doing.
Final Thoughts
There are many construction adhesives out there on the market that you can use to attach wood paneling, but Liquid Nails Heavy Duty, Gorilla Heavy Duty, and Loctite PL Premium are some of the best out there.
In many cases, Liquid Nails construction adhesive is the best option for installing wood paneling. However, there are plenty of reasons and circumstances that could make the other options more appealing.
Like with any building project, it’s essential to take your time and pay extra attention to the details when installing wood paneling. Spending the extra time to get the right adhesive for your situation, ensure all the paneling sheets are flush, and add finishing nails can make all the difference.