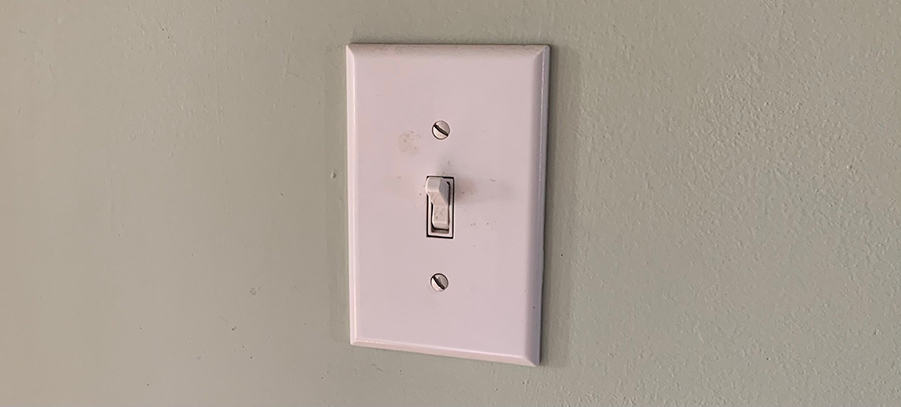
As homeowners, when we walk into a room and turn on the light switch, we assume the lights will work. Often when lights don’t work, it’s simply a blown light bulb. However, when it comes to lights, one of the overlooked components are light switches.
Light switches don’t last forever. Light switches do wear out with repeated use. However, they can still last many years due to their simplistic design. So, how long do should light switches last, and how often should you replace one?
A light switch can last for 20 years or more. Light switches don’t necessarily wear out due to age because the internal springs are not under constant pressure. Light switches wear out due to repeated use or loose wire connections that cause them to overheat and short circuit.
Light switches come in a variety of shapes and sizes and only cost a few dollars to replace. When replacing a light fixture, you shouldn’t need to replace the light switch unless you’re adding a feature, such as a dimmer switch.
As a home inspector, we rarely document a light switch for replacement unless it’s hard to operate, makes arcing sounds or the lights are flickering when the light switch is operated. If your lights are flickering, the internal contacts could be worn out and not making a good connection.
In the remaining parts of this article, we will be explaining in detail some things you should know about light switches. We will be discussing things like when light switches should be replaced if they do wear out if the help of an electrician will be needed when replacing them, and more; so you can avoid possible hazards.
Do Light Switches Wear Out?
The fact that light switches do wear out is something most people fail to understand because of the durability of light switches to last a long time. Like any other electrical item, time and repeated use eventually catches up and takes a toll on the contacts inside the light switches, thereby rendering replacement necessary.
Some tell-tale signs signal you that there is indeed a problem with your light switch. However, If you find out that your light switches need to be replaced, it’s an easy DIY job. Not comfortable working with electricity? You can always hire an electrician to take care of it for you.
Let’s discuss some of the signs you should be looking for.
How Do You Know If Your Light Switch Is Bad?
A light switch is known to have many functions, so it is not surprising to know that light switches can go bad or faulty. Many tell-tale signs can let you know when your light switch has started getting faulty and would need to be replaced sooner than later.
The first sign anyone can use to know when their light switch is starting to go bad or faulty is when it starts malfunctioning. Some of these are:
- Light switch making popping or crackling sounds whenever you flip it on or off.
- The light switch level is loose and won’t stay in place.
- There is a delay between turning the light switch on and when the light actually turns on.
- The light switch is warm to touch indicates a possible loose wire connection.
Some of the other tell-tale signs that you can receive that will let you know when your light switch is due for a change could be less noticeable while some could be very obvious. Some of the common signs you might observe include:
Light Switch Has a Light Delay
This sign normally happens when you switch on the light switch, and it takes a while before it actually turns on, or when you flip the lever to switch on the light, the light flickers before it steadies.
It normally means that the metal parts located in the light switch are starting to fail, and the contacts can not quickly make the connections they are supposed to make to complete the electrical pathway. Sometimes, this problem comes with a loosened flip.
Even if you notice that it’s not on all days that you face this problem, you should still change your light switch. There is also a possibility that the light fixture or the switch has loose connections, so after changing the switch and the problem continues, check the light fixture next.
The Light Switch is Sparking
Whenever you switch on or off your light and see a spark coming from inside the switch, your light switch needs to be replaced. This problem is quite serious. In most cases, the spark indicates that there is an internal problem that has occurred with your light switch.
In severe cases, a loud popping noise accompanying visual sparking means the light switch has short-circuited and needs immediate replacement.
Light Switch Has Buzz, Hiss, Crackle, or Pop Sounds.
Light switches that are beginning to fail make some noises. Loose wire connections can sometimes cause buzzing, hissing, crackling, or popping noises to occur. This is a sign that the light switch could be arcing because of loose wire connections.
If your light switch is making any noises, you should have it replaced to prevent a possible electrical fire. Loose connections will make the switches overheat and arc, causing charring at the connection points.
Light switches with snap-in connections are prone to have loose connections. Electricians will often use snap-in connections because they are a time-saver and meet electrical code requirements. Connections at the side screw terminals tend to be more secure and last longer.
Do You Need An Electrician To Replace A Light Switch?
When your light switch doesn’t work anymore you need to get it replaced. Replacing a light switch is a relatively easy DIY task. However, if you do not know how to replace the light switch or just are not comfortable working with electricity, you should call an electrician.
Upgrading Light Switches
A professional electrician can easily replace your light switch. You may want to talk to the electrician about upgrading your light switches to dimmers or motion-activated switches. This is also something you can easily do yourself.
Upgrade for an Improved Appearance
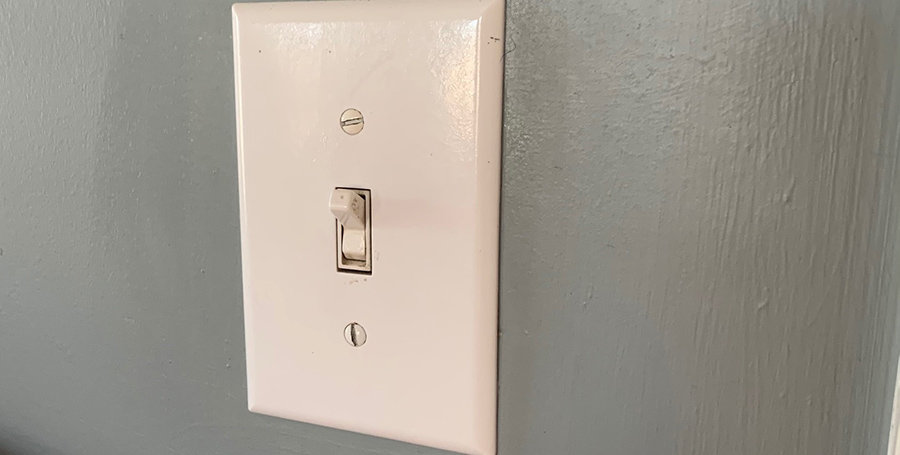
If you’ve recently purchased a house, you may find light switches that are old and appear to be yellow. Plastics used in faceplates and levers will yellow with age. However, don’t mistake yellowing color for ivory-colored switches. The ivory color was common and desired in the past.
If your light switches have yellowed or have what appear to be burn marks on the faceplate, it would be wise to replace the switches. The yellowing of the plastic a defect and can still function properly. Replacement would be mostly for improved aesthetics.
Replacing a Light Switch with a Dimmer Switch
A dimmer switch allows you to adjust the level of light in a room. You’ll need dimmable light bulbs for the dimmer to work properly. Fluorescent lights are not dimmable; however, LED light bulbs are.
Most LED bulbs are dimmable and will work with most dimmer switches. However, you may need a dimmer designed for LEDs like the Lutron Diva LED+ Dimmer. It also works with halogen and incandescent bulbs.
Replacing a Light Switch with a Motion Sensor
Light switches with built-in motion sensors automatically turn the lights on when motion is detected and will automatically shut off in programmable intervals, usually from 1 minute to 30 minutes. Motion sensor switches are good for small rooms like closets, half bathrooms, kitchens, laundry rooms, etc.
Motion sensor switches are easy to install. The Lutron Maestro Motion Sensor Switch can be installed in about fifteen minutes and works with your existing wiring.
How to Replace a Light Switch
We’d be remiss to discuss how long a switch lasts and when to replace a light switch without providing you instructions on how to do it.
Working with electricity is dangerous and can be deadly. Do not attempt to work on an electrical component without turning the power off at the breaker first and confirm power is off with a voltage detector or multi-meter.
- Begin by turning off the power to the room at the main circuit breaker panel.
- Remove the switch faceplate. You can also use a voltage detector or a multimeter to confirm the power is off.
- Unscrew the top and bottom screws and remove the switch to gain access to the wires. Loosen the brass screw to remove the red or black “hot wire.” Loosen the silver screw to remove the white “neutral wire.” Loosen the green screw to remove the green or bare copper “ground wire.”
- Connect the new light switch. Place the red or black “hot wire” under the brass screw and tighten in place. Place the white “neutral wire” under the silver screw and tighten it in place. Place the green or bare copper “ground wire” under the green screw and tighten it in place.
- Push the newly wired light switch back into the electrical box and screw it in place. Be sure no wires are sticking out of the electrical box.
- Install the switch faceplate.
- Turn the breaker back on at the electrical panel box.