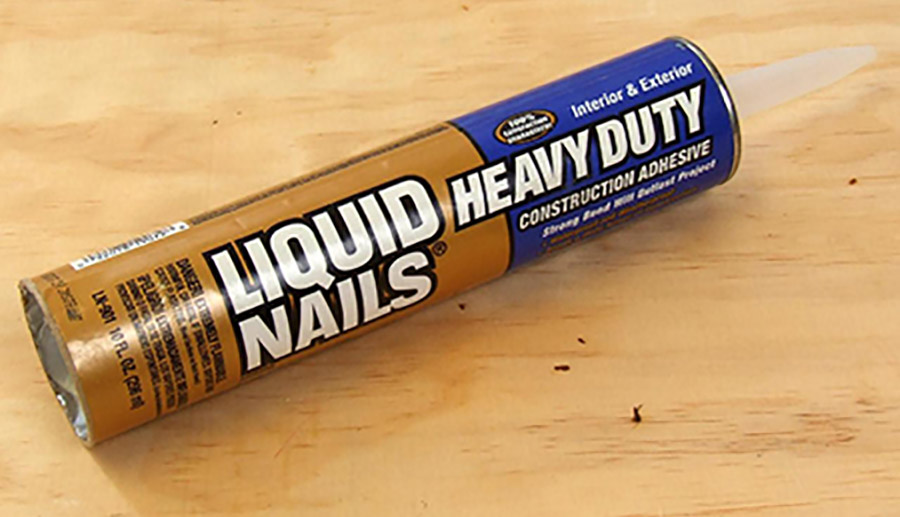
Liquid Nails construction adhesive is a low-solvent, high-strength, heavy-duty construction glue that gives professionals and do-it-yourselfers superior adhesion and a longer working period.
If you have ever applied the old recommendation of laying tiles, especially ceramic ones, there is a high chance that you understand more about construction adhesives. The old recommendation involved fasters that functioned efficiently and offered excellent results for a longer time.
There was the need to introduce a new and unique adhesive for tiling purposes. The materials brought an alternative that had fewer effects compared to wood glue. However, challenges were still there since people had to prepare tiling surfaces with care.
Liquid nails came into effect to address all the above challenges and offer outstanding precision and have proven to glue all types of materials.
You’re able to complete your tasks effectively and quickly without experiencing any dirt. After the liquid nail dries up, it achieves excellent strength.
Uses for Liquid Nails
You can use construction adhesives to do various tasks in many situations. It’s is an excellent option in many cases, whether it’s minor repairs or complete house construction.
Here are some of the common uses for Liquid Nails:
Kitchen, bathroom, and general household hardware attachment.
Adhering stones or bricks together for landscaping.
Bonding timbers including fixing splintered wood.
Attaching wood to plastic.
Between materials attached by nails for extra strength.
Features of Liquid Nails
Excellent adhesive that provides efficient performance for most surface types.
Provides excellent adhesion strength to working surfaces, thus withstanding a heavy load of about 80-100 kg/sq. cm.
The release from the tube provides a simple and convenient work with the nail composition.
You can use the product to connect adjacent and loose surfaces that liquid substances can’t access. The surface’s shape doesn’t affect anything.
It doesn’t affect the integrity of the materials and breaking mounting tools that you’re using, such as nails, screws, and dowels.
The layer can’t be destroyed by rotting, corrosion, or metal counterparts.
While installing the product, you’ll experience silence with no dirt or dust.
Liquid nails have a high setting speed that takes only a few minutes. However, depending on the components in the nails, the dry time can take a few hours and a cure time of several days.
The products don’t have any toxic components. Although there is some element of toxicity in neoprene, it improves the properties of the liquid nails.
The frozen layer isn’t explosive. It means that the composition can’t ignite or smolder. No toxic substances are emitted when you heat the composition.
For the species that have neoprene solvents, it contains a high frost and moisture.
You won’t experience any unpleasant smell from the substance.
It has a low consumption rate and a single drop fixing almost 50 kg of weight.
There won’t be any challenges if you apply the product as per the specifications.
Pros of Liquid Nails
It’s possible to apply liquid nails on tiles or walls of any porosity.
After applying the nails, they’ll harden faster. It takes between 10-40 minutes.
You can use them to close joints in rooms that contain high humidity.
Liquid nails offer a high strength meaning that you won’t carry out additional lining sooner.
You can efficiently work with materials whether you’re a beginner or a pro.
Disadvantages of Liquid Nails
Although there are several benefits of using construction adhesives, you’ll encounter some drawbacks. Below are some of the flaws:
They sometimes emit unpleasant smells.
Acrylics don’t function well in low-temperature areas.
You can only apply the nails in areas with proper ventilation due to toxins emitted during work.
Types of Liquid Nails
There are two liquid nail types, as we’ll explore below:
Neoprene (Synthetic Rubber-Based Adhesive)
This composition is known for:
Having a high moisture resistance.
It has resistance to frost.
It offers an excellent bonding strength for different surfaces such as metals.
It’s unsuitable for functioning in polymeric materials, including acrylic and plastic.
It provides resistance to fluctuations in temperature.
It offers less odor and toxicity. When using liquid nails, however, ensure that your house has proper ventilation. Using protective gear, including masks and gloves, is also vital. In case of smells, they usually disappear within hours or days.
It experiences a short drying period plus a quick setting.
Water-based Acrylic Base
These products are known for having lower adhesion. However, they aren’t toxic and don’t present any unpleasant smell.
Some of the features of these products include:
They have low frost resistance.
When it comes to porous and polymeric materials, they provide excellent adhesion.
They are vulnerable to the heating-cooling cycle.
They present a poor resistance to fluctuations in temperature.
Water-based acrylic bases have a low moisture resistance. You should never work with them in your kitchen or bathroom.
Apart from the solvent and binder, which are the main components, several additives are included in liquid nails. They help enhance the nails’ protective abilities, thus increasing their scope of application in certain areas.
How to Apply Liquid Nails?
You can’t achieve effective gluing without a plan in place. For instance, it would make sense to clean the surface to remove any dust or dirt, such as grease, before laying tiles. You can also treat the walls with primer for an even better outcome.
You should select a primer according to the type of wall material in question. It also helps if you read the recommendations and instructions from the manufacturer effectively.
Since there are toxic liquid nails, you should always comply with safety guidelines. Follow the steps below to apply the first row:
The first step is to apply the liquid nails and then attach your tiles to the wall. Hold the tiles to the wall for some time.
If you have large tiles, use a special rubber hammer to place them effectively.
After you’re through with rowing, wait for the items to dry.
You should never rub the first row seams immediately. It would be best if you do it only at the end.
When you decide to tile your home using liquid nails, it will help if you understand the general rules. The rules and recommendations relate to the first and successive rows.
The walls and tiles should be spotless and dry.
Press the ceramic items to the wall firmly and hold them for almost 2-3 minutes. Ensure there is an even distribution of pressure in your tiles.
Most liquid nails take about 24 hours to harden partially. Complete drying will take about seven days.
You can start grouting about one week after you’re through with facing work.
Liquid nails aren’t ideal for floor lining.
Lifetime: How to Extend?
Before you select a nail product, you should have a precise estimate of how soon you’ll be forced to repair it. There is a chance of gluing nails so that they last for more extended periods.
Therefore, it would be essential to go for quality nails and strictly follow the operational guidelines. Some rules can enable you to extend the service life of your nails.
You should make an oversight when tile-laying to correct the situation as soon as possible. Never let the composition cure in such a scenario.
Employ the right temperature conditions in the house where you are applying liquid nails. Most manufacturers recommend the perfect temperatures for you.
When you use optimum temperature, the liquid nails connect effectively with your surface.
Do not overheat the nail can. The nail composition ends up drying in the balloon.
Always store the nail package in low humidity places. Never leave the nail bottle on the street and allow water to enter. If such happens, the nails will spoil.
If the tile disappears or material gets damaged even if you followed the guidelines and recommendations and bought quality liquid nails, your elements might still fall off with time. For instance, some pieces might fall off as a result of a mechanical impact.
You can change such a situation easily without affecting the whole series. Just follow the following steps to achieve it:
Remove old remains of nails from your tile and wall. However, be keen not to damage the tiles in areas that you want to maintain.
Apply glue or nails on areas that you’ve cleaned.
Place and fix the tile in the right place. Hold your material or tile for almost 2 minutes.
Cover the seams after one week.
How Long Does it Take for Liquid Nails to Dry?
Construction adhesives, such as Liquid Nails, are popular and great for binding materials for various building projects. However, a few tips and facts are essential to know for proper use and application.
Generally, Liquid Nails adhesive dries in 15 minutes but takes up to seven days to completely cure and reach its maximum strength. Temperature, humidity, and material porosity can influence cure time. Repositioning and adjustments can take up to 15 minutes after applying Liquid Nails.
For more information on the factors that can influence cure time, how to make it dry faster, and other common questions about the construction adhesive, keep on reading!
Liquid Nails is a very popular and robust construction adhesive that binds various materials with a strong, nearly unbreakable bond. But how long does it take to dry?
Liquid Nails Drying Time
Under standard conditions, Liquid Nails adhesive takes roughly 15 minutes to dry and set in place. Liquid Nails has a working time of nearly 15 minutes, so you can make adjustments up until the adhesive dries.
Curing of Construction Adhesive Products
While Liquid Nails dries in 15 minutes, it can take up to seven days for the adhesive to fully cure. The moisture evaporates and creates much stronger bonding surfaces between the materials during this additional curing time.
It would be best if you let it fully cure for at least seven days before applying pressure or painting over the adhesive.
Factors that Influence Liquid Nails Drying Time
While the 15-minute dry time and seven-day cure time are pretty standard, additional factors can considerably lengthen or shorten the time it takes for each of the processes to occur.
Below are a few of the primary factors that can influence the drying time of Liquid Nails:
Material porosity
Temperature
Humidity and Moisture Levels
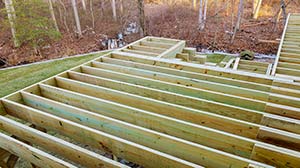
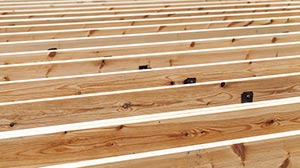
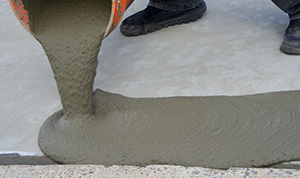
You can use Liquid Nails for bonding a wide variety of surface type materials. The more porous the material, the faster the adhesive will typically dry. Typical building materials like pieces of wood, concrete, brick, and sheetrock are permeable and allow for faster drying times than other non-porous surfaces like metal, glass, and plastic.
Both the ambient air temperature and the temperature of the application surface are essential factors to consider. Liquid Nails adhesive applies best at temperatures between 40° and 90°F. Temperatures higher or lower than the ideal range can cause it to be too solid or too liquid for an easy application and take longer to dry.
Humidity in the air and any moisture on the application surface will cause Liquid Nails to dry much slower than usual. To properly cure, it needs all the moisture to evaporate, so if it’s constantly getting wet, it won’t dry or cure very fast.
How You Get Quicker Drying Times?
Now that you know the general dry time of Liquid Nails and some of the factors that can influence that time let’s look at a few things you can do to speed up the drying and curing process.
Use the Correct Amount of Liquid Nails
Using the right amount of Liquid Nails for your project is crucial in how long it will take to dry completely. Too much can make the drying process take more time than necessary, and using too little will result in a weak bond.
Whenever possible, spread out the Liquid Nails and don’t create large deposits of adhesive that can take a long time to dry.
Create the Ideal Environment
Creating the ideal environment for drying Liquid Nails will result in a much faster drying and curing time. Here are a few things to consider and do to get the quickest drying time possible:
Make sure the application surface is clean and dry.
Limit humidity in the air by opening windows or using a dehumidifier.
Use a fan to increase air circulation and help dry the adhesive.
Ensure the air temperature stays between 40° and 90°F.
Don’t Disturb the Liquid Nails After Applying
Another way to help Liquid Nails dry quicker is by not disturbing the adhesive once you’ve got it in place. It has a working time of 15 minutes. The faster you apply and don’t disturb it, the quicker it will dry and set.
Why Does Liquid Nails Take so Long to Dry?
Most Liquid Nails adhesives are latex-based construction adhesive that bonds materials together by drying out and are at their strongest when all of the moisture stored within the adhesive has evaporated. While Liquid Nails become hard rather quickly, the reason for their long curing time is because it takes a long time for all of the moisture to evaporate and allow the adhesive to harden completely.
When Liquid Nails is completely dried and cured, it is rigid with a barely noticeable give. It is flexible to accommodate subtle expansions and contractions due to temperature changes on a microscopic level.
Acquire a construction trowel and scrape the screed off a damaged surface, which includes tiles or walls.
Apply acetone to remove any traces.
You can use a blow dryer. Heat to almost 122 degrees Fahrenheit for them to be softer.
Use petroleum jelly or oil to remove nail compositions.
You can finally wash off any residues with soap.
Liquid Nails creates a near-permanent bond between materials, but there are some methods and techniques for removing it:
Scrape off as much Liquid Nails as possible using a putty knife or hand scraper.
Use a blowdryer, heat gun, or hot iron to help soften the Liquid Nails.
Apply petroleum jelly or mineral spirits to the adhesive to help loosen it.
To remove Liquid Nails from your skin, wash with warm water and soap. If it’s still not coming off, rub it with mineral oil or petroleum jelly to help soften and loosen it from your skin.
Parting Words
Liquid Nails is a strong and reliable construction adhesive with an excellent initial bond, and it only gets stronger as it cures. It’s one of those materials that come in handy when you least expect it and does its job well every time.
Taking the time to apply it properly and create the best environment for drying and curing is sure to pay off with a nearly unbreakable bond between materials.
Hubert Miles is a licensed home inspector (RBI# 2556) with more than two decades of experience in inspection and construction. Since 2008, he has been serving South Carolina through his company, Patriot Home Inspections LLC. As a Certified Master Inspector, Hubert is dedicated to providing his expertise in home inspections, repairs, maintenance, and DIY projects.