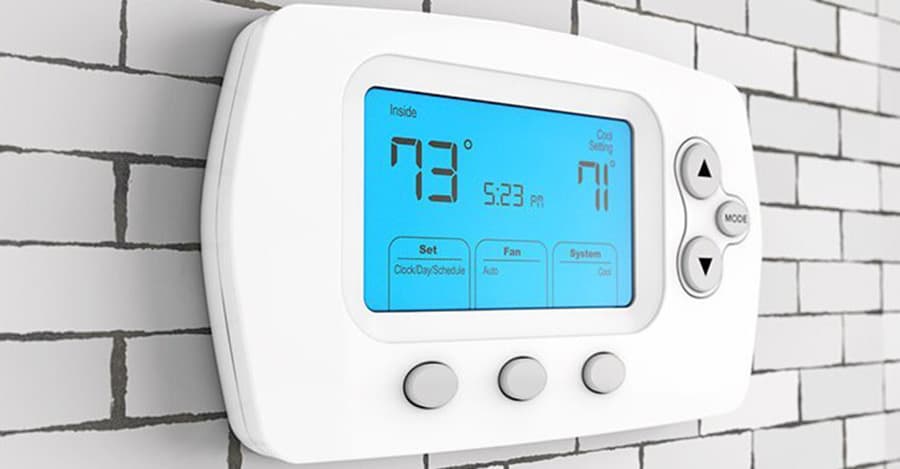
The thermostat is vital to maintaining and regulating the constant air temperature in our homes. Today’s smart thermostats contain a sensor that reads the room’s air temperature and automatically turns the heating or cooling system on or off as needed to maintain your desired comfort level.
But thermostats don’t last forever and should be replaced. How long do thermostats last, and when should you replace yours?
Most thermostats can last 10 years. After 10 years, they can show signs of age and wear, which means it’s time to replace it. Common problems with bad thermostats include faulty sensors, digital screens, etc. If the thermostat goes bad, it can cause your HVAC system to run continuously or not run at all.
Every thermostat has different settings and features. You must read the manual of the thermostat for him to work properly for many years.
What Happens if My Thermostat is Not Working?
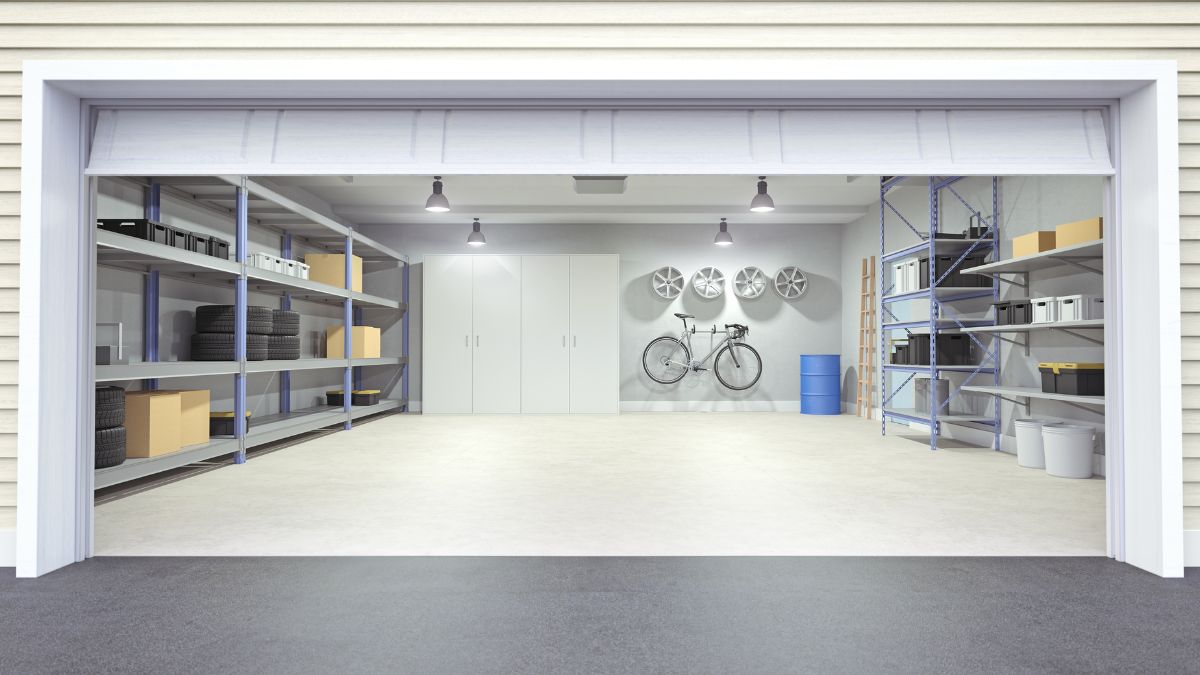
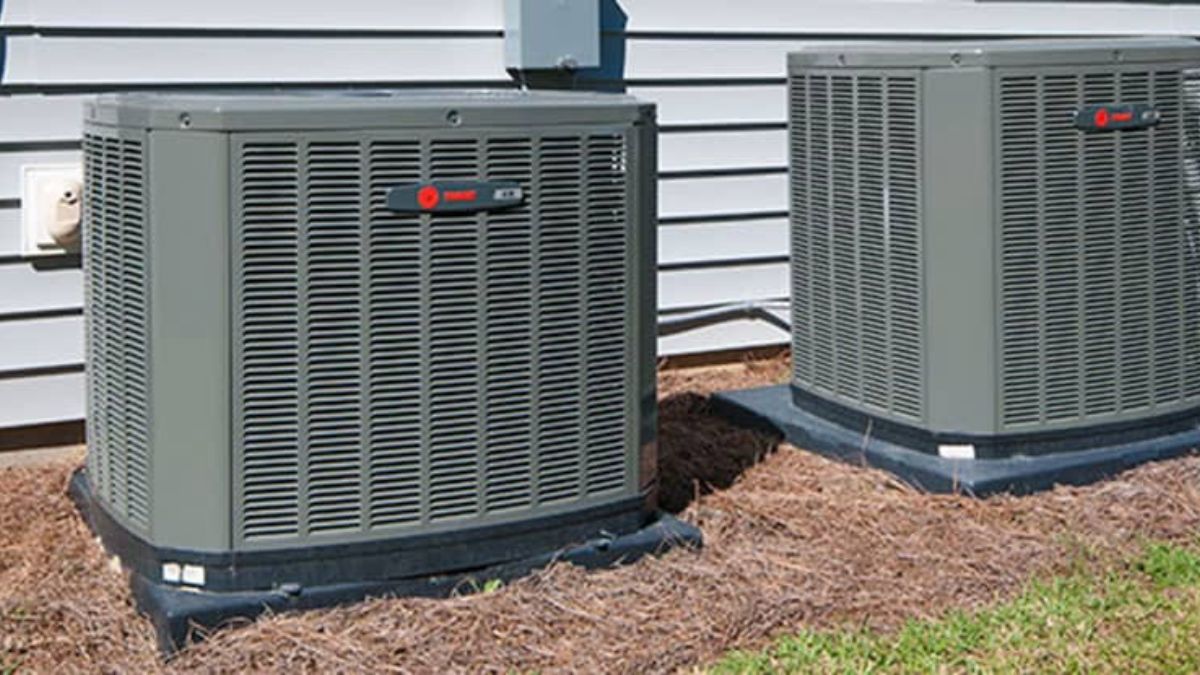
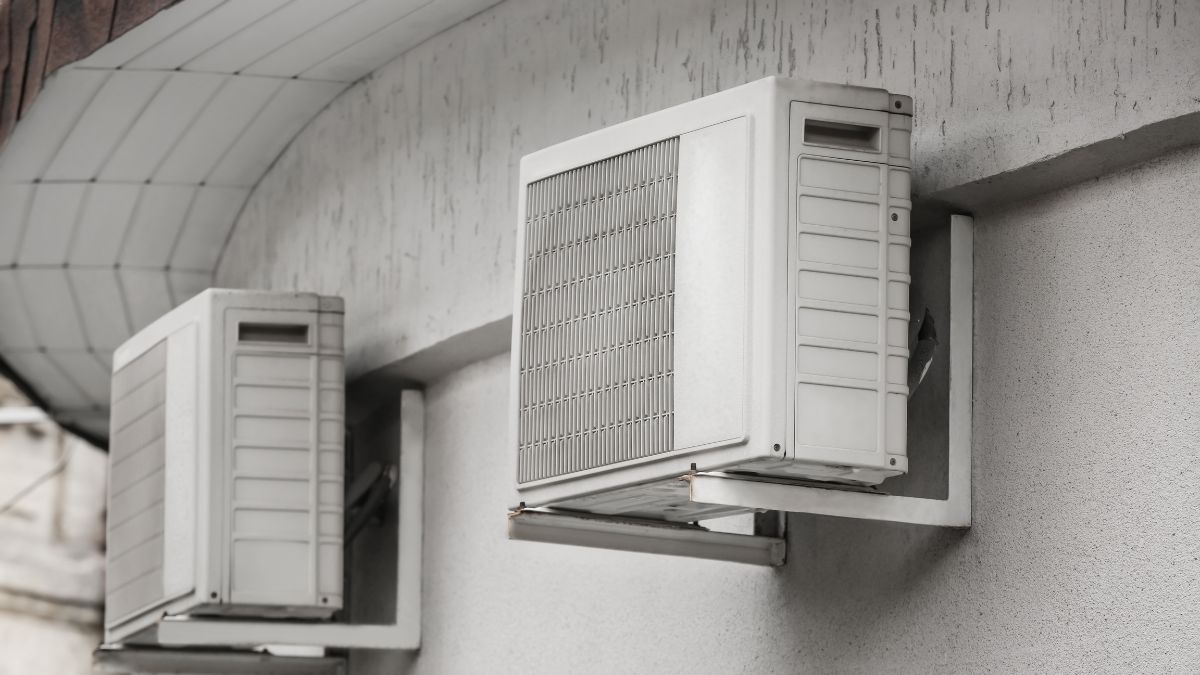
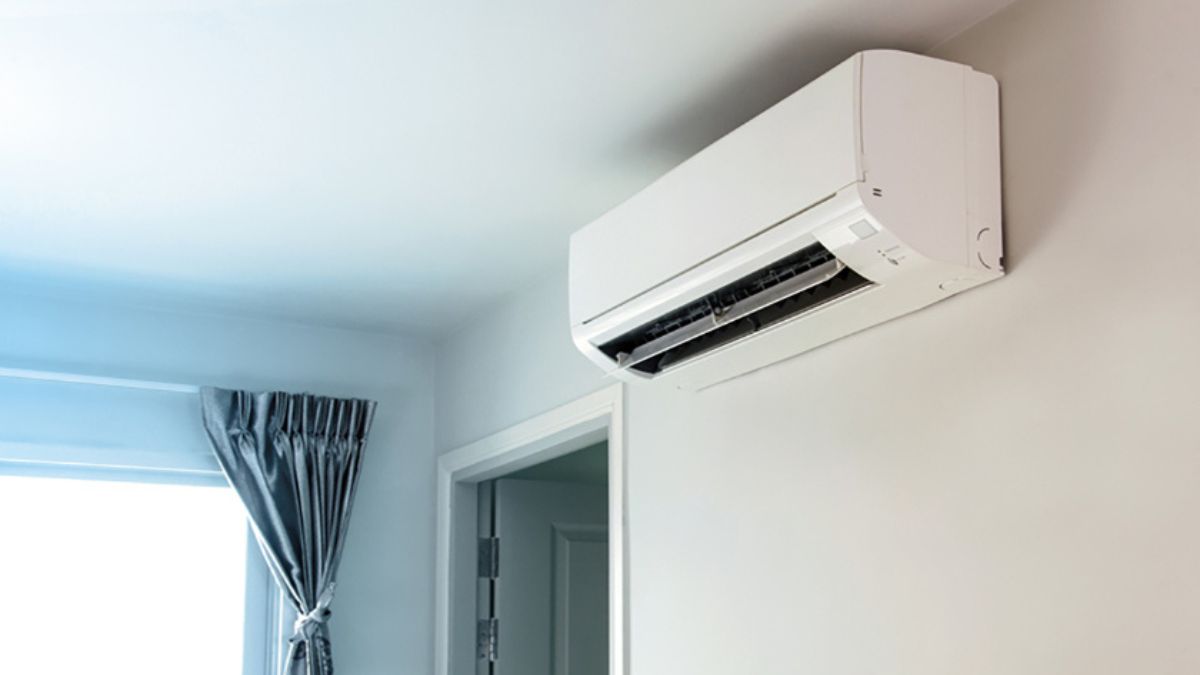
HVAC was created by merging heating, ventilation, and air conditioning systems. The term is often used interchangeably to describe any heating or cooling system in your home.
If there are problems with a thermostat, it can cause damage to the HVAC system itself. The thermostat can often affect the cooling system by miscalibration. HVAC thermostats are designed to read the temperature of the air in the space around the thermostat.
If the thermostat reads that the house’s temperature is cooler than it is, it can shut down your HVAC system prematurely (or cause it to run continuously) because it’s relaying inaccurate information. With age, thermostats lose their precision to read and can pick up inaccurate information.
The thermostat should be centrally located and close to the HVAC return vent to read temperatures correctly. The thermostat should not be placed in direct sunlight. If it’s placed directly on the sun, it can read that the house is too hot and can turn on the cooling system unnecessarily.
If the thermostat sensors become dirty, it can cause it not to reach the temperatures you set. When dust and dirt can build up inside the thermostat, and that can interfere with the reading systems.
Modern smart thermostats have different programs installed in them to control the HVAC system. These smart thermostats work on a Wi-Fi connection. If the power goes out or your Wi-Fi connection is spotty, it can cause your thermostat to not communicate with the HVAC system when needed.
When the thermostat is bad, your HVAC system can run continuously or, worse, not run at all.
Signs Your HVAC Thermostat is Bad?
There are some obvious and not so obvious signs your HVAC thermostat is bad. Let’s review these signs.
Your Thermostat is Unresponsive or Doesn’t Have Power
The most obvious sign is that the thermostat won’t turn on and doesn’t respond to the controls. The batteries may be weak or dead and need to be replaced. If replacing the batteries power up your thermostat, there is likely a disconnect in the electrical wiring or thermostat circuit board.
If the screen on the thermostat does not indicate power, try replacing the batteries. If the system runs inconsistently, try using lithium batteries. Alkaline batteries will quickly run out of power and can cause inconsistencies and malfunctions in your HVAC system.
A thermostat with no power can also be caused if one of the breakers to your HVAC system has tripped. So check your breakers first, but if you still don’t have power, check your breakers.
If you have a multi-zone system, you’ll have a control panel near the air handler or furnace. Multi-zone systems will have two or more thermostats controlling one HVAC system. You could have a problem with the wiring inside the control panel itself. For more complex systems such as this, you should call a professional heating and cooling contractor to examine the system.
Your HVAC System is Not Responding to the Thermostat
On your thermostat, you should be able to effortlessly turn on the system and change between heating and cooling. If you make any changes and the system is not reacting, it means that the thermostat is bad.
Now, HVAC systems won’t change quickly between heating and cooling. If you have a heat pump, there is often a short delay when you change from heating to cooling and vice versa. This delay is common.
However, if you change the temperature settings up or down, the thermostat should immediately change them. For example, if you change the temperature up or down, and the system doesn’t respond, it means the thermostat has lost its connection to the system. This, unfortunately, likely means that you need to replace the thermostat.
Your HVAC System Runs Continuously or Doesn’t Start
If the HVAC shuts off before completing the heating or cooling cycle, only to turn on again after a short time, it means the thermostat’s temperature sensor is failing. This can lead up to the thermostat shutting down the HVAC system altogether. If the HVAC continues to do these short cycles, it will shorten its lifespan.
If the HVAC runs all the time, it means that the problem is likely with the thermostat’s wires. In this case, the fan may run all the time or not start working at all. If the fan doesn’t shut off, it can overwork the HVAC and damage the system.
If your system is running continuously, your problem may be a dirty air filter and not your thermostat. A dirty air filter will cause your system to run without reaching the desired temperature because the system is not drawing the air it needs.
Room Temperatures Don’t Match Thermostat Setting
One of the most obvious signs is your room temperature doesn’t match your thermostat settings. However, in multi-zone setups, this is normal. In multi-zone setups, your house is divided into zones, and a thermostat controls certain rooms within the zone.
If you have an area in your house that is warmer, be sure to check all your thermostats and adjust the settings accordingly.
A dirty thermostat can cause improper operation and a sudden system failure. Try removing the cover from the thermostat and gently remove dust on internal contacts.
First, set the thermostat to the lowest setting and use a soft brush or compressed air to clean the bimetallic coil. Then set the thermostat to the highest setting and clean the coil again. Finally, reset the thermostat to the desired setting.
If you are still having problems and have not serviced your HVAC system within the last 6 months, it’s time to call in a professional to service and clean your system. Your internal coils or condensate drains may be clogged and need cleaning.
When Should I Replace my HVAC Thermostat?
Many components can cause the thermostat not to work properly. Shortly, if the thermostat is over 10 years old – replace it. Replacing an old thermostat can be cost-effective and save you money. Old manual thermostats are inaccurate compared to newer digital thermostats. A programmable thermostat can be saving money monthly.
Your thermostat can be damaged if it is stored in a room with high humidity. High humidity can corrode the parts of the thermostat, which can cause it to malfunction.
It would be best if you replaced your thermostat when you replace the HVAC system. There are three types of thermostats; low-voltage, line-voltage, and millivolt. The low-voltage thermostats are most commonly used. Your thermostat and HVAC can be mismatched, which can result in your system, not responding.
Replace or move your thermostat if it’s not centrally located. As said before, it is not good to place the thermostat directly in sunlight, as it can get a bad reading. If the thermostat reads the temperature wrong, it sends that information to the HVAC unit. In this case, there is no malfunction with the thermostat. It is just installed in the wrong place.
HVAC thermostats can last for about 10 years, some longer. Modern digital thermostats are more reliable than manual thermostats. They are usually programmed for optimum efficiency and keep the temperatures at a comfortable range.
If you want to replace the thermostat, it is also best to do an upgrade from your previous thermostat. Buying modern thermostats can save you a lot of money. Thermostats are the place where the energy efficiency sets in. It is responsible for the performance of your HVAC system.
Programmable modern thermostats provide you with comfort and peace of mind. You can set the system to warms the house an hour before you wake up or get home from work. They also have different settings, where you can adapt the thermostat to operate differently every day. Most thermostats even have the option of a Wi-Fi connection so that you can adjust the thermostat over your phone.
How to Replace a Bad HVAC Thermostat?
When an existing thermostat is bad, it is quite easy to replace it. Most new thermostats come with instructions for adapting the device to different systems – and this is fortunate because depending on type and age, HVAC systems can be set up differently.
For example, if the thermostat only operates the boiler, only two wires can be used for connection, while a thermostat that controls a heat pump can have five or more wires for connection.
In a very common thermostat configuration, where the device controls the combination of an air heater and an air conditioner, the thermostat will have only three basic wired connections to make. One wire that controls the fan, the other that turns the heating on and off, and the one that controls the air conditioner.
Most modern thermostats to a basic HVAC system can be more complicated than you would like. Get a thermostat that you need, not one that has features you don’t want or need.
If possible, consult the service provider who installed your original system to recommend which replacement thermostat to use. Most thermostat manufacturers now offer online PDF installation instructions, which you can read before buying a thermostat.
The best way to replace your thermostat is to call an HVAC professional. This is the best option if it’s your first time installing the thermostat. If you install the thermostat wrong or set it in the wrong place, it will cost you more money to have it fixed.
How to Install a New Thermostat
If you decide to install a new thermostat yourself, read the instructions thoroughly.
1. Turn off the power to your HVAC system
The first thing you need to do is to turn off the power to the HVAC unit. You will find a switch that controls the system’s electrical panel box. Find the correct circuit and turn it off.
2. Remove the Cover of the Old Thermostat
Remove the cover on the old thermostat and expose the low voltage wire connections. With some thermostats, the entire body of the thermostat is separated from the wall panel, while with others, it is just a cover that discharges the body of the thermostat.
3. Note Where Wires are Connected
Pay attention to which terminals the low voltage wires are connected to. It’s a good idea to take a picture with your phone of the wires or take notes.
4. Remove the Old Thermostat
Disconnect the wires from the thermostat, being careful not to let them return to the wall. Remove the old thermostat mounting plate from the wall. Usually, this involves removing the screws from the wall.
5. Install the Mounting Plate for the New Thermostat
Install the thermostat mounting plate on the wall. When installing the mounting plate for a new thermostat, remember to prevent wires from falling into the wall, which is a very common problem.
Thread the low-voltage wires through the hole in the new mounting plate. Place the mounting plate against the wall so that the wire hole aligns with the hole in the wall. Tighten the screws to the mounting plate, check the level, and then tighten the screws until the mounting plate is secured.
6. Connect the Wires to the New Thermostat
Once the mounting plate is attached to the wall, the next step is to connect the wires. Attach the wires to the appropriately marked connection terminals on the new thermostat. See the manufacturer’s instructions for details on which wires to connect and how.
7. Attach the New Thermostat to the Mounting Plate
When the wires are connected, all you need to do is connect a new thermostat body and adjust your controls. Place a new thermostat on the mounting plate, check that the electrical contacts are installed correctly.
8. Turn the Power On to the HVAC System
Turn the power back on at the breaker box. Confirm power at the thermostat.
9. Program Your New Thermostat
Set your thermostat to the desired settings and check that the system is working properly.
Best HVAC Thermostat – Overall
The best smart thermostat you can get is an Ecobee Smart Thermostat. It can connect to Wi-Fi and has a touch screen display. This thermostat has a sensor that reads the home’s temperature and adjusts the heating or cooling systems as needed.
Ecobee is a Canadian home automation company that manufactures smart thermostats with temperature sensors. The thermostats are controlled using a built-in touch screen, web site, or apps available for iOS and Android.
The installation of the thermostat is pretty simple. The thermostat comes with detailed instructions on setting it up, and it took us about an hour. We did not have the C wire, but the thermostat comes with an adapter. You can find in the instruction how to use the adapter.
Ecobee also provides an app that you can install on your phone and adjust the thermostat from anywhere. You can program a schedule into the thermostat, and it will work even if the Wi-Fi connection is broken. Also, a great feature is that you don’t even have to be connected to the app at all times. You can use it only when you want to make some changes.
This thermostat is perfect for anyone who likes voice control. The thermostat can be connected with Alexa, which comes in handy if you’re on the move and want to adjust the thermostat quickly. If you do not want this feature, you don’t have to pair it with Alexa.
The best thing about this thermostat is that it comes with small sensors you can set up in different rooms. These small sensors pick up the temperatures in different rooms and send the information back to the thermostat. The thermostat can then adjust the cooling or heating system based on the room.
The thermostat also comes with a feature where it learns when you are home and out. This will save a lot of energy and lower the bills since the thermostat will not work when unnecessary.
Best HVAC thermostat – Budget Pick
If you don’t like the modern thermostats that use voice control or any other high-tech features, the best thermostat is Honeywell Lyric T5 thermostat. This thermostat is the simplest high-tech one you can find on a budget. With a small price, it has many features.
Installing the thermostat is very easy, but again, make sure to follow the manufacturers’ instructions. The thermostat requires the C wire, but the instructions explain how to install it.
The best feature is that you can use it as a traditional thermostat, meaning you set up a seven-day schedule. The schedule can be done on the thermostat itself or using the app on your phone and tablet. This thermostat allows you to set up a day-to-day cooling and heating system and have a different set up on the weekend when you spend more time at home.
On the other hand, the thermostat doesn’t have a sensor to read each room’s temperature and calculate to set the right temperature. But it can automatically detect if your home needs cooling or heating, so you won’t have to switch the modes manually.
This thermostat also has the option of Geofencing. If your phone is connected to the thermostat, it can use that connection to go into energy-saving mode. The great thing about this thermostat is that it is simple enough for everyone who doesn’t want any complex heating or cooling systems.