Turning your attic into a storage space is an ideal, low-cost way to create some extra space in your home. But creating a storage space in an attic without cutting trusses and compromising the structural integrity of your roof can be tricky business, so we’ve got some tips to help you get it right.
Trusses are a crucial part of a home’s structure, so you don’t want to cut them when making storage space in your attic. To create storage space, install flooring and build simple plywood shelving between the trusses. It’s vital to insulate and ventilate the space to create a suitable storage area.
While most homes these days will come with an attic, the attic is a very awkward space to do any DIY work because there’s not much space to work with. And making creating storage space in the attic between the roof’s trusses without cutting them requires planning and carefully considered execution.
Creating Storage Space In Your Attic Without Cutting Trusses
Building storage space in an attic with trusses can be tricky, but with a little bit of planning, it usually isn’t that difficult to complete. Let’s take a look at how you can go about adding storage space in your attic.
1. Inspect Your Attic
Before you find out what strategy is best for you to create storage space in your attic, you need to inspect it and ensure that your roof or trusses have any damage. Here are some things to look out for and take into consideration:
- Water leaks
- Structural condition of the house
- Roof condition
- Support beam and truss condition
- The temperature in the attic
- Humidity levels
- Changes in humdity and temperature
Because you rarely use your attic, there may be a leak up there that you didn’t know about, or the wood may not be in adequate condition to withstand any additional weight or even the weight of the roof it was meant to be supporting in the first place.
Evaluating the state of the trusses, flooring, and support beams can help you avoid any serious harm or damage caused by a botched job to either you or your house.
You should also consider the conditions in your attic because attics are especially susceptible to sudden changes of temperature in the summer and winter and inevitably have high humidity levels, which is not ideal for storing anything of value.
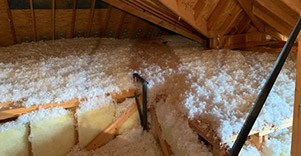
2. Properly Insulate and Ventilate
Before you start making any structural additions, you have to make considerations and add the necessary materials to prevent excess heat from rooms below or from outside, radically altering the conditions in your attic. So any new floor panels require underlayment from various materials, such as polyfoam, silicone, or environmentally friendly recycled material.
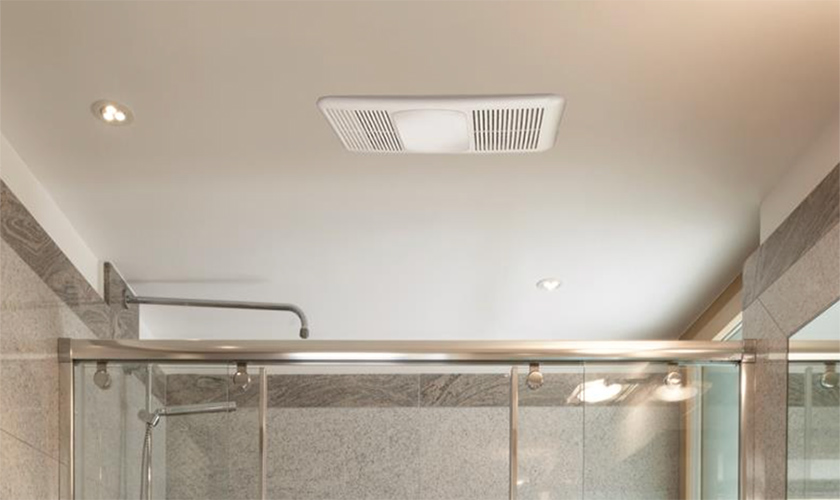
In terms of ventilation, your attic will not be safe without adequate ventilation. In combination with insulation, well-placed air vents or extractor fans can reduce humidity and mitigate the effects of drastic temperature changes. Mechanical ventilation is far more efficient, drawing in the fresh air and releasing the older, more humid, stuffier air.
The fan will operate automatically when the temperature reaches a certain level. However, ensure that it has shut-off sensors that will turn it off when the dramatic temperature changes. Otherwise, this fresh, oxygenated air could fuel any potential fires, always a risk in attic spaces.
3. Add Flooring If Needed
Once you have inspected your prospective attic storage space, consult with a professional to see if it’s possible to add some flooring to make your attic a little more accessible. Putting in some floor space will make it easier to move around and create additional storage space.
If the ceiling below’s support beams have enough structural support, you can create floor space with flooring panels. Or you can add a dedicated storage panel, which is not intended to be stepped on but won’t add much weight with adequate support from beams.
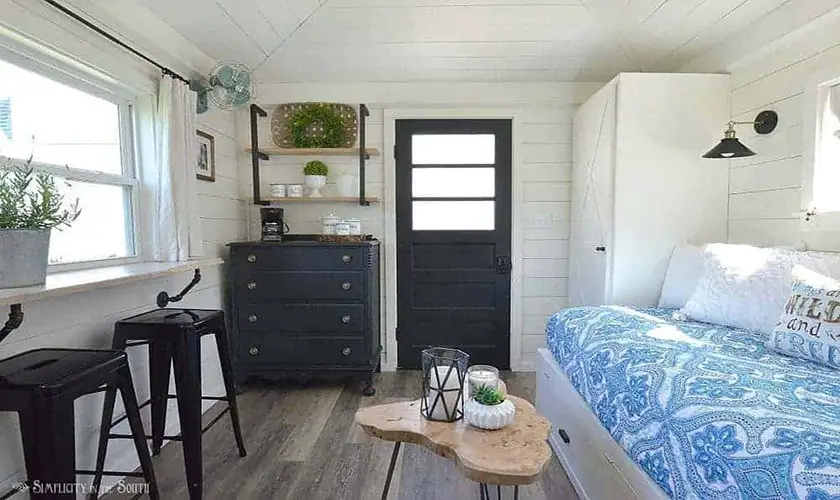
Some people even create living spaces in their attics, so an ample, sturdy storage space in the attic is not particularly ambitious. Moreover, you don’t even need to buy panels – you can make your own!
4. Create a Storage Plan
Now that you have a good idea about what you’re able to do with the space you have, whether you can create some flooring or a storage platform, and if it is in the proper condition to handle the additional weight, you can start measuring your space.
Measure the distance that you’re working with, from rafter to rafter, as well as the distance from the ceiling below to the roof tiles. From this, figure out which part of your attic is accessible and will give you enough room to make additions, such as flooring, shelving, extra support, insulation, and ventilation.
5. Build Storage Shelving
For storage shelving, you have two main options: you can build your own or get pre-made shelves. To make your own, below are the basic materials that you’ll need:
- Measuring tape
- Marker
- Circular saw
- Level
- 3-inch wood screws
- 2×4 lumber
- A sheet of plywood
Cut the 2x4s to Size
First, calculate the amount of wood needed to create shelves between the trusses and mark the distance between the rafters on a 2×4 piece of lumber. Use a circular saw to cut down your 2x4s to the correct size.
Frame the Shelving
Using an electric drill (it’s advisable not to use a hammer), frame your shelves with 2x4s. Place one piece of lumber against the back wall of your attic and secure it in place with screws on either end. Use your attic trusses as support, and add any additional supports using more 2×4 wood.
Install Plywood
Once your shelves are framed out using 2×4 lumber, it’s time to add plywood to the top to make them functional storage spaces. Carefully measure the frame that you just constructed, and cut your plywood accordingly. Secure the plywood down using screws along the edges.
Use Your New Shelves
And now you’re ready to add items to your storage space with your new shelving in place. However, try not to put too much weight onto the shelves, and the heaviest items you use shelf space for should be placed in the middle to avoid unbalanced weight distribution. And do not overload the area.
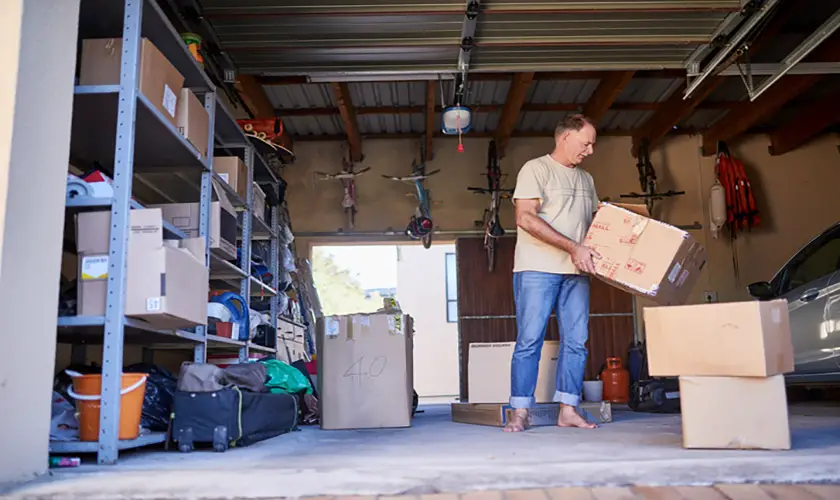
Try to store seasonal items, such as Christmas decorations, in your attic rather than items intended for everyday use. And do not store valuable items in the attic because high humidity levels are not conducive to preserving most items.
Because your new attic is still in a part of your house that the construction company didn’t build with the specific intention of storing all of your unused, but still needed, items, you’re going to want to keep things like empty suitcases, not lawnmowers or heavy gardening equipment, up there that don’t weigh too much.
Create Additional Space By Installing New Trusses
This option requires a professional opinion from a structural engineer. Still, sometimes, depending on where your attic is located, you may be using standard roof trusses on a steeply pitched roof, which means that you’re wasting space because the trusses could run in a different direction and free up space.
You shouldn’t be doing this on your own and need a professional who’ll work out the right way to alter the trusses without compromising your trusses’ ability to carry the weight of your roof and the additions you’re making.
It can be done – remember that cutting or modifying trusses at all can lead to damages that will far outweigh the costs of hiring a professional to do the job for you.
Conclusion
Any homeowner can attest to the difference that some extra storage space can make to your house, particularly if you don’t have a basement. Having the additional floor area elsewhere in your home can go a long way towards creating your dream space.
Adding storage space between the roof trusses in your attic is the best solution for creating bonus space in your house and isn’t even that expensive.
However, making any changes to the structure of your roof is risky business, so you need to be careful and considerate while you plan and execute these simple changes. You need to work with professionals, and you need to prioritize insulation and ventilation.
Get all of this right, and you’ll be wondering how you ever lived without your newly created storage space!
Sources
- How To Make A Truss Attic Suitable For Storage
- Optimize Your Attic Storage
- How to Alter Existing Roof Trusses for an Attic Room
- What Are the Best Flooring Insulation Options?