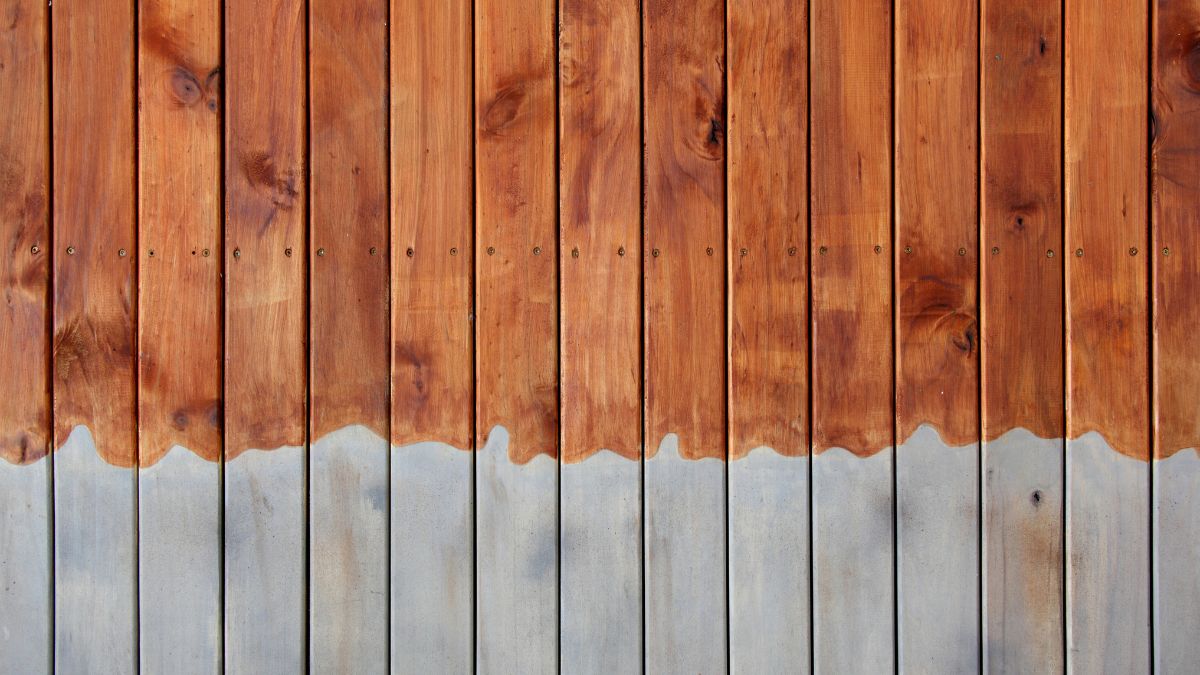
Pressure-painted wood may appear attractive in its homespun look, but you may want to improve its appeal by painting. Nevertheless, can you paint such wood without interfering with its pest resistance capabilities? Also, is it an excellent idea to paint pressure-treated lumber?
You can paint pressure-treated wood if you want to alter its look. Pressure-treated wood needs to dry out prior to painting. Ensure you use primer and paint suitable for exterior use. Also, the timber surface should be clean for the paint to adhere effectively.
There are several other critical insights that you need to get right. Read on for further elaborate hacks of painting pressure-treated timber and how to treat such lumber.
What is Pressure-Treated Wood?
Pressure-treated wood is cured via a special procedure to resist decay, pest infestation, mold, and water damage. Pressure treatment can also protect against fire ignition, which prevents it from burning easily.
Pressure treatment of lumber is a sophisticated process that happens in several steps. First, the wood is placed in a pressure chamber, and a vacuum pump removes pressure from its structure. Once there is zero pressure in the lumber structure, treatment chemicals are pumped into the chamber at high pressure.
Typically, approximately 160 pounds of force is used to enforce the chemicals into the wood’s cell structure. After complete treatment, the excess chemical is allowed to drip off then the timber is further dried and ready for use.
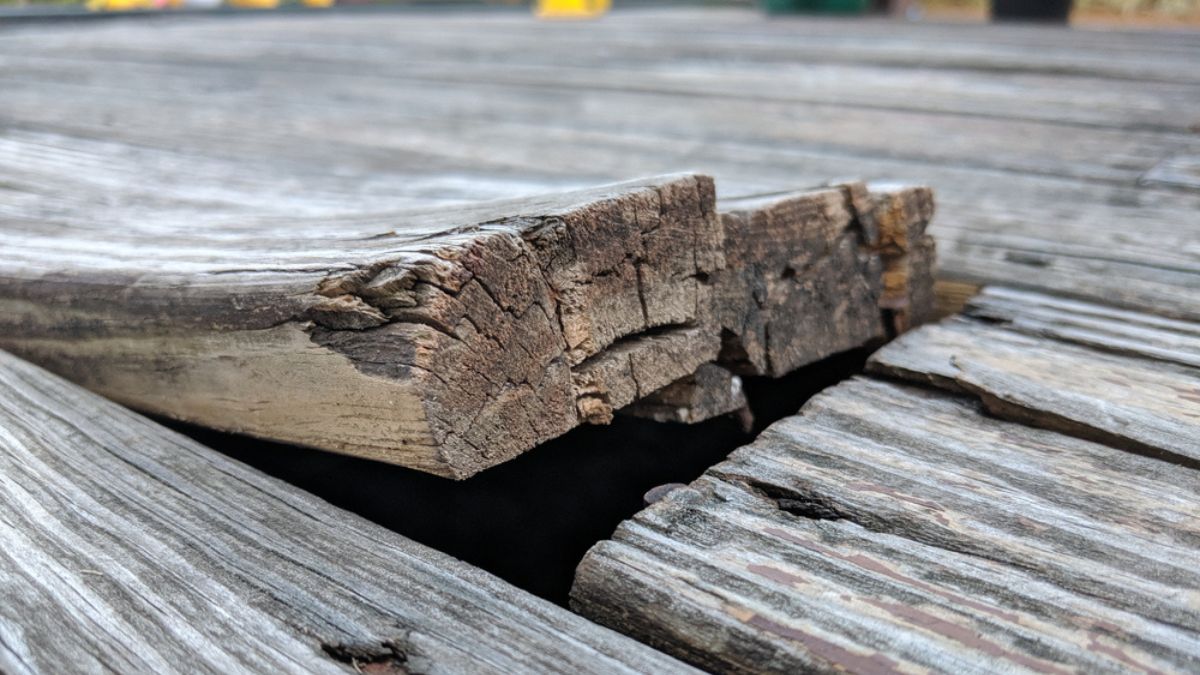
Pressure-treated lumber is used in typical construction works such as making fences and building bridges and docks. Wood is easily destroyed by agents such as pests and weather. Therefore, if untreated, it is not durable. Nonetheless, once treated, wood is one of the hardest construction materials capable of withstanding any agent of nature or pest attack.
Related Reading: How to Refinish a Deck: Essential Steps and Tips
Different Types of Pressure-Treated Wood
There are several kinds of pressure-treated lumber depending on its intended use. They include:
- Copper Azole Treated Timber
This is lumber that is treated using copper preservatives. Such timber is cushioned against termites, decay, and rotting.
- CCA Timber
This is timber treated using Chromated copper arsenate (CCA). This preservative is what gives most treated lumber a greenish appeal. It protects against termites, decay, and rot. Environmentalists nonetheless caution against its use, claiming it has the toxic arsenic chemical. Nevertheless, a study by the Environmental Protection Agency has proven that this chemical doesn’t leach. Thus it is harmless to woodworkers.
This timber is protected from fire and thus best fit for use in hot weather-based constructions and structures.
Can You Paint Pressure-Treated Wood Right Away?
You cannot paint pressure-treated wood right away after purchase. Unless the timber is kiln-dried, which encourages fast-drying, pressure-treated timber dried under normal conditions takes longer. The wood is probably still wet after the sale, and thus it is not ready for painting. Allow it time to dry then you can paint.
In most cases, the wood treatment companies do not allow sufficient time to dry. Many are usually in a hurry to sell the wood. You can know if the wood is still wet by its weight. For example, if your lumber still feels heavy after purchase, it is not ready for painting. Also, if its surface is damp, you need to allow it to dry first before painting.
Therefore, if you want to paint pressure-treated lumber right away, consider buying kiln-dried wood. This is wood that has been dried under intense heat conditions in a kiln. Kiln drying is controlled to prevent the warping of timber which is synonymous with drying under extreme heat.
Such wood is ready for painting right away. Nonetheless, you will have to spend more on kiln-dried pressure-treated wood over timber dried under natural conditions. But if you intend to paint immediately, this is a reasonable option.
What Happens When Pressure-Treated Wood is Painted Immediately?
Your primer or paint coating will quickly peel if you are not patient enough to give it sufficient drying time. Typically, wet pressure-treated lumber has the treatment chemicals oozing out of its grains, albeit subtly. You may, therefore, not realize that this is happening.
Thus, you will immediately repel the paint or primer coating after it has been applied. Also, the paint coverage on wet pressure-treated wood will undoubtedly be poor. Thus, painting pressure-treated wood directly is pointless as you will be compelled to repaint it.
It will also cost you more to paint such lumber. This is because you will have to redo it again when the loosely attached coat peels after the lumber dry. Hence, let the wood dry well first, then you can think of applying paint.

How Long Does Pressure-Treated Wood Need to Dry Out Before Painting?
Depending on the prevailing conditions, pressure-treated wood can take up to one month for complete drying. Nonetheless, when the weather is good, this should take just about two to three weeks. It would be best if you allowed the pressure-treated wood to dry slowly under natural conditions without attempting to hasten the process.
Typically, wood is always drying, and therefore the preservative will seep out even though this may take time. But what controls the speed of drying?
Well, this will depend on several factors. Primarily, when there is excess heat or exposure to direct sunlight, the wood will dry fast. Nonetheless, such exposure will cause the timber to warp, undoubtedly undesirable as it alters the quality.
On the other hand, you should not dry your wood under wet conditions, especially without access to light. Such conditions will prolong the drying period, and you will have to wait long before painting.
Therefore, you need to create the optimum drying conditions with no direct sunlight, but the aeration is sufficient. You can also opt to “shop dry” for guaranteed effective drying before painting. This is when you leave the timber in a rack to dry naturally without prompting to hasten the process.
How Do You Know the Pressure Treated Timber is Ready to Paint?
You can know if your pressure-treated wood is ready for painting by dabbing drops of water on its surface. If this water is soaked inside, then it is prepared for painting. Conversely, if the water stays on the surface, you will have to wait longer before painting.
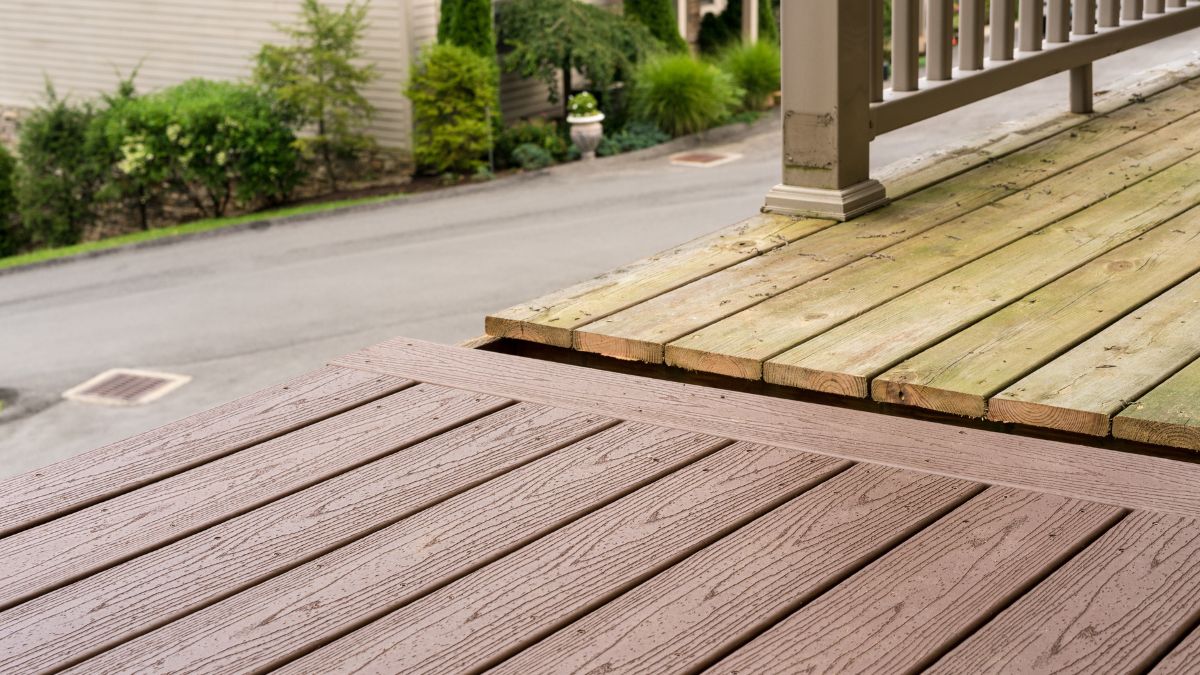
You will also note the color difference between dry pressure-treated timber and wet lumber. When it’s dry, it will adopt a faint yellow-brown appeal. On the other hand, if the wood still has the green color of the treatment chemical, it is not yet dry.
Therefore, conduct these tests before commencing to paint.
How Should Pressure Treated Wood Be Primed Before Painting
It is essential to prime the pressure-treated lumber before applying a paint coat. This is because pressure treatment makes the wood repellent to paint. Therefore, a primer prepares the surface for the paint to attach firmly.
Remember to apply the primer according to its provided instructions. Also, avoid using thick primer coats. A thin coat will dry faster, and it will also attach more effectively than a thick one.
What Kind of Primer do You Need?
It would help if you only use a primer that is recommended for pressure-treated wood. The specifications are usually indicated on the primer’s container label. Using the inappropriate primer will affect even the paint layer that you will apply afterward. Wood is usually resistant to liquids.
Thus, you must select the most appropriate primer to prepare the surface for painting.
A latex primer is the most ideal for pressure-treated wood. Subsequently, you should apply a water-based paint coat on top of the primer layer.
Once you apply the primer, allow it sufficient time to dry before applying the paint coat. This should ideally take three days or even less period depending on the type. You can find the primer’s drying period from its container’s label.
However, you need to understand that your coat may take an extended period, especially when you’re applying it on a pressure-treated wood surface. Therefore, let it dry for a more extended period than indicated on the label for best results.
Can You Use Exterior Paint and Primer in One?
When painting pressure-treated wood, it is vital to get the exterior paint and primer combination right. But does this mean that you can directly use exterior paint and primer in one? Not really. Although exterior paint and primer products work effectively on the recommended surfaces, it is not an excellent idea to use them on pressure-treated lumber.
This is because each of the components serves a unique purpose, and thus they operate as distinct products. Paint is the exterior cover that will give your pressure-treated wood color, sheen, and resistance to external destruction agents. On the other hand, the primer works as a binder. It will create the perfect surface for paint application.
Additionally, it will facilitate the adhesion of the paint to the wood surface. Lastly, it will cushion the pressure-treated timber surface from stains.
Pressure-treated timber is a unique dry surface that requires caution during painting. It is, therefore, the best surface to try out paint and primer in one combination. The paint will poorly attach to the dry wood surface and, subsequently, easily flake if you do it. It will be a waste of paint and money as you will have to repaint the entire surface.
Many paints and primers in one product are thicker than ordinary paint. Therefore, it will not allow a thin paint layer, ideal for attachment on the timber surface. Also, note that a pressure-treated wood surface is ideally dry. Therefore, it is imperative to seal the pores on the wood before applying a paint coat.
It will take you more time when you opt to use a primer then apply paint. But you can bet that the result will be better than the ostensibly more straightforward paint and primer in one option.
Nonetheless, there is an exception. If you are painting on a pressure-treated wood surface previously painted, you can use a paint and primer in one product. However, the overarching point is that a primer layer would ideally deliver the best results, even in this case. Thus avoid using paint and primer in one product for your pressure-treated wood.
Staining vs. Painting Pressure-Treated Wood: Which is Better?
You can either choose to paint or stain your pressure-treated wood after you have applied a primer. Neither option is superior to the other as each has its fair share of upsides and downsides.
Staining
It entails changing the color of your wood by soaking the pressure-treated wood in a dye. The staining procedure is also straightforward. All you do is soak the lumber in a stain.
Its primary upside is that it is easy to do, and it’s simpler than painting. Nonetheless, it will not provide a smooth surface as paint would. Thus, it will not seal the cracks and defects on the wood perfectly.
Secondly, you will have limited color choices to choose from. For paint, you can have a variety of colors to select.
Painting
If you want to give your pressure-treated wood the vibrancy it lacks, then painting is the way to go. Painting edges staining regarding the range of colors that it avails. You can choose from as many colors as possible when painting. This is essential, especially if your fundamental intention is to give the wood a picturesque appeal.
With staining, you are only limited to shades of brown and nothing much more. The painting also facilitates the coating of crevices on the wood. It will thus give a smoother surface than staining, which retains the plain look of pressure-treated lumber. However, painting is relatively more tedious than staining and will therefore consume more of your time.
Also, paint does not soak into the pressure-treated wood as effectively as staining.
While each option has upsides and downsides, painting trounces staining, especially when improving the appeal.
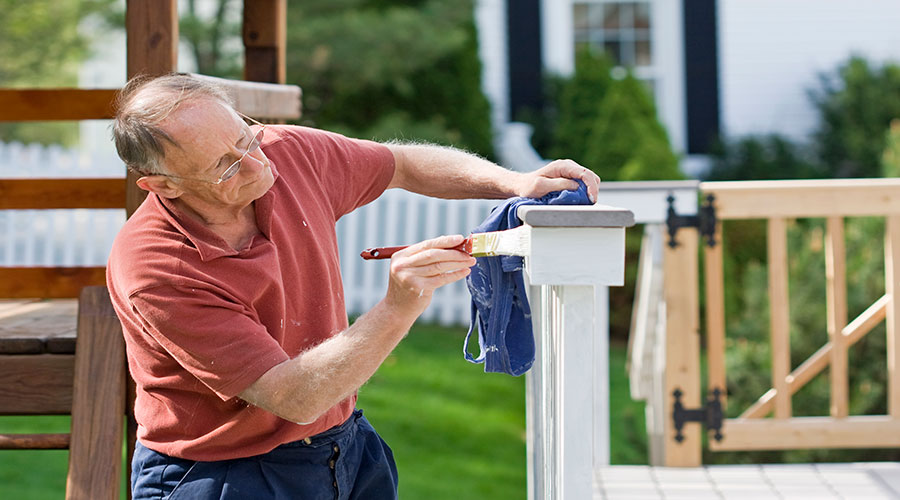
How to Paint Pressure Treated Wood?
Painting pressure-treated wood is complicated primarily as the treatment makes its surface repellant to paint. Nonetheless, it is a process you can easily do, provided that you are willing to be a little bit patient. Unlike untreated wood that you can paint right away, this sort of wood needs to dry first. Once you’ve confirmed its dry by the steps mentioned above, follow this painting procedure:
1. Clean the Wood Surface
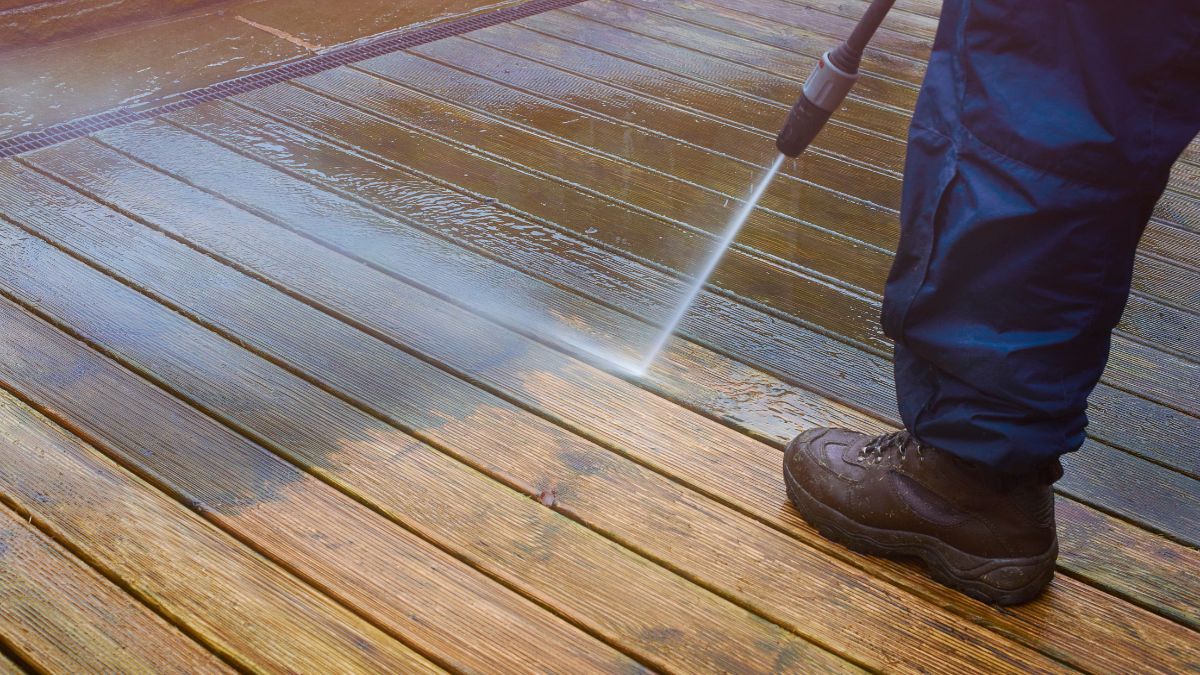
Ensure that the wood surface is clean and free from any matter. The aim is to remove any loose chemicals or dust that may affect the paint coat. For a clean surface, scrap the wood using a hard bristled brush and soapy water. Clean well until there are no loose particles on the surface. Once clean, rinse, then allow it to dry.
2. Allow Sufficient Drying Time
It would be best only to paint when the surface is thoroughly dried; otherwise, the paint will not stick. This can take longer, and therefore you also must be patient. If you suspect that it’s thoroughly dried, sprinkle a few drops of water on the surface to test for dryness. Dry wood should absorb this water.
You can hasten the drying process by choosing kiln-dried after treatment (KDAT) instead of allowing the wood to dry naturally. This method is quicker, especially when time is of significant essence.
3. Apply the Primer
Once the wood is dry, it is now time to prepare the surface for painting. First, apply a primer. Ensure that you apply the primer reserved for pressure-treated timber. You can apply the primer either using a spray gun or a hand brush. Nonetheless, for effective application, a hand brush is the better tool. A brush ensures that the primer is effectively spread on the surface than when you use a paint sprayer.
4. Apply the Paint Coats
Before commencing this step, you should first allow the primer to dry. This takes a short time, and a day should be sufficient. Once it is dried, apply the paint coat of your favorite color. Refrain from using oil-based paints when dealing with pressure-treated wood. They are incompatible with such surfaces.
Instead, use latex paints. After applying the first coat, allow it to dry before applying the second. Make sure that you apply thin layers as they dry easily.
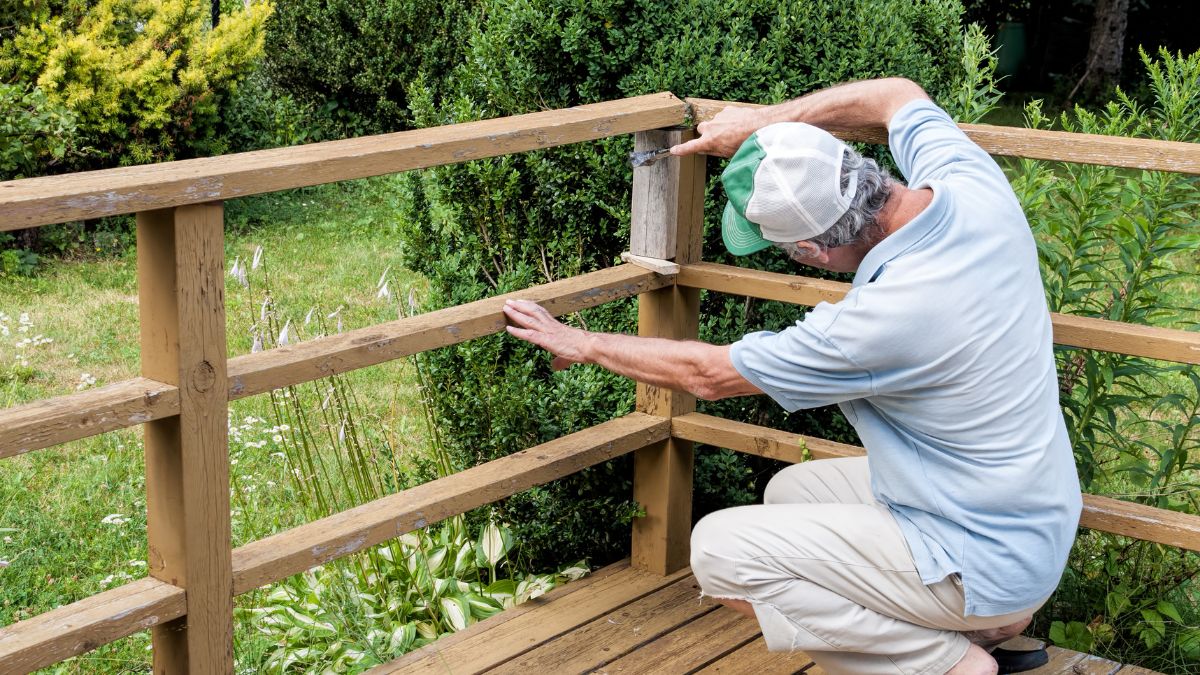
If you are painting on outdoor-based surfaces, it is noteworthy that the coat will wear out faster on horizontal surfaces than on vertical ones. It means that a surface such as a fence will retain the paint coat longer than a deck.
Thus, it would be imperative for outdoor horizontal surfaces to stain the pressure-treated lumber rather than paint it. Alternatively, you can allow the paint coat to fade then apply a sealant to regain the vibrancy. The sealant option will be cheaper than painting the surfaces once again.
Final Thoughts
Giving your pressure-treated wood a nice paint coat is undoubtedly a brilliant idea. However, it would be best to get the basics right, as misapplying paint may prove unreasonably costly. The above insights should be handy in guiding your painting exercise.
You are now fully equipped to undertake your first pressure-treated lumber assignment. You can engage a professional painter to do it for you or opt to do it all by yourself. Either way, ensure that you keenly take the tips mentioned above into account.
Most importantly, do not paint before the wood is thoroughly dried. Otherwise, every step is easy to follow, and you are ready to go.
When you follow these tips, you will be ready to paint your wood as immaculately as you’ve always imagined.