Learn how to stop wood rot on decks and protect from the destructive effects of this fungal disease. Deck boards exposed to the elements are susceptible to wood rot, but there’s no need to lose hope!
With the right knowledge and investing a little effort, you can effectively prevent wood rot, ensuring that your deck remains a safe and beautiful extension of your home.
To stop wood rot on your deck, choose rot-resistant or pressure-treated wood, design your deck with proper water drainage, conduct regular maintenance with thorough cleaning and inspections, and enhance protection by applying a wood preservative and a water-resistant sealant.
It’s important to be aware of different types of wood rot. Despite its name, dry rot thrives in moist conditions and can spread extensively from the initial water source. Wet rot is less aggressive but still poses a threat, while white rot affects hardwoods by breaking down the lignin that provides strength to deck wood.
| Key Takeaways |
|---|
| Fungal wood rot can significantly damage your untreated wood. Early detection is crucial. Look for signs such as soft spots or spongy wood, discoloration, shrinkage, warping, and fungal growth. |
| Regular maintenance, including cleaning and inspections, prevents wood rot. Choose the right deck wood, such as pressure-treated or rot-resistant species like cedar and redwood. |
| Seal your deck with a water-resistant sealant to protect against moisture and prevent future wood rot. Prevention is the best strategy, so be proactive in maintaining your deck’s integrity. |
| Treating rotten wood framing involves removing the affected wood, applying fungicide, and using wood filler or epoxy to fill the area. Extensive rot may require replacing damaged wood. |

Understanding and Preventing Dry Rot
Dry rot is widespread in older decks, characterized by spongy, discolored wood that becomes brittle when wet. Even pressure-treated wood can be affected.
Caused by microorganisms consuming the cellulose in the wood, dry rot spreads rapidly and attracts wood-eating insects like termites.
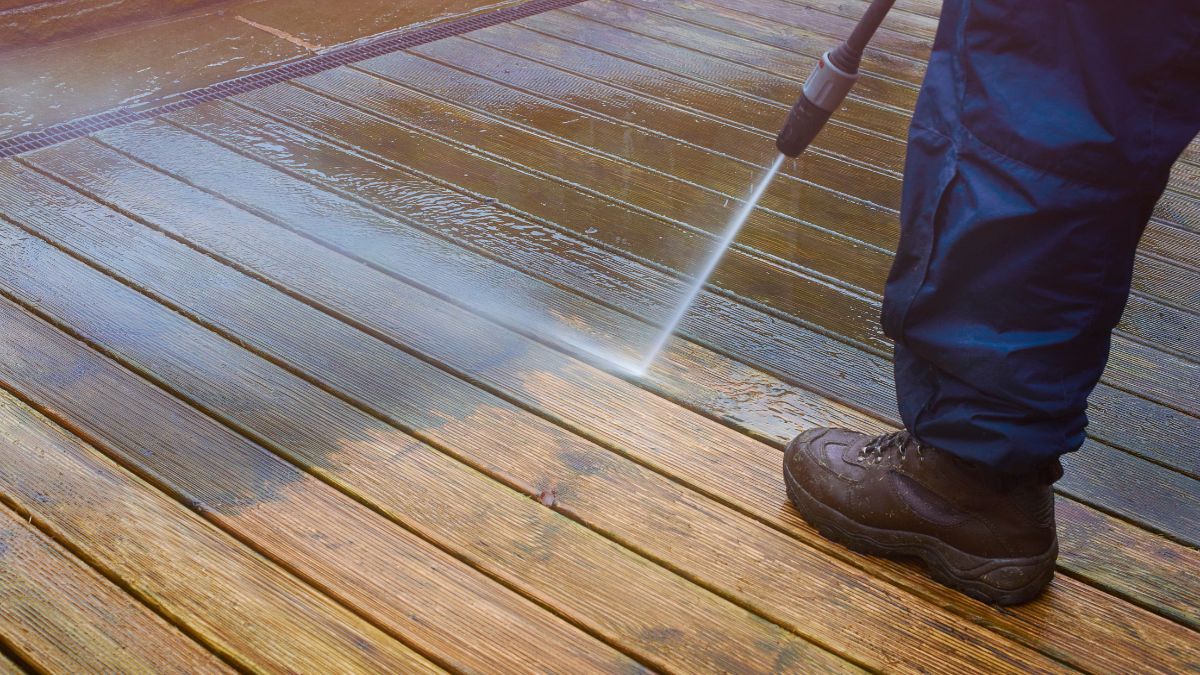
The primary cause of dry rot is moisture, which leads to mildew, mold, and fungus. Limit your deck’s exposure to moisture through regular cleaning and inspections to prevent this.
An annual cleaning maintains the deck’s appearance and prevents rot by eliminating early signs of dirt, mildew, and bacterial buildup. A professional inspection of the entire deck every two years can help identify and address potential moisture sources before significant damage occurs.
Identifying Wood Rot on Your Deck:
- Soft or spongy feeling: Does walking on your deck feel solid? Or do you notice any areas that feel like soft spots underfoot? This could be a sign of wood rot.
- Discoloration: Look for areas of your deck that have changed color. Wood rot can commonly reason the wood to darken.
- Shrinkage or warping: Wood affected by rot may shrink or warp. If your deck boards look uneven or misshapen, it’s time to investigate.
- Fungal growth: Fungi are the culprits behind wood rot. Seeing mushrooms or other fungal growth on your deck clearly signifies a problem.
Understanding the types of wood rot will help you combat this silent destroyer:
- Dry Rot: Most destructive type of wood rot, loves moisture, and can spread far from the initial water source.
- Wet Rot: Less aggressive than dry rot but still causes significant damage, characterized by a damp, musty smell.
- White Rot: Attacks hardwoods, breaking down the lignin that strengthens wood, leaving a whitish or yellowish color.
Related Reading: Expert Tips to Cleaning Wood Decks: Detailed Guide
Causes of Wood Rot on Decks
The main culprits behind wood rot are moisture, lack of maintenance, and the use of non-resistant wood.
Moisture and Its Role in Wood Rot
Fungi, responsible for wood rot, thrive in damp conditions. Rain, snow, high humidity, poor drainage, and leaks from plant pots can all contribute to moisture levels.
The Impact of Lack of Maintenance
Regular maintenance is the best defense against wood rot. Inspect your deck for signs of rot, clean it to remove dirt and debris that can trap moisture, and repair damaged areas promptly. Apply a water-resistant sealant to help keep moisture out.
The Problem with Non-Resistant Wood
Not all woods are created equal. Some are naturally resistant to rot, while others are highly susceptible. Pressure-treated wood and certain species like cedar and redwood are more rot-resistant.

How to Stop Wood Rot on Your Deck: Essential Tips for a Durable Outdoor Space
Preventing wood rot on your deck is crucial for maintaining its durability and longevity. By making smart choices and taking proactive steps, you can keep your deck in top shape and enjoy it for many years. Here are four key strategies for stopping wood rot on your deck.
1. Choose the Right Wood: Pressure-Treated and Rot-Resistant Species
Selecting the right wood for your deck significantly impacts its resistance to rot. Some woods are naturally more rot-resistant, while others can be treated for improved durability.
Pressure-treated wood is a popular choice for decks, as it’s treated with chemicals that repel water and resist rot. It’s also typically more affordable than many rot-resistant species, making it suitable for budget-conscious homeowners.
For natural wood options, consider rot-resistant species like cedar or redwood. These woods contain natural oils that repel water and resist rot. They’re also known for their beautiful color and grain, adding elegance to your deck.
2. Optimize Deck Design for Water Drainage
A well-designed deck prevents water accumulation, reducing the risk of wood rot. Consider slope, spacing between boards, and drain locations when planning your deck.
Ensure your deck’s surface has a slight slope to encourage water runoff instead of pooling. Space the boards slightly apart for water drainage and air circulation, helping to dry out any trapped moisture.
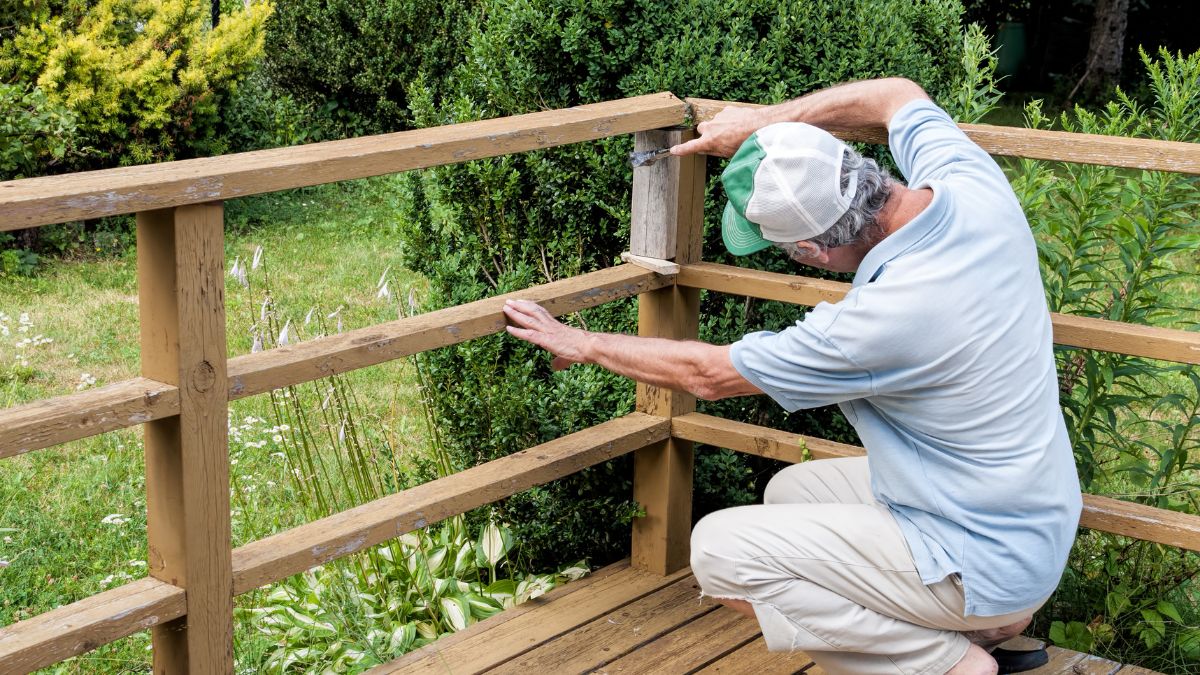
3. Prioritize Regular Maintenance and Inspection
Frequent maintenance is essential for preventing wood rot. Clean your deck often to remove dirt and debris that can trap moisture, and inspect it for signs of damage or rot.
During inspections, look for wood rot signs, such as soft or discolored areas. Check for loose or damaged decking boards that need repair or replacement. Address any issues promptly to prevent them from worsening.
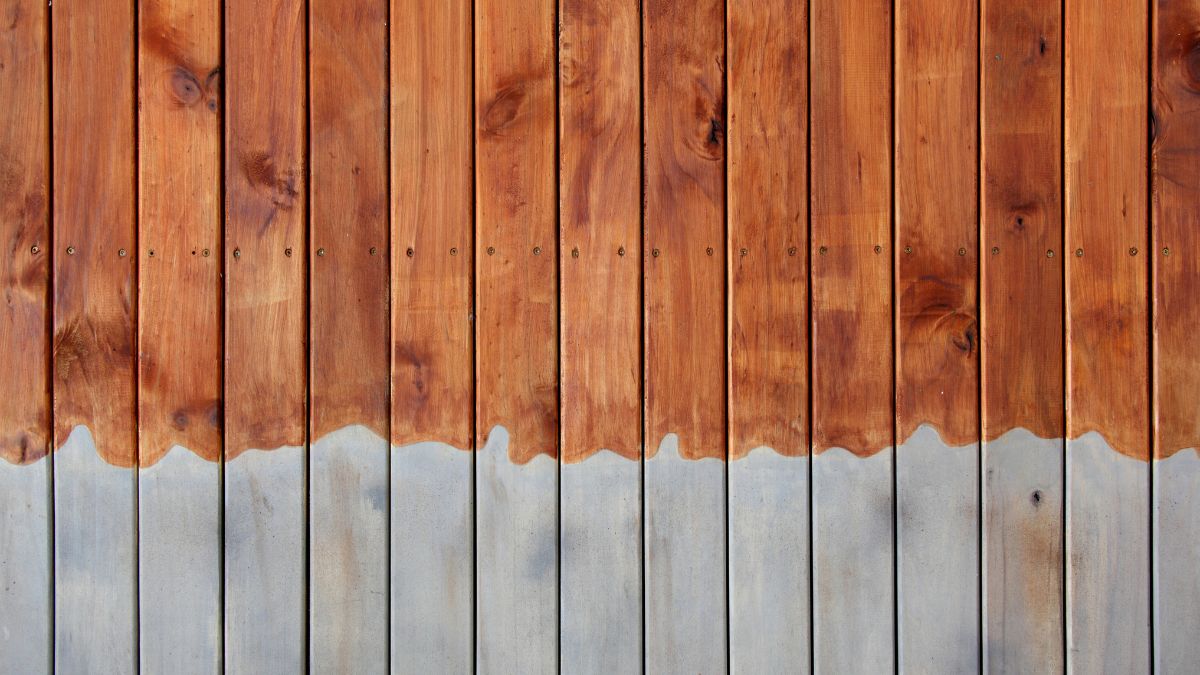
4. Apply Wood Preservatives and Sealants
Using wood preservatives protects your deck from decay-causing fungi. These products penetrate the wood, providing a barrier against moisture and brown-rot fungi.
Sealants offer an additional protection layer by coating the wood’s surface, repelling water, and preventing it from penetrating the wood. Some sealants also contain UV blockers to protect the wood from sun damage.
Stopping wood rot on your deck is an ongoing process. By choosing the right wood, designing your deck for proper drainage, maintaining on a regular basis, and using preservatives and sealants, you can ensure your deck remains beautiful and strong against wood rot threats.
Related Reading: Best Deck Stain for Pressure Treated Wood: A Detailed Review
A Step-by-Step Guide to Treating Affected Areas
If you’ve spotted damage from wood rot signs on your deck, don’t panic! You can treat the wood rot with the right tools and decking materials and restore your deck’s beauty. Here’s a step-by-step guide on how to stop wood rot on your wooden deck.
Step 1: Identify Rotted Areas
Examine your deck for signs of wood rot, like soft or spongy spots from water damage, discoloration, warping, and fungal growth.
Step 2: Remove Rotted Wood
Carefully remove the rotted wood using a chisel or similar tool. Ensure all affected wood is removed to prevent further rot spread.
Step 3: Treat with Fungicide
Apply a fungicide to the area to eliminate any remaining fungi and prevent future rot.
Step 4: Fill with Wood Filler or Epoxy
Fill the space with a wood filler or epoxy, which hardens to create a solid surface that can be painted or stained.
Step 5: Sand and Finish
Once the filler or epoxy hardens, sand it smooth and finish with paint or stain to match your deck.
Step 6: Seal the Deck
Apply a water-resistant sealant to protect against moisture and future wood rot.
Materials and Tools Needed:
- Chisel or similar tool
- Fungicide
- Wood filler or epoxy
- Sandpaper
- Paint or stain
- Water-resistant sealant
Safety Measures
Protect yourself with gloves and safety glasses during the process. Work in a well-ventilated area and follow the manufacturer’s safety instructions when using chemicals like fungicides or sealants.
Addressing wood rot promptly is crucial for successful restoration and preventing further damage. With this guide, you can tackle wood rot confidently and preserve your deck’s integrity.
Restoring Your Deck: Repairing Rotted Wood
Discovering wood rot on your deck can be disheartening. But don’t despair! In many cases, rotted wood can be repaired, restoring your deck to its original strength and beauty. Let’s dive into the process of repairing a rotted deck.
When to Repair vs Replace Rotted Wood
You must first decide whether to repair or replace the rotted wood. This will depend on the extent of the rot.
If the rot is relatively minor and confined to a small area, repair is often the best option. This involves removing the rotted wood, treating the area to kill any remaining fungi, and filling the area with a wood filler or epoxy.
However, if the rot is extensive or has affected the deck’s structural integrity, replacement may be necessary by replacing the rotted wood with new, rot-resistant wood.
Step-by-Step Guide to Repairing Rotted Wood
Ready to tackle the repair? Here’s a step-by-step guide:
Step 1: Assess the Damage
Start by assessing the extent of the damage. Use a screwdriver or similar tool to probe the wood. If it’s soft or easily penetrated, it’s likely rotted.
Step 2: Remove the Rotted Wood
Using a chisel or similar tool, remove the rotted wood. Be sure to remove all of it, as leaving any behind could allow the deck rot to continue spreading.
Step 3: Treat the Area
After removing the rotted wood, treat the area with a fungicide to kill any remaining fungi and prevent future deck rot.
Step 4: Apply Wood Filler or Epoxy
Next, apply a wood filler or epoxy to the area. These wood hardener products provide a solid surface that can be painted or stained to match the rest of your deck.
Step 5: Sand and Finish
Once the filler or epoxy has hardened, sand the area until it’s smooth and flush with the surrounding wood. Then, finish it with paint or stain to match the rest of your deck.
Step 6: Seal the Deck
Finally, seal your deck with a water-resistant sealant. This will provide an additional layer of protection against moisture and help to prevent future wood rot.
Filling Rotted Areas with Wood Filler or Epoxy
Wood filler and epoxy are both excellent options for filling rotted areas. Wood filler is easy to work with and is a good choice for small repairs. It dries hard and can be sanded and painted to match the surrounding wood.
On the other hand, epoxy is a two-part product mixed together before application. It’s extremely durable and is a good choice for larger repairs or areas needing heavy use.
Repairing rotted wood is a task that requires some elbow grease, but it’s well within the reach of most homeowners. With the right tools, materials, and patience, you can restore your deck and return to enjoying your outdoor space. So, roll up your sleeves and get to work. Your deck is waiting!
Choosing Rot-Resistant Woods and Composite Decking
Building your deck with rot-resistant woods like redwood, mahogany, cypress, or cedar can help prevent rot. However, even these woods require ongoing maintenance to stay dry and durable.
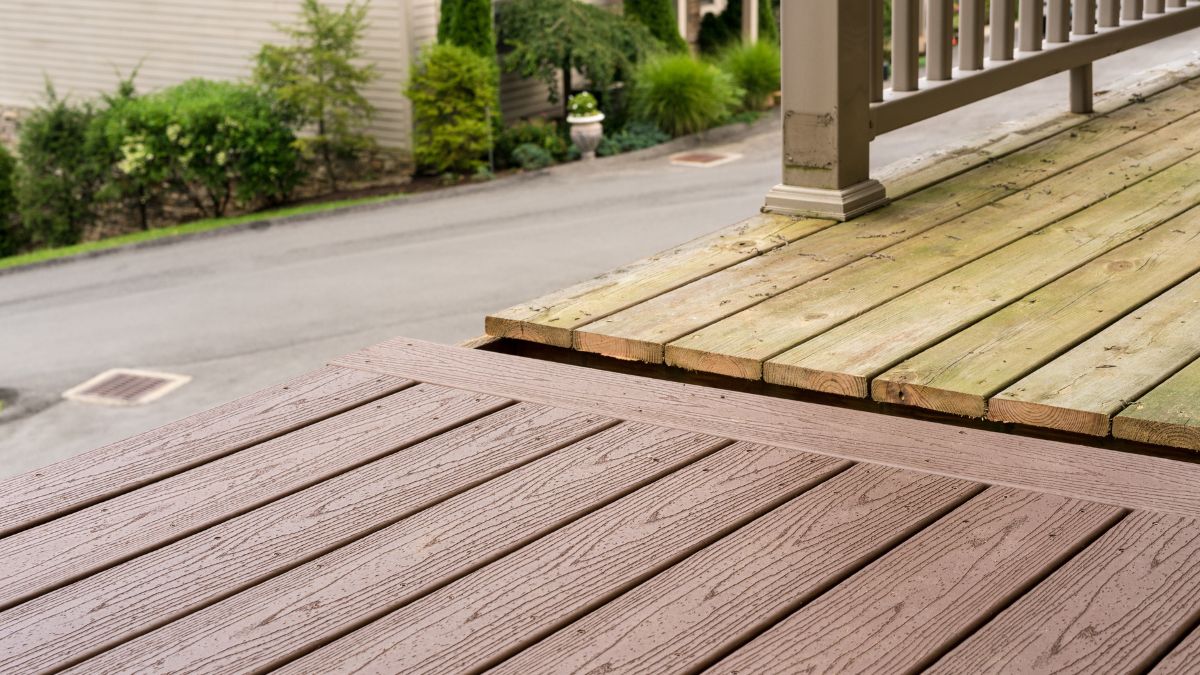
Composite decking is another excellent option. Made from moisture and insect-resistant materials, composite decks are more durable than wood and require minimal maintenance.
It never needs painting or staining, and most composite materials come with a substantial manufacturer’s warranty, making it a long-lasting, low-maintenance choice for your deck.
Frequently Asked Questions: How to Stop Wood Rot on Deck
How do I protect my wood deck from rot?
Protecting your deck from rot involves a combination of strategies. Choose rot-resistant or pressure-treated wood, design your deck for proper water drainage, and maintain it regularly. Apply a wood preservative and a water-resistant sealant for added protection.
How do I stop my deck from dry rotting?
Dry rot occurs when the wood on your deck becomes too damp. Prevent dry rot by ensuring your deck has proper drainage and ventilation. Regularly inspect your wood for signs of moisture or rot, and address any issues promptly.
How do you seal wood so it doesn’t rot?
Sealing wood involves applying a water-resistant sealant that forms a protective barrier on the wood’s surface. This barrier repels water, preventing it from penetrating the wood and causing rot. Be sure to follow the manufacturer’s instructions when applying the sealant.
How do you stabilize rotting wood?
Stabilizing rotting wood involves removing the rotted wood, treating the area with a fungicide, and filling the area with a wood hardener, filler, or epoxy. This restores the strength and integrity of the wood, preventing further rot and damage.
Wrapping Up: Your Deck, Free of Wood Rot
So, there you have it. You’ve journeyed through the world of wood rot, from understanding its causes to learning how to prevent and treat it. You’ve armed yourself with the knowledge to protect your deck, ensuring it remains a safe, beautiful space for you to enjoy.
Remember, your deck is more than just a structure; it’s a part of your home, a place for relaxation, celebration, and quiet moments of solitude. By taking proactive steps to prevent and treat wood rot, you’re not just maintaining your deck but preserving these precious moments.
Here’s to many more years of enjoying your strong, healthy deck!