Figuring out the exact amount of anything you require for a new project is a task that can sometimes be very off-putting to some. It may just be the finishing touch to making a good rehab great for others.
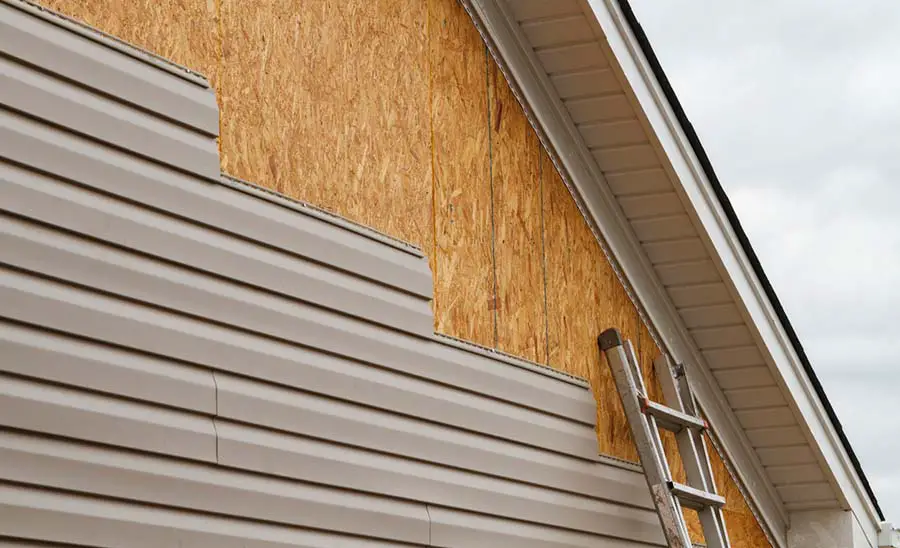
The size of your home determines how much vinyl siding you need. Many typical two-story houses need around 3,000 square feet of siding, while single-story houses usually need less. A box of vinyl siding contains two squares, which covers about 200 square feet of space, not accounting for waste.
Vinyl siding is one of many facets of rehab, but an important one nonetheless. This article will not only get you up to speed on just how much you are going to require for the job at hand, but go over the different types, installation methods, and even rough cost estimates in certain areas!
How Many Square Feet Does a Box of Vinyl Siding Cover?
Truthfully this can be a relatively complicated project. The reason for that lies entirely in which kind of siding you will be getting, or more specifically, the size of the siding itself.
Both the length and the width of your siding will heavily impact how many square feet your box of siding contains. Another important takeaway from this would be that each manufacturer offers different sizes per box of siding, and as such, you may have different amounts of each size.
Siding and other home construction materials often are measured in squares, with each square equal to 100 square feet.
In most cases, a box of vinyl siding will contain two squares worth of material. Therefore, a single box of siding should cover about 200 square feet of space, not accounting for waste.
How Many Pieces of Siding are in a Square?
To properly understand this, you will want to understand what the term itself means in the first place.
In the world of construction, a square is most often used to describe 100 square feet, knowing that almost every box of vinyl siding you can purchase on the market comes in either 1 square or 2 square variants.
If we understand that 1 square covers 100 ft², we can know that 2 squares will cover 200 ft² by that same math.
The only part of this equation that you will need to calculate is the length and width of the siding provided to discover how many individual pieces you will require to cover the square you are dealing with.
If you wanted to go for an actual deep dive on the exact amount of pieces in a square, you would have to divide your overall total of 100ft² by the square footage a singular sheet of vinyl would cover.
Your equation would be the width of a singular sheet, converted into feet, then multiplied by the length, which will give you the precise amount of coverage provided by a single piece of sheeting.
Mistakes Should You Avoid When Measuring for Siding
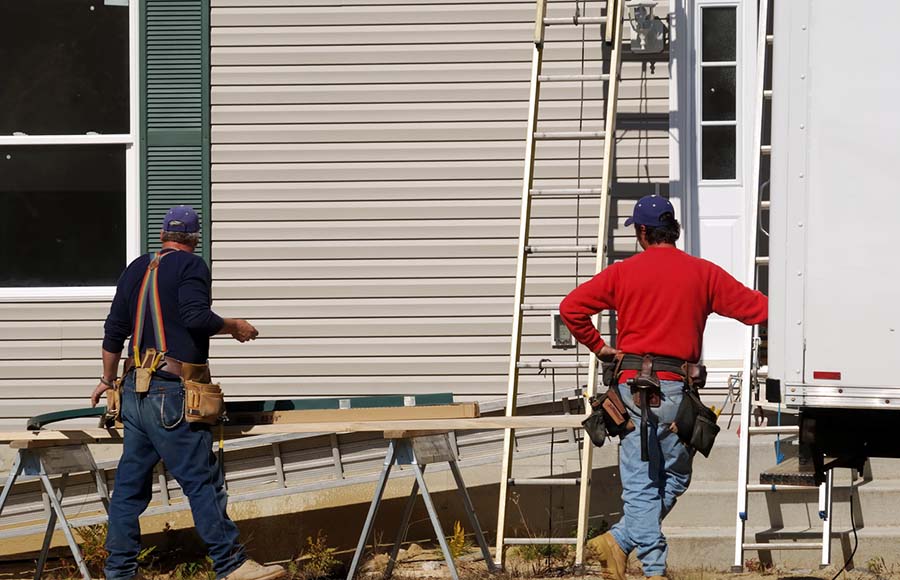
What can you do to make the process go as smoothly as possible when ordering and installing vinyl siding? To that end, here are a few quick do’s and don’ts to streamline your project and make it go as seamless and pain-free as it can be.
1. Take Your Time Measuring & Be Precise
One of the few things you can be sure of is the amount of time you invest in making certain things go as planned. It’s okay to go slow, especially if it means avoiding an issue that may lead to you purchasing more vinyl or having to redo entire sections.
This is particularly true if you only want to get an overall cost estimate on the project itself and not do it yourself.
2. Forgetting the Additional Costs of the Project
Budgeting for a project can be a stressful time to begin with, but diligence here will save you both money and sanity in the long run.
While your main cost will probably be the vinyl itself, the little things can quickly add up.
Everything from the tools required for the job to the materials like nails, caulk, or even an installer can dramatically change your estimation figures.
3. Planning for Mishaps or Having a Bit More Siding Than Required
Saving money is great, and saving both time and money is better, but if you don’t calculate for human error, you won’t be saving either.
So, to that end, do yourself justice and buy just a bit more siding than you require.
Doing so will allow you to have a bit of wiggle room if a situation calls for it and keep your project going if your contractor or yourself makes an error on the installation.
What to Buy When Installing Vinyl Siding
Here’s a quick look at the different trim options you have to choose from, plus a list of some of the most common tools you’ll likely need during the project.
Choosing the Right Type of Siding
Knowing your sizes and dimensions can help expedite the entire installation process (assuming you will be the one installing your vinyl siding, of course), but getting the right kind of siding for the right job is another matter entirely.
That said, “siding type” is not exactly the correct wording. More accurately, you will want to use the proper trim for the right job.
Every kind of vinyl trim has a unique place and part it plays in the grand scheme of your installation and offers different uses depending on which one you are dealing with.
Let’s take a look at some basic kinds of trim you can expect to use on projects (or which ones your contractor may request, and how to tell them apart).
1. Starter Trim
Every project has a beginning and starter trim, which can also be referred to as starter strips in certain circles, serving as the first layer of your siding, and as the name might detail, the foundation of your entire installation.
You will install this layer around the outside perimeter of your entire home. It is what each layer afterward will be snuggly attached to.
Touching base on its other moniker of “starter strip,” the siding earns this title because the trim’s top is a long rail.
In other words, a strip that allows you to install each piece of the siding after it with expert accuracy, assuming you got this one installed correctly.
2. J-Channel Trim
Suppose you have any knowledge in the area of vinyl siding, even just from an outsider’s perspective looking in. In that case, this particular piece of trim might be the one you most easily recognize.
Its unique shape, obviously in the form of a J, is commonly found where your other siding runs directly into the roof, and alternatively, you can locate it alongside the interior corners of your home.
Depending on where you will install this piece, you will need to handle it differently.
If you were installing it on a window, you would be lining it up right alongside the window casing itself, and the installation would go along the entire window itself.
However, installing the same trim around a door is a different process.
In this installation, you would only be placing it around three sides of a door, so you can leave room for another specialty variation of trim to do its job in adding a seamless cover to your home.
3. Corner Trim
Also known as corner post trim, it can most often be found alongside the edges of your siding and gives a glamorous cover to the remaining sides that are left poking out.
The cosmetic benefits that corner trim offers are nearly limitless and can be changed enough to make a bland color scheme pop depending on how you use the vast array of colors at your disposal.
It is worth noting that you do not want to be so different in your scheme that it becomes an eyesore, so look around your neighborhood for inspiration and what choices won’t innately stand out.
Even though, for the most part, these serve more of a decorative purpose than a functional one, you will still find them under the umbrella term of being a kind of utility trim.
Corner trims also protect the corner pieces of trim against any abuse mother nature might throw at them.
4. Underhill Trim
Saving the best for last is a bit of an understatement for the underhill trim and a good reason too.
Underhill is a master of disguises and has quite a few names it goes by, anything from a utility, finish, and even double utility in some cases.
You can find underhill trim in various situations ranging from hiding the top edges of vinyl siding to connecting different kinds of the frame directly along the soffit line.
Another place people commonly use it is right beneath a window.
Other Materials You’ll Need When Installing Vinyl Trim
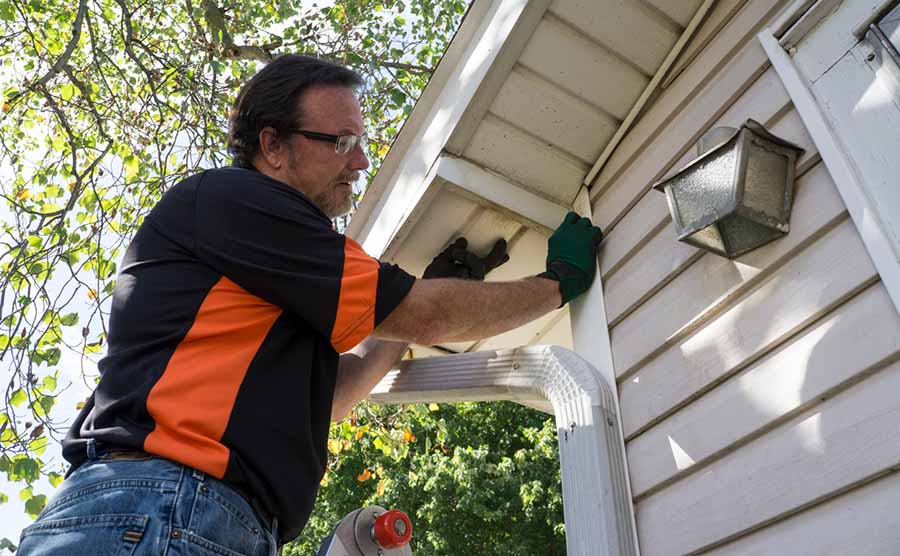
Prepping for your installation takes time, resources, and the right set of tools. Missing even one can make the job much harder than it needs to be, or worse, can lead to a poor installation entirely, so be sure you load up everything below to guarantee your job goes smoothly!
- Mason’s Line Level – As the name might suggest, this will allow you to set the standard of height recommended by the siding manufacturer that you go with. These vary from product to product, so take your time and make sure you get the precise height listed and mark with chalk along the outside of the house to establish an accurate level.
- Tape Measurer – Knowing the length of your siding is essential to using just the right size and width to fit the place you are working on, and to that end, you will need any handyman’s best friend, the tape measurer. While there are a ton of different kinds of tape measures available, you are probably going to want to run with a steel one, if only because it can take a beating and retain its general shape for a long time to come.
- Felt Tip Pen – Relatively simplistic in terms of usage, you will need one to mark alongside the vinyl for your measurements, primarily because most other forms of keeping either won’t show up or may leave lasting marks on the vinyl itself.
- Unlocking Tool – An unlocking tool is an essential, non-negotiable part of your materials because you won’t be able to install or remove any of your vinyl sidings without it. The device is a steel hook that allows you to maneuver your siding pieces into place.
- Nail Hole Slot Punch – As the name might imply, it creates tiny holes that you, in turn, will be placing nails into, it can find alternative use in aiding a nail hem slot to fit size according to how it grows or shrinks.
- Snap Lock Punch – Here we have a tool with some finality to it. The snap-lock punch’s primary usage comes from securing your skirting and siding pieces into the trim and is relatively easy to use. Like many of the materials you will need for your installation, these can be located in any local home improvement store.
- Carpenter’s Square – Making use of this, you will be able to ensure your edges are marked perfectly and live by the motto of measure twice, cut once, unless you specifically have an accident, of course.
- Hammer – While you would be incredibly hard-pressed to find any project that didn’t use a hammer one way or another, installing vinyl siding is no different. You will be using your hammer to nail each piece of siding you install so that it will be an invaluable piece of equipment to your project.
What Exactly is Vinyl Siding?
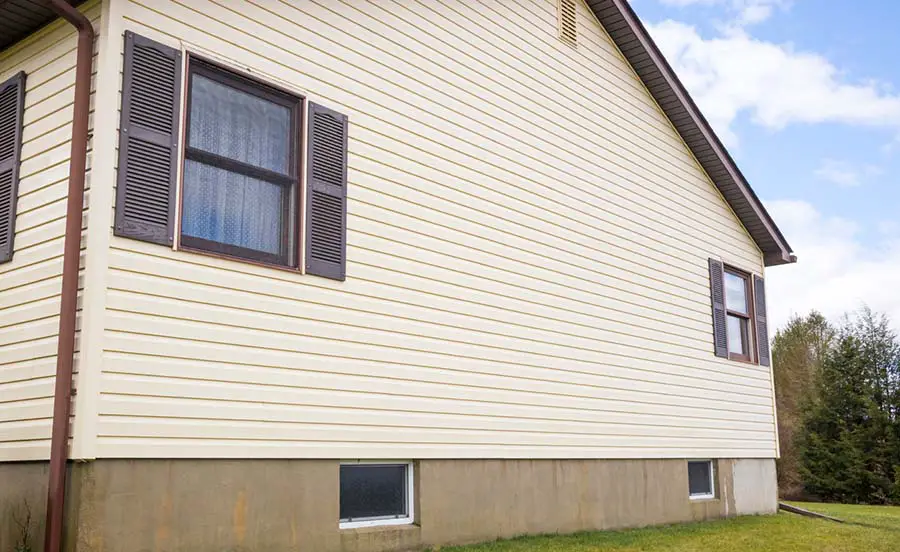
By definition, you could view vinyl siding as a decorative plating attached to the outside of a home or in their more common location apartment housings.
While the siding can undoubtedly add a bit of creative flair to certain housing types, it benefits from also serving as a bit of defense against the elements.
These defenses come in the form of shielding your home directly from rain, dust, and other challenges nature might throw at your home.
Vinyl siding itself is composed of PVC resin components. It is considered under the umbrella term of an engineered product, meaning it is not formed naturally but is artificial.
Seeing as how you can order vinyl siding off the bat, you can choose any number of different patterns, designs, and colors at your discretion, assuming your local distributing facility offers it.
Now that we understand what the siding is and how manufacturers make it let us know how much you can get on average and how much is required to get an average job done!
Conclusion
Figuring out the precise amount of vinyl you need for a job is a chore in itself and can quickly overwhelm people who aren’t experienced in the area or don’t have the understanding required to do the job itself.
If you fall into either of those categories, do yourself justice and hire a professional to get the job done right, and more important, safely.
Sources