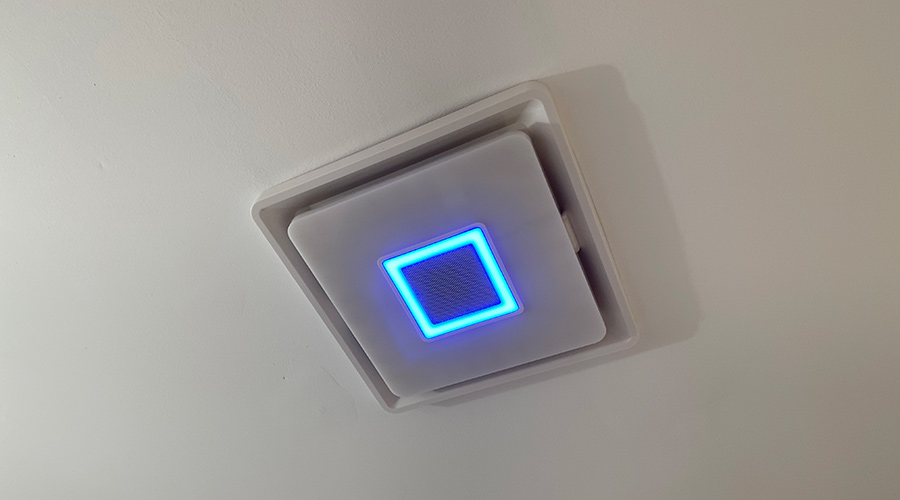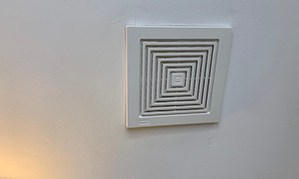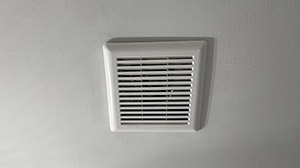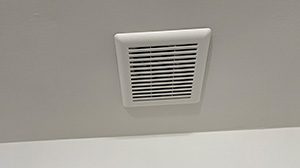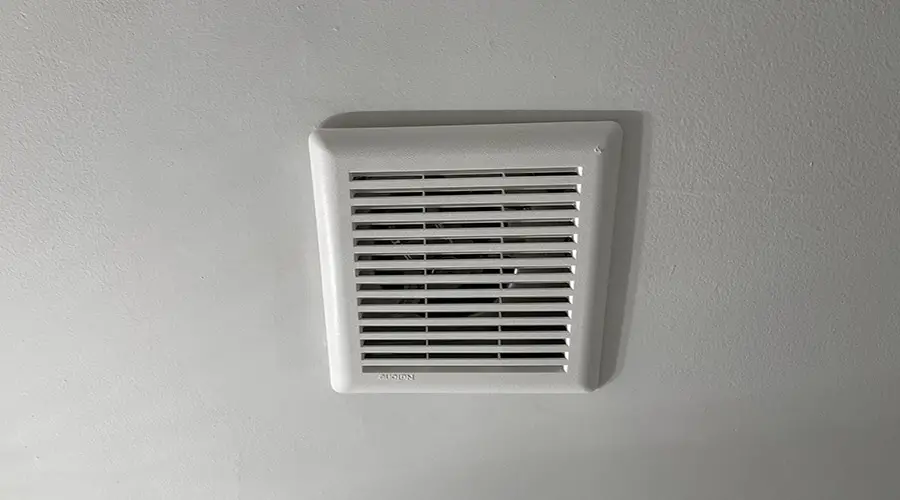
Bathroom fans are the only thing standing between you and a humid, smelly bathroom. Bathroom fans move air from the inside of your bathroom to the exterior of your home.
You need to remove air because bathrooms are hotbeds for moisture and unfriendly odors with no place inside a house.
To properly vent a bathroom fan to the outside of your house. Most warm climates do not require that bathroom vent piping be insulated. It would be best to use insulated exhaust piping to create a direct and safe exit route in some cold climates. Most bathroom fans need a 3″ or a 4″ vent pipe to pass through. Regardless of what kind of pipe or venting method you use, the best practice is always to insulate your exhaust pipe.
Venting a bathroom fan isn’t always a straightforward procedure. There are times when your pipe will pass through unconditioned areas such as attics where insulation is necessary. Other times, your pipe won’t go through an unconditioned space, and you can sneak by without insulation. This article will look at the proper way to insulate and what type of venting is best.
What Ducting is Best for a Bathroom Fan?
When it comes to selecting what ducting to use for a bathroom fan, insulated, the flexible duct is best. High amounts of heat and large debris particles don’t travel through bathroom vents as they do through stove vents and dryer vents. For this reason, the ductwork doesn’t need to consist of any specific material. It only has to be airtight and insulated.
Here are a few types of ductwork that are acceptable and the advantages that they offer.
Insulated Flexible Duct
Insulated flex duct offers many advantages that other types of ductwork don’t. Your exhaust duct needs to be insulated when traveling through unconditioned areas. The fact that your ductwork is available pre-wrapped is a huge time saver.
Depending on how you’re running your exhaust piping, you’re going to have some twists and turns. Whether you’re going through an attic, exterior wall, or soffit, you’ll have to divert your path at least once. In my experience installing bathroom vents and running the exhaust ducting, straight paths are hardly ever a reality.
Because the ductwork is flexible, you won’t need elbows and 45s to go around twists and turns. These accessories also cost extra money, which you can now save and spend elsewhere. Insulated flex duct provides you with the two most essential parts of an exhaust fan vent: insulation and flexibility.
Solid Aluminum or Metal Pipe
Using this type of exhaust pipe is acceptable but more challenging to install. When using any pipe that isn’t insulated, you must take the time to wrap it in insulation. Not doing so could result in condensation forming on the pipe and dripping onto your ceiling. Water damage will inevitably lead to mold and mildew in your bathroom.
Uninsulated Flexible Duct
A flexible duct is readily available in both insulated and uninsulated forms. The downside of using an uninsulated flex duct is that you’ll still have to add insulation in most cases. While code requirements don’t stipulate that you always need to insulate your exhaust duct every time, it’s wise to do so.
The upside of an uninsulated flexible duct is significantly cheaper than aluminum piping and insulated flex duct. The downside is that if you have to insulate it anyway, you’re going to lose those savings on the extra time and cost it takes to add insulation.
Do You Need to Insulate the Exhaust Duct?
While code requirements don’t always stipulate the necessity to insulate your exhaust duct, you should do so no matter what. Uninsulated exhaust ducts can lead to condensation and water damage forming in your bathroom, regardless of how you run your duct. Here are a few of the main reasons to insulate your exhaust duct.
- To prevent water damage.
The biggest reason to insulate your duct is to prevent condensation, which causes water damage. Condensation occurs because the air temperature getting sucked through the exhaust piping often doesn’t match up with the outside air temperature. When these two forces collide, they create condensation, which drips off your exhaust pipe and onto your ceiling.
Condensation is especially prevalent during cold, winter conditions or sweltering summer days when there’s a big difference between indoor and outdoor temperatures. If your duct is insulated, moisture won’t be able to linger and build upon your exhaust pipe.
- For better air quality.
While both insulated and uninsulated exhaust pipes will get the air out of your bathroom, the insulated duct does this better. The better insulated your exhaust pipe is, the more efficiently it can expel air from your bathroom. Humidity, moisture, foul odors, and dust particles get expelled by a properly insulated bathroom fan exhaust pipe.
- To regulate temperature and humidity.
With improved air quality, an insulated exhaust duct can better regulate the bathroom’s temperature and humidity levels. Anytime you or someone else takes a shower or runs hot water, humidity is the result. Humidity has a significant impact on the temperature of your bathroom. You can kill two birds with one stone by adequately insulating your exhaust duct.
How do I Insulate My Exhaust Duct for a Bathroom Fan?
The best and easiest way to ensure that your exhaust pipe is insulated is to purchase a flexible duct that is pre-wrapped in insulation. This type of ductwork is the best option for running an exhaust pipe on your bathroom fan.
However, there are times when the insulated flexible duct isn’t readily available. In those instances, you’ll be forced to use either a flexible duct or a solid duct that doesn’t have insulation. No matter what alternative ducting you use, you’ll have to insulate it and do it properly. Haphazardly wrapping your duct in insulation will still result in condensation problems.
Here’s a step-by-step process of how to properly wrap insulation around your piping.
- Purchase insulation that has an R-value of anywhere between 3 and 6.
You can purchase this insulation at most home improvement stores or stores specializing in heating and cooling products. You can also buy your exhaust piping of choice at this type of store.
- Run your exhaust pipe from start to finish.
It’s much easier to wrap your insulation if you wait until after it’s completely run and secured at both ends. You can optionally wrap it as you go, but it’s easier to wait until you’re finished.
- Wrap the exhaust pipe with the insulation you purchased.
There’s a right and wrong way to wrap ductwork in insulation. It’s imperative that no part of the duct is left exposed and that every part of the insulation is firmly secure. You’ll want a few rolls of duct tape or sheet metal tape to get the job done correctly.
The insulation will most likely come in the form of one large roll. You’ll have to measure and cut the insulation according to the size of your ductwork. Make sure to cut it long enough to wrap the pipe with a one or two-inch overlap.
As you wrap each piece of the exhaust pipe, make sure to slightly overlap the ends by an inch or two to ensure that the ends don’t get exposed. Even the slightest crack in your insulating armor can result in condensation and water damage.
Once you’re satisfied with your insulation, your task is complete, and you’re ready to give your fan a test run.
What Size Duct do I Need for a Bathroom Fan?
Most bathroom fans require a duct anywhere from 3″ to 6″ in diameter. Small bathrooms can get by with smaller fans, utilizing a smaller pipe, but larger fans will need bigger pipes. Here’s a table indicating the different sizes of fans and the pipe that should accommodate each one.
| Bathroom Fan Capacity (CFM) | Appropriate Diameter Range | Recommended Diameter* |
|---|---|---|
| 50 | 3″ to 4″ | 4″ |
| 80 | 4″ to 5″ | 4″ |
| 100 | 4″ to 6″ | 6″ |
| 125 | 5″ to 6″ | 6″ |
| 150 | 6″ to 7″ | 7″ |
| 200 | 7″ to 8″ | 7″ |
| 250 | 7″ to 8″ | 8″ |
| 300 | 8″ to 9″ | 8″ |
Far and away, the most common size for bathroom fan vents is 3″ to 6″, with a 4″ pipe being the most prevalent. It’s highly uncommon to see vent pipes bigger than 6″ outside of commercial buildings. 3″ and 4″ pipes are by far the most common pipes for bathrooms inside a residential home.
In the end, the bigger your duct is, the more efficiently it will expel air from your bathroom. Bigger ductwork also costs more money, so don’t be wasteful and get a much bigger duct than is necessary. Also, keep in mind that the bigger the duct is, the harder it is to install. A bigger duct requires a bigger hole in the exterior of your house and a larger space to fit through.
The easiest way to gauge the duct size you need is to determine how big of a fan you need and get the duct corresponding with it. If your fan comes with a 3″ pipe attachment, use a 3″ duct. If it comes with a 4″ pipe attachment, use a 4″ exhaust duct.
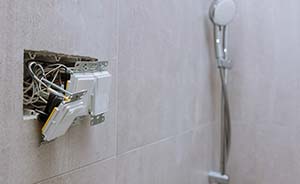
What is the Best Way to Attach a Flexible Duct to the Fan and Vent Pipe?
There are several ways to go about it when it comes to connecting your flexible ductwork to the bathroom fan and the vent termination. Regardless of what route you choose to use, you should always wrap the flexible inner portion of the duct around the outside of the connection point. Pull the insulation over the top of the flexible duct and securely fasten that as well.
1. Hose Clamp
You can use hose clamps to attach the inner flex and the insulation to the fan and vent pipe. Hose clamps come in many different sizes, and you should have no problem finding one in the size of your exhaust pipe. Hose clamps are a handy option because you can easily remove them if necessary.
2. Zip ties
Zip ties are on the same level of handiness as hose clamps. They come in many sizes to accommodate their wide range of use. You can once again use zip ties to attach the inner flex and the outer insulation. The downside of using zip ties is that once they’re secured, the only way to loosen them is by cutting them.
3. Duct or Sheet Metal Tape
Over the years, I’ve installed dozens of ceiling-mounted bathroom fans and accommodating exhaust pipes. My method of choice was always to use duct tape or sheet metal tape. I preferred tape because of the guaranteed airtight seal forming around the flexible duct. However, it would be best if you didn’t use tape to fasten the insulation over the top of the flexible duct.
One thing to be watchful for when using tape is that the surface of the fan often has an oily coating. This oily coating makes it difficult for the tape to adhere to its surface, and you may need to clean it first.
How to Connect Solid Piping to the Fan and Vent Pipe.
If you must run solid piping for your fan exhaust, the best way is to do it with duct or sheet metal tape or fasten it with screws. If you decide to use screws, you should still use tape to form an airtight seal.
What is the Code for Venting a Bathroom Fan?
Surprisingly, there aren’t many code requirements for installing a bathroom fan vent. Unlike dryer vents, furnace vents, water heater vents, and oven vents, bathroom fan vents don’t carry high amounts of heat. They also don’t expel lint or harmful emissions like dryers, water heaters, and furnace vents.
Most vents need to be a certain distance away from windows, doors, and other entrances into your house. Here is a list of specific code requirements for a bathroom fan vent.
- Every bathroom requires an openable window that provides at least 1.5 square ft of airflow area when open – 2006 IRC [303.3] OR mechanical type ventilation: 50 CFM intermittent or 20 CFM continuous operation – 2006 IRC [303.3X]
CFM – cubic feet per minute – a general term used to specify the amount of air that the bathroom vent/fan (in our case) can move within one minute of its operation.
- Air must be exhausted directly to the outside – 2006 IRC [303.3X]
- May not discharge to crawlspace or attic – 2006 IRC [1506.2]13
- Outdoor openings screened 1/4″ – 1/2″ mesh – 2006 IRC [305.5]
Newer building codes no longer recognize windows as a proper ventilation source, but this only applies to new construction and bathroom remodels.
To accommodate houses where venting to the exterior is not an option, vent-free bathroom fans like Broan-NuTone Nutone 682NT Duct-Free Bathroom Ventilation Fan do not have a vent pipe.
Instead, the “fan circulates air past a replaceable activated charcoal filter to continually cycle the air in enclosed spaces.” So, you’ll need to change the filter as part of your home maintenance schedule for optimal performance.
Outside of these rules and regulations, bathroom fan vents are largely left open-ended and up to the discretion of the person installing them.
Final Thoughts
Regardless of where or how you’re installing your bathroom fan, the accompanying exhaust fan should always be insulated. If you don’t want to deal with condensation, mold, and water damage, insulation is best to avoid it. Insulation adds quality to your exhaust system that isn’t attainable without it.
You can choose to install the exhaust piping yourself or have a qualified professional do it. If you want to save money and do it yourself, the former is your best option. If, however, you’re worried about not doing the job properly, then hiring a professional is your best bet.
Sources
What is the best duct for bathroom ventilation? – Continental Fan