Purchasing a portable air conditioner is often considered the most challenging aspect of getting one set up and running. Still, the truth is setting up proper ventilation in the unit is the most time-consuming and arduous part of the entire process.
One may ask themselves, how on Earth do you vent a portable air conditioner?
Here are the steps how to do it yourself:
- Measure the width of your window
- Adjust the window bracket to fit your window
- Secure the frame using L-shaped brackets
- Connect both ends of the vent hose
- Plug your unit in a nearby outlet
- Power your AC unit on and cool off!
This article aims to clear the air of confusion and any possible mishaps from doing that particular part of the installation wrong. Before going into the core of how to get it done, let’s briefly get in touch with why proper ventilation is essential in the first place.
Why Is Proper Ventilation Essential For Success?
Air conditioners function by taking in hot air, removing excess moisture, and cycling some of that air back into your home at a reduced temperature. This process is done in no small part by venting the hot air out. If this portion is skipped, not only did you waste money on your air conditioner, but it won’t be making the room it is installed in any cooler.
The worst outcome of not doing this correctly would be that the AC unit would be taking in hot air, and it would not do its job correctly. Instead of utilizing the internal process to cool the room, it would make said room that much hotter, something I am sure you want to avoid at all costs, so let’s get down to doing the job right!
Step By Step Guide To Venting Your Portable AC Unit
Step 1: Measure The Width Of Your Window
The first thing you will want to do after buying your air conditioning unit is to measure the width of the window you will be venting from; you want to know the precise size of the bracket you are venting from.
Take your time and be diligent with this measurement because if you are off by even a little bit, you can have a gap in the bracket, leading to poor ventilation and an ineffective performance from your AC by association.
After getting your measurement, you will want to buy and install a foam weather strip along the window frame to ensure you don’t get any unwanted guests (bugs and other such rabble), dust, and, most importantly, excess heat.
Step 2: Adjust The Window Bracket To Fit Your Window
Next, you want to measure the window you obtained earlier and adjust it to fit that exact measurement accordingly. Not all brackets are built the same, and some may require you to go above and beyond the call of duty and cut them into size to fit your window shape.
If you lack the tools to do so, read through the buyer’s manual on the back of the product to guarantee you don’t purchase one that needs these. After sizing the bracket to fit the window, you will want to pull the window down and get ready to lock it all into place.
Step 3: Secure The Bracket Using L-Shaped Brackets
Now that your measuring is out of the way and your bracket is in place, it’s time to lock it in, prevent it from having any wiggle room, and eliminate arguably the most complicated part of the installation.
The L-shaped brackets are supposed to be placed on either side of the window frame where it slides in and locked in using provided screws or wingnuts.
These needs will vary from product to product, so check your manual to ensure you use the right tools and screws to increase the product’s stability.
Step 4: Connect Both Ends Of The Vent Hose
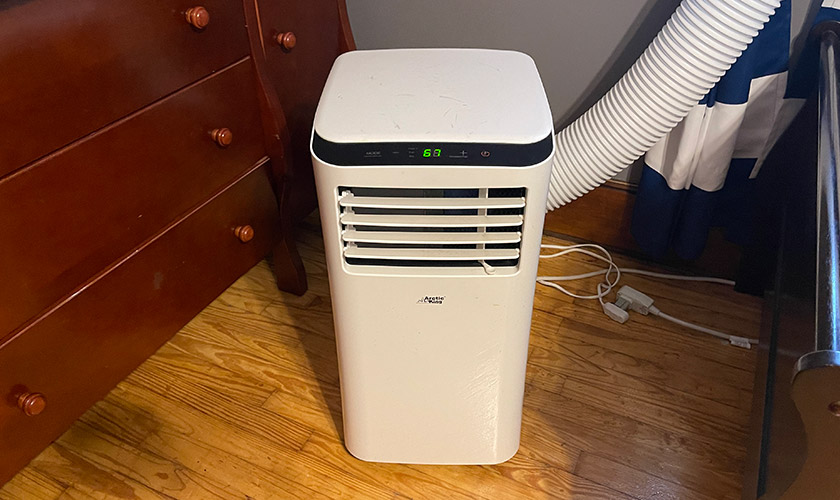
At this point, you are home-free, and you will want to connect the first part of the vent hose to the back of your AC unit. Most of these feature a simple sliding mechanism that locks them into place. Others may feature additional screws to hold it in place more securely.
After that, you want to move the AC unit closer to the window so the vent house itself can be attached to the window bracket. Be careful during this portion of the installation because the house can easily be bent and damaged, rendering your AC’s ventilation weaker and the room cooling capabilities less than desirable by association.
The hose link into the bracket almost always requires screws to lock them into place and get that seamless flow of ventilation from the window.
Step 5: Plug The AC Near A Plug
Placing the AC near a plug can derive power from is the next step, and it is as straightforward as it sounds. The only real complication you could have here would be that you’ve installed the bracket in a location with no access to a plug.
In the event of this, you have two primary options;
- Option A: You uninstall the bracket and relocate to a part of the house with easy access to a plug.
- Option B: You purchase an extension cord to make the reach.
Depending on the length from the bracket to the plug, a power surge strip could make the distance work and add some extra protection to your AC in the event of a storm or outage.
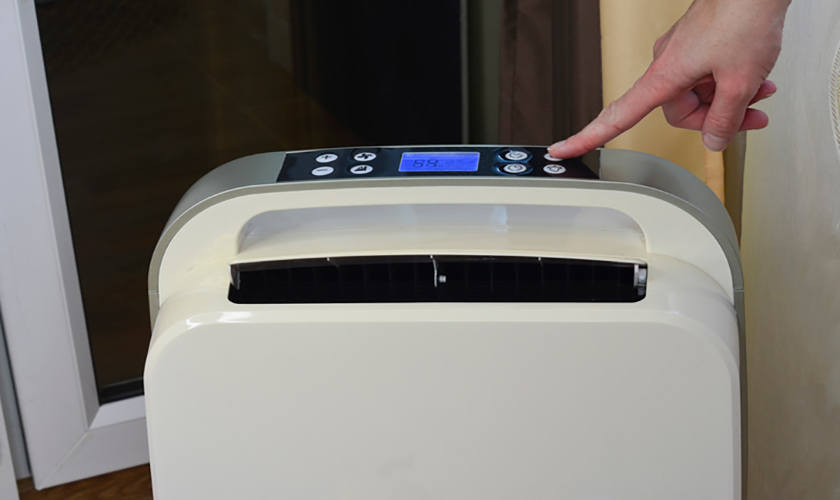
Step 6: Power The AC On & Cool Off
Now that the hard part is all wrapped up, you are ready to turn your AC on and enjoy the refreshing breeze you’ve labored to achieve! Please take a moment to press the reset button on your unit to ensure it is calibrated correctly, then turn it on.
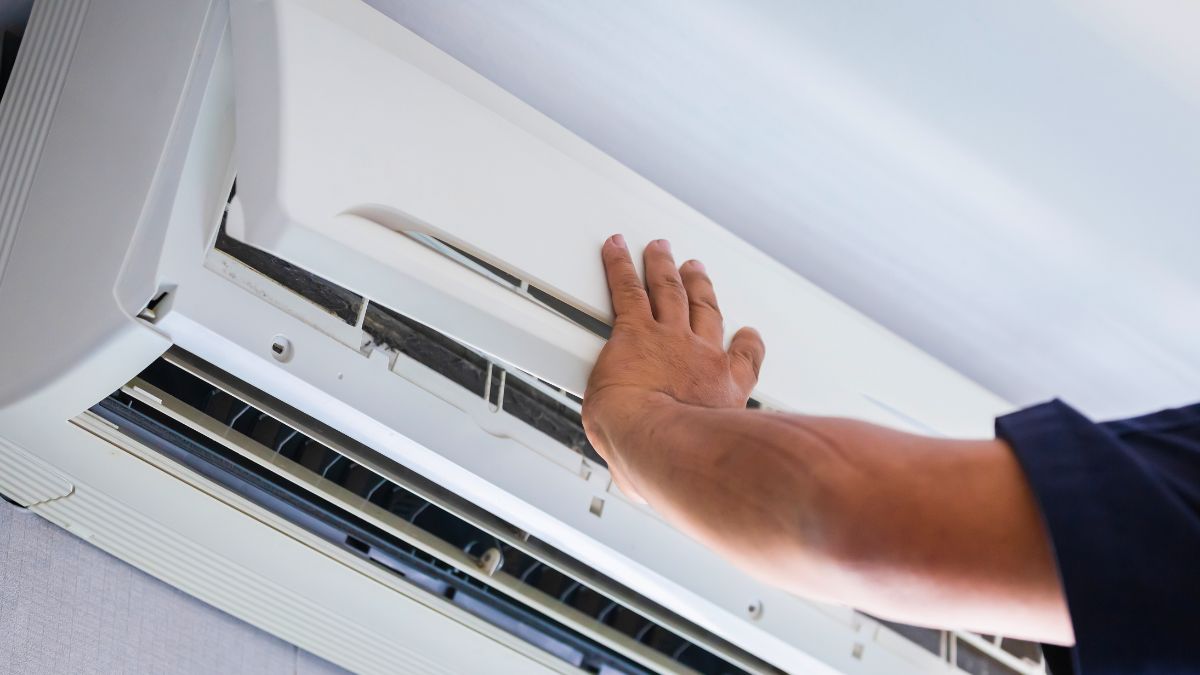
Tips: Clean the air filter frequently, drain the condensation when needed, and not be used for an extended period. Doing so will maintain the strength of the air currents from the unit itself and grant the unit increased longevity.
Venting Options For Your Portable AC Unit
We’ve gone through the most obvious form of venting for your AC unit, but it’s worth noting some alternative methods depending on your situation. Not everyone has the traditional vertical sliding windows, and in that case, you will need to do things a little bit differently.
1. Take It Through The Windows
Due to the guide above, this one is more or less self-explanatory. If you want a guide on this one, reference what we have above and go through steps one through six. The horizontal sliding window can prove to be a bit more of a challenge, but it’s still handled the same, take accurate measurements before the installation, and you shouldn’t have any problems getting it done.
2. Vent Your AC Unit Through Casement Windows
Those knowledgeable in the art of DIY will make these seemingly counterproductive windows fit the bill perfectly. Seeing as casement windows open very similarly to doors, at first glance, it would seem like your traditional installation with a window kit might not fit the bill.
However, you can make skillful use of a layer of Plexiglas to create a gap large enough to fit the exhaust hose through and vent your AC effectively to boot.
3. Vent Through Sliding Doors & Sliding Windows
Another deviation from the norm is that sliding doors and windows can be tedious, but ingenuity is the game’s name in these situations. You would want to make skillful use of the window brackets and fill the remaining holes with wood, Plexiglas, or something along those lines.
These installations can give you a lot of trouble, so double your efforts to ensure you have no gaps that excess heat from outside can leak in.
How To Vent A Portable AC Unit Without Windows
Contrary to popular belief, you can indeed vent without having windows. Still, in almost every case of these instances, it is considerably more effort than you will discover below; however, you genuinely have no other options. These will serve as your much-needed solutions.
1. Venting Through A Wall
Utilizing a carefully made hole in the wall, you vent out the excess heat from one room into one that isn’t as often used; for instance, a laundry room, garage, or even storage area (given you aren’t storing heat-sensitive objects inside).
After making a hole that fits the exhaust hose size, you cover the outside area of the hose with any sealant that won’t erode or wear itself, like silicone caulk, for example.
2. Venting Through a Drop-Ceiling
To use this method, you will need to reconfigure a panel ceiling or any other kind of drop into a suitable ventilation zone for the excess heat to be disbursed inside. To do this, you need to make a hole in a panel that can fit the exhaust hose. After this, you follow the same steps as the hole method, taking your choice of sealant around the house, and you have an improvised ventilation hole.
3. Other Methods Of Ventilation
As you can tell, this is a rabbit hole at the end of the day, and you can theoretically vent anywhere if you are creative enough to think of a place to put a whole and skillful enough to seal up the side you want to keep cool.
Due to this train of thought, there are many methods you can use and achieve the same goal, keep in mind that safety is the primary concern at the end of the day. Being cool doesn’t mean anything if your wallet or health heats up due to experimentation.
Conclusion
Ventilation is key to achieving those ice-cold temperatures to combat the summer heat waves or just keeping a room at a comfortable temperature. With any luck, you are now well equipped with a method or two to achieve that goal.
Inspect the room you want to cool diligently and plan an attack on how you want to get your ventilation going before making your purchase. That way, you have ample time and resources to find a solution that works right for you.