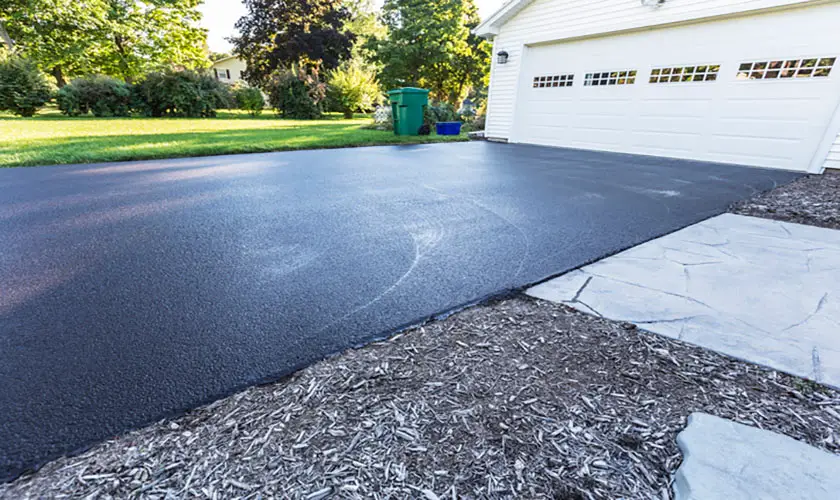
Skim coating refers to the process of thinly applying mud or plaster to a wall to repair it and improve its attractiveness. And while people commonly do it on drywall, one can also do it over concrete surfaces.
For concrete, skim coating involves applying a thin layer of cement mixture over a concrete surface. It is a way of resurfacing surfaces to hide imperfections such as cracks, stains, or grout lines. By applying this texturing technique, your concrete surfaces will look better and last much longer. In addition, they will have better drainage and become more waterproof.
If you want to skim coat over your concrete surfaces, such as floors, driveways, patios, and stairs, it will help if you knew what to expect and do. This article discusses the basics of skim coating concrete surfaces.
How Much Does It Cost To Skim Coat Concrete?
Before starting your skim coating project, you need to have the money required to pay for the supplies and labor. Research shows that resurfacing about 100 square feet of concrete surface will cost you anywhere from $300 to $500.
However, the condition of the concrete surface you want to skim coat will also influence the overall costs. If there are cracks, debris, plants growing through the cracks, stains, and grease, you will need to spend more effort or pay someone to deal with that first.
Also, the size of the surface you intend to work on will determine how much you pay in the end. The larger the surface area, the costlier it will be.
How Long Does A Skim Coat Of Concrete Take To Dry?
Skim coats take different times to dry. Some dry in a matter of hours. But it is advisable to wait for one or two days before doing anything else to the concrete surface, such as sanding. However, painting such surfaces may require more drying time.
If you want faster results, you could use a box fan or space heater to speed up the process.
How Do You Skim A Concrete Base?
Skimming a concrete base takes some work. However, you don’t need to be a concrete expert to do it. Plenty of online resources exist, and they can help you learn the skim coating process. Below are the basic instructions that can help you get started.
1. Prepare The Concrete Surface
Start by wearing protective clothing such as a coverall, gloves, and a mask.
If you intend to work on concrete walls, first cover the floor and furniture with drop cloths to protect them. And move out any items if you intend to skim coat over a concrete floor. If the area you intend to work on is outside, protect the outdoor plants and décor items. You can do that by moving them or covering them.
The next step is to remove anything sticking to the concrete surfaces you intend to work on. You can use a drywall or putty knife to do that. For paint, use a chemical paint stripper. But you can also use a wire brush or paint scraper to help you get rid of old paint. A chemical stripper will also come in handy if you need to remove sealants on the concrete surface.
Once you have removed anything stuck to the concrete surface, you should use a pressure washer to clean it. That will help remove most debris and dirt.
You need to fill up any depressed areas. You can use a patching compound for that. Caulking is usually an excellent way to repair cracks within the concrete. You will find work much easier when you use a caulk gun to do that. Ensure that the compounds you use cure completely before proceeding.
As for raised areas, you may need to put in some effort in sanding or grinding them to make them level with the rest of the surface. We recommend that you sand or grind the concrete surfaces to make them rough enough to improve adhesion with the skim coat.
You may want to vacuum and then rewash the surface to clean it up.
It would help if you applied a primer during the preparation stage. Primers tend to improve adhesion, thus ensuring the skim coat sticks well to the existing concrete surface. In addition, they help prevent mold and mildew and prevent future cracking and peeling issues.
2. Apply The Skim Coat
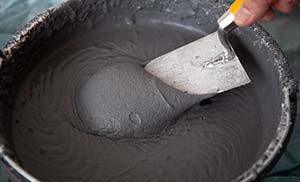
Once the concrete surface is fully prepared, you can apply the skim coat. Some skim coats are ready to use, while others need additional preparation first. If you buy the latter, mix the skim coat with water according to the instructions.
In that case, use an electric drill and a stirring bit or paddle extension to mix the cement and water in a bucket. The result should be a paste that you can apply easily.
If you intend to skim coat over vertical concrete surfaces, make sure you choose the right products for that purpose. Such skim coats have additional bonding agents to help the cement mixture stick to the walls.
For the best results, you need to wet the concrete surface on which you will be working. A pump sprayer can help you do that. And it would help if you worked on it in smaller, manageable sections so that the skim coat does not dry before application. Typically, two layers of skim coat are usually applied.
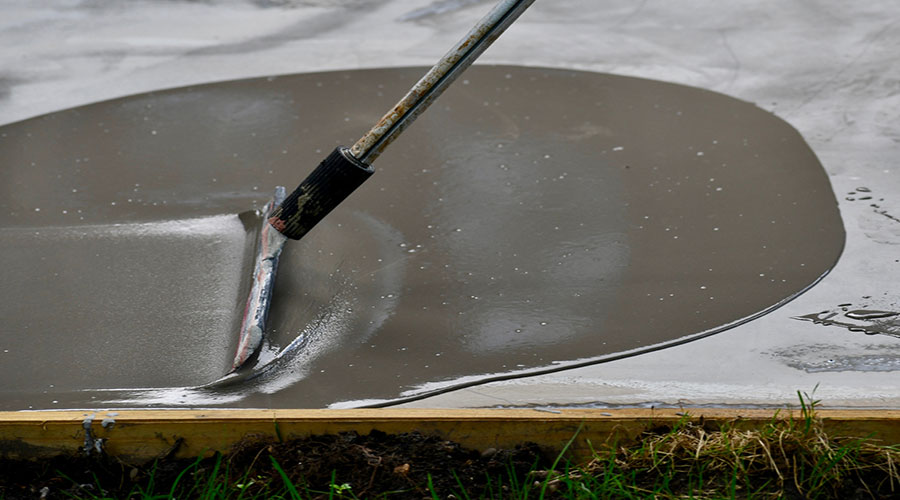
- So, start by pouring the first layer of the first coat. You can either spread it out using a trowel or long-handled squeegee. Use a back-and-forth motion to spread the skim coat evenly. And in hard-to-reach areas, you can use a brush instead. However, if you are working on concrete walls, start from the top or bottom. Then the mixture towards the center of the wall.
- Once the first coat is applied, give it several hours to dry. You can even wait a day. Then you can lightly sand the surface and clean it before applying the second coat.
- For the second coat, you can start by mixing another batch of skim coat. The paste is usually slightly thicker than the first one. And depending on the manufacturer, you may need to apply the base color at this stage.
- Once again, you need to wet the concrete surface you will be working on, then begin applying the second coat. You can use a trowel to do that while scraping the excess mixture with the trowel’s edge.
- If you want more texture to prevent the concrete from becoming too slippery, consider using a push broom to add it while the mixture is still wet.
3. After The Skim Coat
You also need to apply a penetrating concrete sealer to ensure the surface stays clean and becomes more resistant to stains. Sealing should be done annually for concrete surfaces exposed to the elements or a lot of traffic.
A good sealer will cost you anywhere from $20 to $80 per gallon. Each gallon will cover anywhere from 50 to 200 square feet for the two coats professionals recommend.
If you like, you can opt to acid stain or dye your skim-coated concrete surfaces. However, it is better to acid stain before sealing so that the concrete takes the acid well. The same also applies when you use concrete dyes, which need a porous surface. However, you should only apply paint after sealing the concrete surface.
How Long Does A Skim Coat Last?
Generally, you can extend the lifespan of concrete by anywhere from 8 to 15 years. So, that buys your concrete surfaces more time before you need to replace them.
Final Thoughts
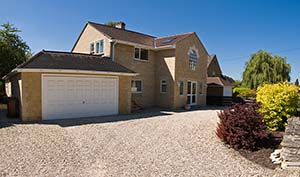
Skim coating over concrete is not only possible, but it is much cheaper than replacing your concrete surfaces. By opting for a skim coat, you will strengthen your existing concrete surfaces and enhance their durability, thus giving you more time to come up with a big enough budget for replacement.
And the great thing about skim coats is that you can learn to do them on your own or with loved ones. So, you will end up saving even more money that way. It’s worth considering if you need to breathe new life into your concrete walls and floors.
Sources: