Mitsubishi is one of the leading brands for mini-split heat pumps. However, regardless of how perfectly you install them in your home or how durable they are, all heating and cooling appliances experience technical problems now and again. You must know what to do when these problems occur.
Many problems can occur with Mitsubishi mini-split heat pumps. Failing to heat or cool, the fan not blowing air, electrical problems, blinking lights, and water leaks are just the tip of the iceberg in terms of possible issues. You must recognize when your mini-split isn’t operating correctly and take immediate action.
However, no matter what goes wrong with your Mitsubishi mini-split, we have your answer in the lines below. We’ll also discuss what you can do to prevent most of these problems from happening in the first place. Let’s get started!
Get FREE quotes from licensed HVAC contractors in your area today. Whether you need a new install, service, or basic repair We Can Help! All HVAC contractors are screened, licensed, and insured.
How to Prevent Mini-Split Problems
The best fix for a mini-split problem is to prevent them in the first place. Let’s go over some of the best things you can do to protect your Mitsubishi mini-split and ensure it has a long and trouble-free life.
Ensure Proper Installation
If you or an HVAC pro didn’t install your mini-split correctly, problems are inevitable and will happen much quicker than they should. Installing a mini-split is a tedious and demanding task and should only be attempted by trained professionals.
Doing anything incorrectly, such as forgetting to release the refrigerant, improper wiring, not securing the units appropriately, and much more can result in disaster. For this reason, most mini-split installers have to go through extensive training courses before they’re allowed to install certain units, Mitsubishi being one of them.
Clean Your Filters
One of the most important and easiest things to do with your mini-split is clean the head unit’s inside filters. Your filter’s job is to trap particles and dirt that get sucked from the air into the unit before they can damage its mechanical components. Dirty filters won’t work correctly and impede airflow, which could cause your mini-split coils to ice over.
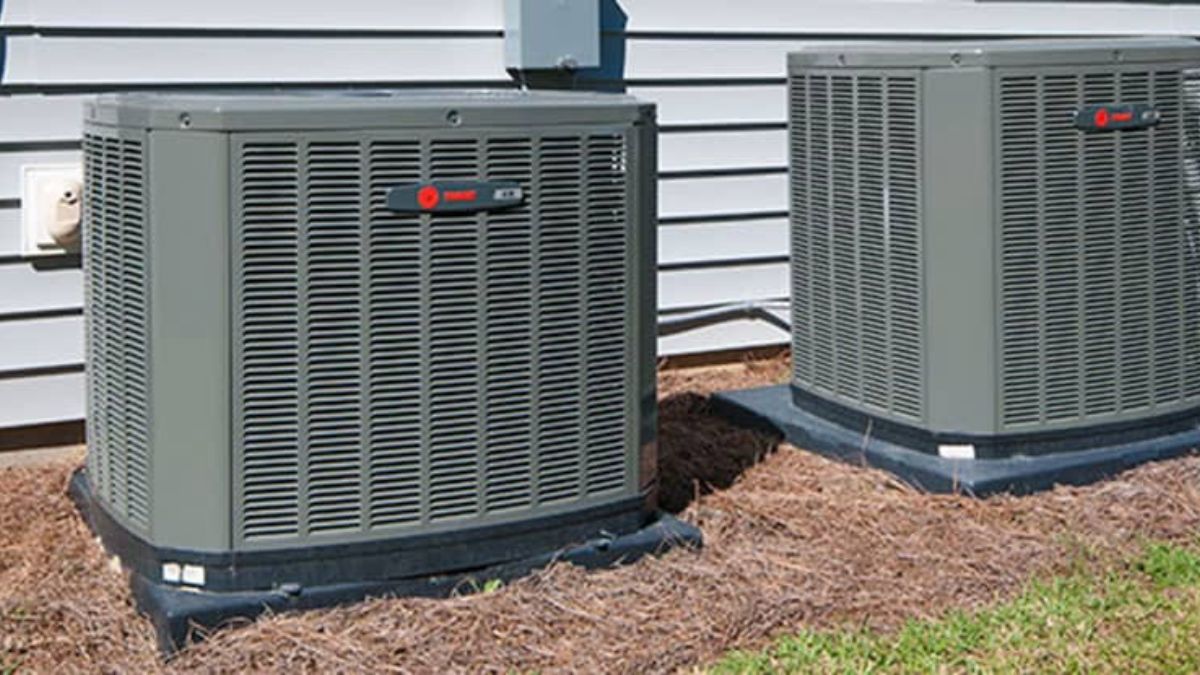
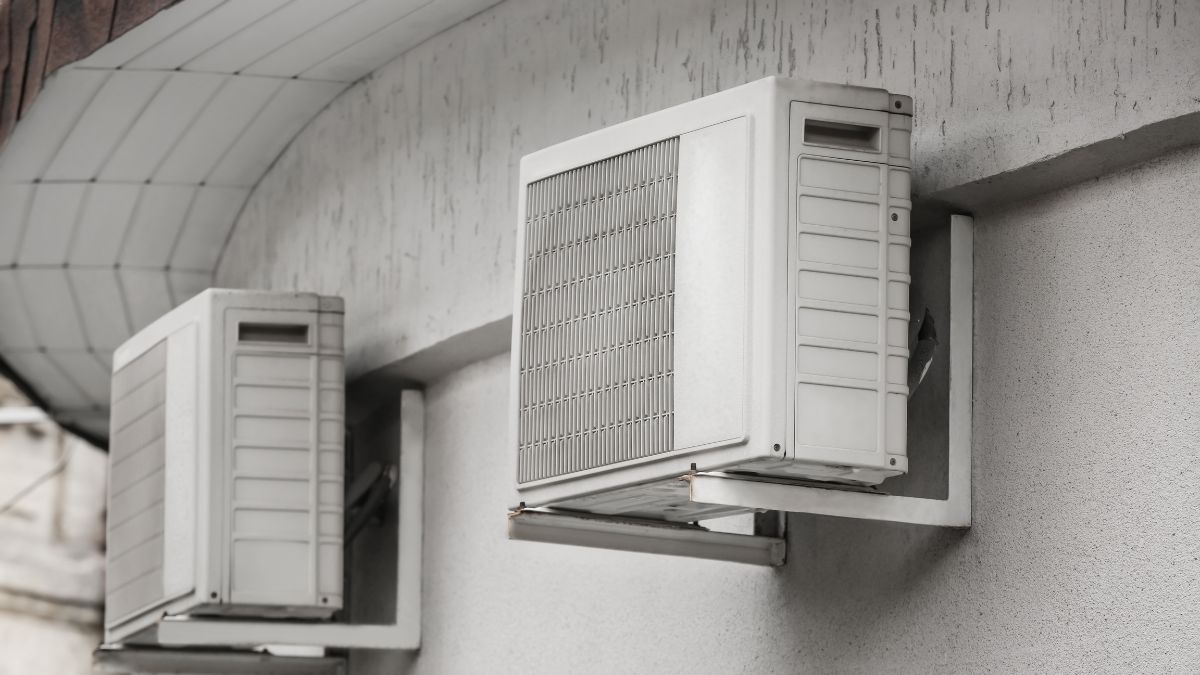
Care for the Outdoor Condenser
Taking care of the outdoor unit on your mini-split is as essential as caring for the indoor unit. You should ensure that the unit is level and secure and that there’s adequate airflow around the condenser. It’s good to keep the area clear around your condenser and to build a small roof or shelter at least two feet above the unit to keep ice, snow, and debris from falling onto it.
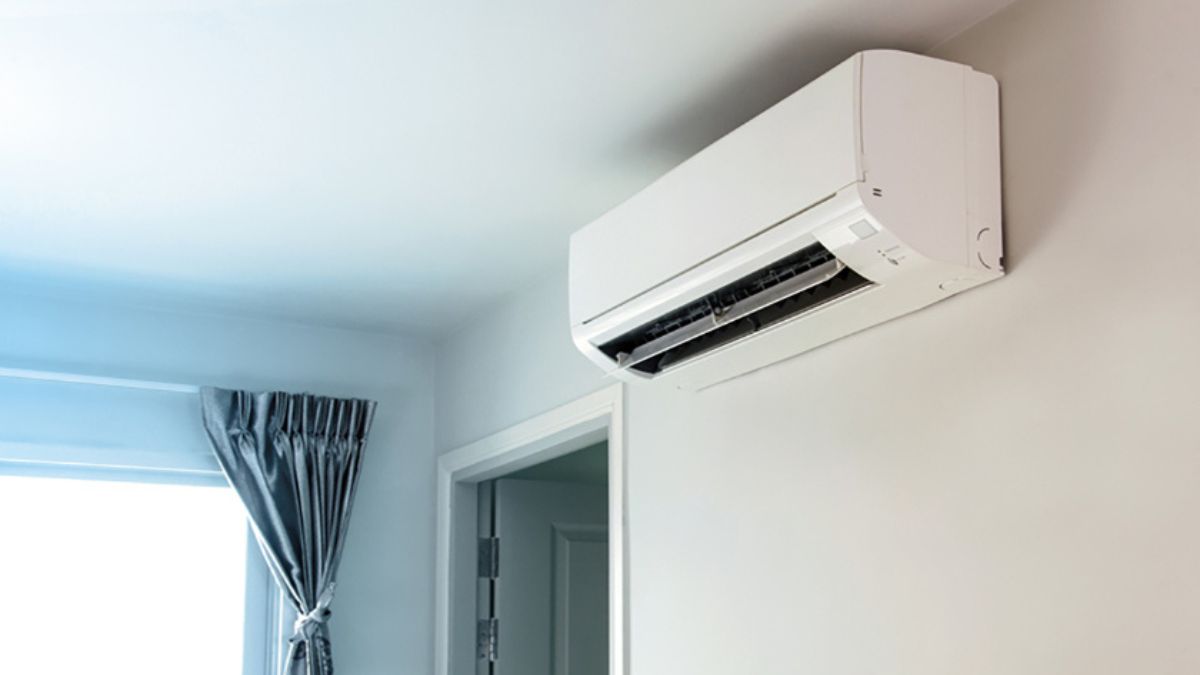
Clean the Head Unit
Cleaning the indoor or head unit filters is a great start, but that’s not all you should do. Proper maintenance includes pulling the unit off the wall to:
- Inspect the drain line.
- Clean the coils.
- Check the electrical wiring.
If this is too tall of a task for you, you should hire a professional.
Have Your Mini-Split Professionally Serviced
As you can see, there’s a lot of work to protect and maintain your mini-split. While there are several things you can do yourself, it’s a good idea to have the system professionally serviced at least once per year. Remember, you’re relying on your mini-split for heating and cooling, meaning it will be working double-time and needs double the love.
Most Common Mitsubishi Error Codes and How to Fix Them
One of the best features of Mitsubishi mini-splits is that they flash an easy-to-read error code when they have a problem. This code will flash on the front of the indoor head unit and usually comes in the form of letters, numbers, or a combination of the two. Most error codes are two digits, such as E1, P2, and so forth. Let’s go over a few of the most common ones.
Error Code P6 – Freezing or Overheating of the Head Unit’s Evaporator Coil
One of the more common error codes you may run into is P6. A P6 error code means that the evaporator coil on your head unit is either freezing or overheating, depending on how you’re using your system. If you’re operating it in cooling mode, freezing is the likely problem. If you’re in heating mode, then overheating is most likely.
A frozen or overheated coil on a mini-split often gets caused by the same issues that create this problem on a traditional heating and cooling system.
- Dirty air filters on the head unit
- Inadequate airflow going into and out of the unit
- An obstruction blocking airflow on the outdoor unit
- Low refrigerant or a refrigerant leak
How to Fix
The two most likely causes of a P6 error code and a frozen or overheated coil are inadequate airflow or a refrigerant leak. Unfortunately, you won’t be able to do an accurate check for a refrigerant leak unless you have the proper HVAC equipment, including a leak detector and AC gauges. However, here’s how you check for dirty air filters, an obstruction, and inadequate airflow.
- Turn the unit off.
- Raise the front cover on the mounted head unit of the system.
- Inspect the air filter inside the outer cover of the head unit. If they’re dirty, this is likely the cause of the problem.
- Remove the filters, wash them in lukewarm or cool water, and then dry them off completely.
- Give the evaporator coils adequate time to defrost or cool down, depending on the problem.
- Reinstall the air filters and resume regular operation.
If the air filters aren’t dirty, restart the unit. Put your hand in front of the air vent where the air blows out of the head unit. If you don’t feel anything or very little air, it’s possible that your motor has given out or something is obstructing the fan component on your outdoor unit. While you can check for problems with the outdoor unit, only an HVAC pro should test your fan motor and refrigerant levels.
Error Code P8 – Abnormal Refrigerant Line or Coil Temperature
When your mini-split is operating as it should, your refrigerant line and evaporator coils should get extremely hot or cold from the refrigerant inside it, depending on the mode you’re running the system. However, if the system doesn’t detect a temperature change for nine minutes, it will automatically shut itself down and flash a P8 error code. Here’s what happened.
- There’s no refrigerant in the system.
- A bad compressor
- The service valves are closed and are not allowing the flow of refrigerant
- A faulty control valve or thermistor
- Something’s blocking the flow of refrigerant
How to Fix
If there’s no refrigerant in the system, you either have a bad leak and the system is now empty, or whoever installed your mini-split forgot to open the service valves. If your mini-split has been working for any time and is just now experiencing problems, you likely have a leak, bad compressor, or bad control valve.
However, if you’re starting your unit up for the first time and the P8 error code happens, your service valves aren’t open, or your refrigerant lines are blocked.
- Turn off the unit.
- Start by checking your refrigerant lines to make sure they aren’t kinked.
- Next, raise the cover on the head unit to inspect the thermistor and control board.
- If you notice any frayed wires or burn marks on the thermistor or control board, this could cause the problem.
- To check the service valves, go to the outside unit. The valves are on the side of the condenser.
- The service valves are right where the refrigerant lines connect to the condenser.
- Remove the protective nut that’s covering the service valve.
- Use an appropriately sized Allen wrench to turn the service valve.
- Turn the inner service valve counter-clockwise with the Allen wrench.
- If you can turn the valve and hear a hissing or whooshing noise, it’s the sound of refrigerant getting released through the refrigeration lines.
- This sound indicates that the service valves were closed and is the likely cause of your P8 error code.
- Repeat the process on the other service valve and make sure both are fully open.
Error Code E9 – Communication Error Between the Units
A flashing E9 error code means a communication error between your head unit and the outdoor condenser. The two units communicate with a black, four-prong wire, usually red, white, black, and blue or green leads. This wire is responsible for communicating what setting and mode the units are supposed to be on.
How to Fix
This error code is almost always because the wires got connected in the wrong sequence or a loose lead.
- Turn off the unit to avoid electrocution or control board damage.
- Check the outdoor unit’s wiring setup and note where each of the different color wires got connected to.
- Check to make sure all the connections are secure.
- Go to the indoor unit and repeat the process.
- Ensure that each wire color gets attached the same way as the outdoor unit.
- Double-check your connections and make sure they’re secure.
- Restart the unit and see if you have resolved the problem.
- If the problem persists, the communication wire is severed or nicked between the two units.
Error Code P1 – Intake Sensor Error
The intake sensor goes by several names, including the return air sensor or the thermistor. Its job is to act as the thermostat on the head unit and notify the mini-split when it’s time to turn on or shut off. If it’s malfunctioning, the front of your head unit will flash with a P1 error code. A P1 error code usually happens if the thermistor or intake sensor is damaged and can’t detect the temperature.
How to Fix
- Turn off the unit.
- Unplug the sensors from the control board.
- Check the thermistor and control board for frayed or disconnected wires or burn marks.
- Take a thermometer when the thermistor has had time to reach room temperature and check its temperature.
- The reading should be right around 77 degrees Fahrenheit.
- Next, use a multimeter and check for connectivity between the intake sensor and the control board.
- Electrical problems and shorts are often the cause of a faulty thermistor.
Error Code P4 or P5 – Problem With the Drain Line or Sensor
If you see an error code P4 or P5 flashing on the front of your head unit, the most likely reason is that your condensate line isn’t draining properly. The condensate line is located inside your head unit and travels outside your home, usually through a hole in the wall behind the unit.
The most likely reasons that your drain line is experiencing an issue is because:
- A clogged drain line or trap
- Insufficient airflow through the drain line
- The motor or sensor on your condensate pump isn’t working
- Your HVAC installer didn’t install the drain line properly
- An electrical problem between your control board and the drain pump
How to Fix
- Pull the head unit away from the wall. You’ll need a special head unit support tool to hold the unit up, so you have both hands free.
- Detach the condensate drain line from the back of the unit and check for clogs and water.
- Pour some water into the drain line and go outside to see if it came through.
- Use an electrical tester to check for connectivity to the drain pump.
- Call a professional HVAC technician with Mitsubishi mini-split experience to diagnose and fix the problem.
Error Code E0 – Remote Controller Signal Receiving Error
Mini-splits don’t have separate thermostats or manual controls to operate them. So, if your remote control isn’t working, you won’t be able to operate your Mitsubishi mini-split. An E0 error code usually accompanies this problem on the front of the head unit.
The most likely causes of this problem are because you have a bad remote control, the control board on the mini-split is bad, or there’s a faulty communication wire connection.
How to Fix
- If you have multiple head units in your home, take a different remote and attempt to control the malfunctioning mini-split. You have a faulty remote control if it works with a different remote.
- If the problem persists with multiple remote controls, the issue likely rests with your control board or communication wires.
- Inspect the wires first and make sure they’re securely and properly connected.
- If the wiring checks out, the most likely cause is a faulty control board.
- You’ll have to replace the control board to repair the issue.
Related Questions
How do I reset my Mitsubishi mini-split AC?
The easiest way to reset your Mitsubishi mini-split is by killing power. Do this by turning the system off, flipping the control breaker, and leaving it off for 30 seconds. Turn it back on and see if your problems went away. A system reset is a good way to fix several pesky issues, but it’s not a cure-all.
Why does my mini-split make a clicking noise?
You shouldn’t be concerned by an occasional clicking noise on the indoor unit because it’s likely just the plastic components expanding and contracting with the flow and temperature of the air.
Why does my Mitsubishi mini-split keep turning off?
Mitsubishi mini-splits get equipped with built-in protectors. When they turn off for no apparent reason, it’s usually because of a safety measure. When this happens, check the front of the head unit for an error code, which will tell you the underlying issue.
Final Thoughts
While Mitsubishi mini-splits are extremely efficient, handy, and durable machines, they’re prone to problems. Proper installation and maintenance will hold most issues at bay for a while, but it’s only a matter before malfunctions occur. You must know what to do and who to call when that happens.
Get FREE quotes from licensed HVAC contractors in your area today. Whether you need a new install, service, or basic repair We Can Help! All HVAC contractors are screened, licensed, and insured.