All too often, incidents happen that we have not prepared for throughout our day-to-day lives. Life happens, anything ranging from stubbing your toe to one of your favorite appliances going out. The only thing you can do sometimes is roll with the punches.
Well, what happens if your dehumidifier breaks down? Does the cost of fixing it outweigh the expense of simply buying a new one? Let’s find out and break down why it is, or depending on what we learn, if it isn’t worth splurging on an entirely different solution.
At times, it may be worth repairing a dehumidifier for relatively cheap or as a DIY project. However, the average repair cost for a dehumidifier is $50 to $200. The more complicated the issue, the more expensive it will be. In this case, it may be worth investing in another instead of repairs.
This article delves into a step-by-step process on how you can properly repair your dehumidifier. Knowing you can spend the least amount of money possible is essential. Let us delve into what we should do!
How to Repair a Dehumidifier
Before we dive in, take time to diagnose the problem and verify if this is something you can handle or if it’s time to seek the help of a licensed professional.
Repairing a dehumidifier is sometimes a very tiring and annoying job, assuming you can restore it properly yourself in the first place.
Fixing it depends on how the issue has fallen in your lap. Suppose it’s relatively simple, like your coils overloading with dust, dander, or dirt. In that case, a good cleaning can get you back up and running.
However, if any of the issues down below occur, you may need to hang up your DIY belt and seek aid from someone a bit more experienced:
- Your dehumidifier fails to turn on entirely
- It is suffering from a loud, rattling noise
- The device is not collecting any water at all (worst-case scenario)
Assuming it is one of the more apparent fixes that can occur, let’s go down the list and see what kind of fixes you can implement. These instances will decide whether you want to break the bank on a new unit or take it to a local repair shop.
1. Check the Power
The tried and tested method of fixing almost anything turning the device or unit off and on to see if it can turn on. While this may appear blatantly evident with troubleshooting an issue, it will give you the most significant call sign-on if you want to bother with it.
Suppose the device cannot turn on at the flick of a switch. In that case, you are dealing with some manner of electrical issue.
The electric problem means that unless you have the knowledge required to navigate electrical components, you will want to hand this over to someone more qualified.
Then again, if you can risk zapping yourself for tinkering with the machine’s inner workings, you can try it. In that case, you’ll want to ensure the device is unplugged, which brings us to our next point.
2. Unplug the Dehumidifier
Suppose you are opening your dehumidifier up and attempting to fix it yourself. In that case, you will want to avoid any possible electrocutions. To do this, all you need to do is unplug it from the outlet.
One might assume you wouldn’t need to advise anyone on unplugging something before working on it.
Still, occasionally people need reminders, and you’ve found one here. There is a significant reason why even shampoo comes with instructions in today’s wacky world.
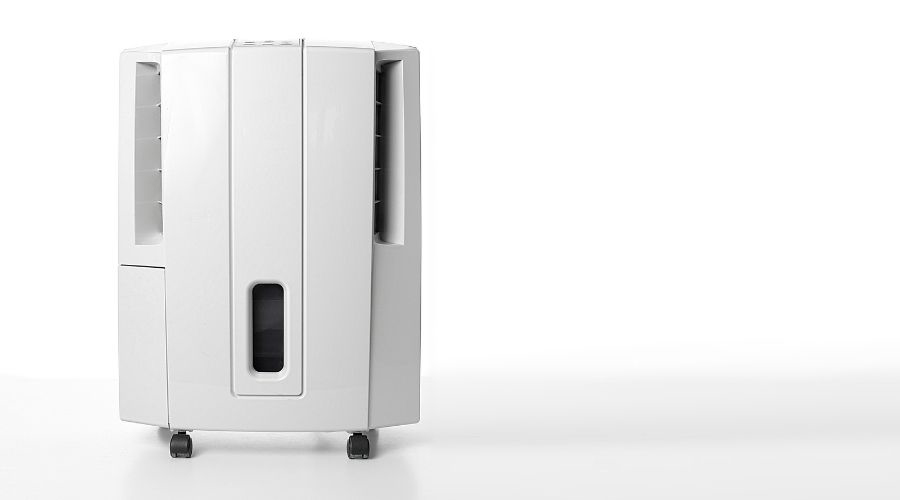
3. Remove the Cover Panel
After you’ve taken the proper safety precautions, you are now safe to remove the cover panel located on your dehumidifier.
Check thoroughly for any signs of it being frosted or having significant ice build-up.
Excess ice can cause the unit to malfunction and impede any processes integral to taking in air and removing its moisture.
In most cases, if you see compacted ice inside your dehumidifier, all you need to do is leave the unit off until the overall temperature of the room increases.
This can be particularly relevant during the winter, where temperatures can fall below 65 degrees Fahrenheit, the coldest. A dehumidifier can adequately function without freezing up repeatedly.
4. Remove & Test the Overflow Cut-Off Switch
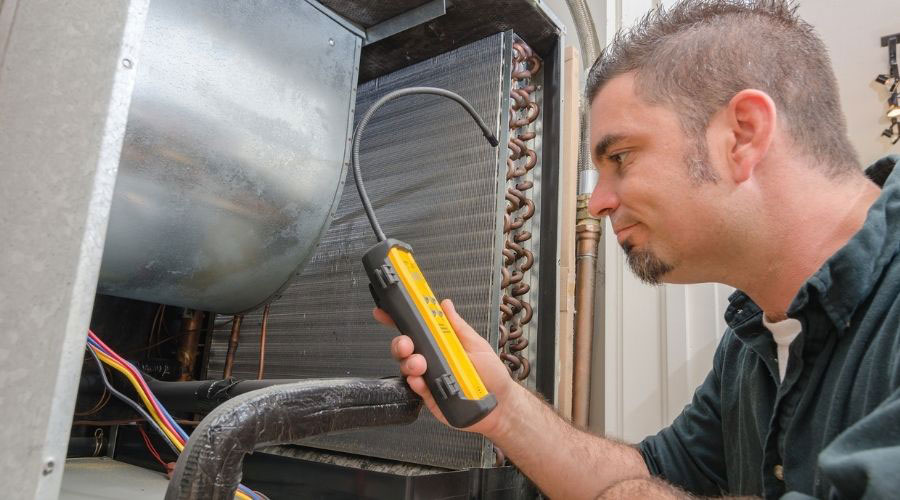
Testing your overflow cut-off switch may be another one of those hit-or-miss options on your list of DIY repairs. To test your overflow cut-off switch, you will need a unique tool called a volt-ohm meter.
If you have one on hand, fantastic, but if you aren’t so lucky, you can pick one up at your local hardware or handyman store for usually around $15.
Remember that investing in these little diagnosing tools does add up over time, so be mindful of your expenses while finding your solution!
Volt-ohm meter in hand, you will want to attach the clip leads to the terminals on the switch. You will want to press the trip lever to see if you can gauge a response.
You are trying to see if you can find any continuity from the sensor itself. If the needle itself doesn’t appear to move, you will likely be dealing with a faulty switch and need to replace it!
5. Check & Remove the Humidistat
The next step involves using our trusty volt-ohm meter once again. However, the process is essentially the same as testing your overflow cut-off switch.
Still, you will be attaching those leads to the RX1 Scale and then connecting the leads directly to the terminals located on the humidistat.
After your leads securely get fastened, you want to rotate the humidistats knob back and forth as far as you can. Doing so will see if your volt-ohm meter registers activity coming from the humidistat.
Suppose you experience an influx of ohms partially through the reading. In that case, you’re lucky because the humidistat is working just fine.
Your humidistat has broken; it will need replacing before it is functional again.
Understandably this entire portion may have some people out of their depth. If you are one of those people, that is entirely okay!
If you don’t feel comfortable fiddling with wires, you may want to skip this step and the one above and take your unit to a professional. There is absolutely no reason to put yourself at risk in the pursuit of saving a few bucks.
6. If All Else Fails, Replace the Unit
Suppose you’ve gotten this far with your repair attempts, and it still isn’t showing any diagnosable symptoms. You’ll have little choice but to take it to a maintenance specialist or buy another unit.
If it gets to this point, you’ll weigh your options and check repair costs for a diagnosis and potential repair instead of an entirely new unit.
More often than not, taking your unit to a professional is typically more expensive than simply getting a new one.
Still, if you are the kind of person who likes things as they are or has an attachment to your current one, those are the options you will have to settle for.
Repairing Overflows & Leaks
If you have successfully diagnosed you are suffering from a leak or overflow, then you’ve lucked out and have a relatively simple repair on your hands.
Now you will still need that volt-ohm meter we mentioned above, but once you have one in hand, you are ready to begin the repair.
Performing this repair will have you working with a unique switch found in most modern units called a “float switch.”
This little beauty ensures that your dehumidifier doesn’t flood with the water removed from the air it takes in.
1. Unplug the Unit
Start by putting your best foot forward. Suppose that foot isn’t inside a rubber boot. In that case, you’d want to be sure you’ve unplugged your unit to make it safe to touch the inner workings of the dehumidifier itself.
After you’ve unplugged your unit, continue the repair by removing the float switch discussed above and setting it to the side to prepare for the next step.
2. Disconnect the Leads
Here we are going to want to keep things modest and straightforward. You will want to clip the leads that extend from your volt-ohm meter directly to the terminals on your float switch.
We’ll pick up with this in just a moment, but before we do, you need to check a few more places for potential problems before we continue with the repair.
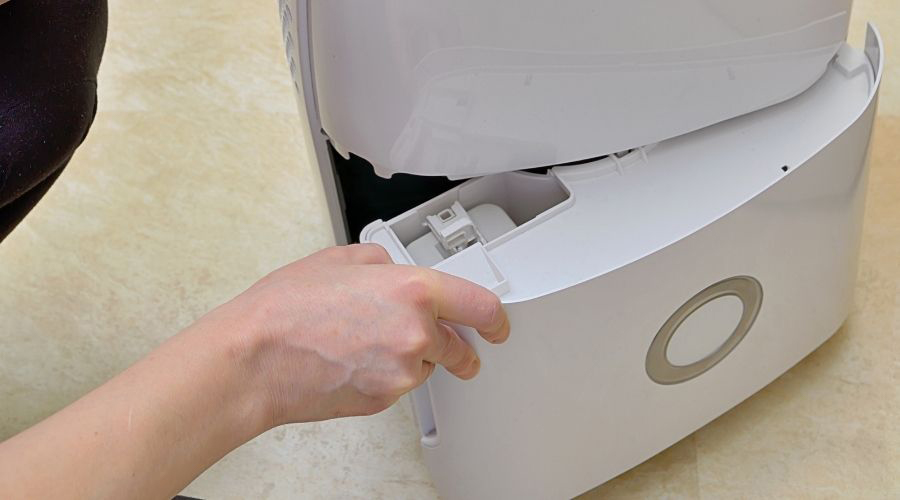
3. Check the Pan
If your pan happens to have any excess water, residue, or other general debris inside, clean it out and carefully. You’ll want to inspect the drain for any potential clogs that may be giving your dehumidifier problems as well.
If you find anything lodged in the drain, be especially careful when removing them to avoid damaging the gutter itself and giving yourself yet another repair.
Depending on what object is in there, you should be able to remove the obstruction with your hand (gloved preferably) or some pliers and a remarkably soft touch.
4. Straighten Any Bends
Suppose you happen to see any kinks in the hose. In that case, you will want to straighten it out to avoid any other potential clogging or external issues related to the hose.
5. Set a Volt-ohm Meter
Now that we’ve come full circle, we can get back to utilizing the volt-ohm meter, attach it to the RX1 Scale, and flick the trip lever on the switch. If everything runs in tip-top order, the needle will move, showing power through the button.
Alternatively, suppose there isn’t any movement at all. In that case, you will need to replace the overflow prevention switch as it’s giving you a false reading and making your dehumidifier faulty.

If Your Dehumidifier Does Not Work Well
Unfortunately, having an utterly defunct dehumidifier isn’t the only problem you can suffer from. If your unit seems like it isn’t performing well, or the area appears more humid than it’s supposed to, you can have a few different issues on your hands.
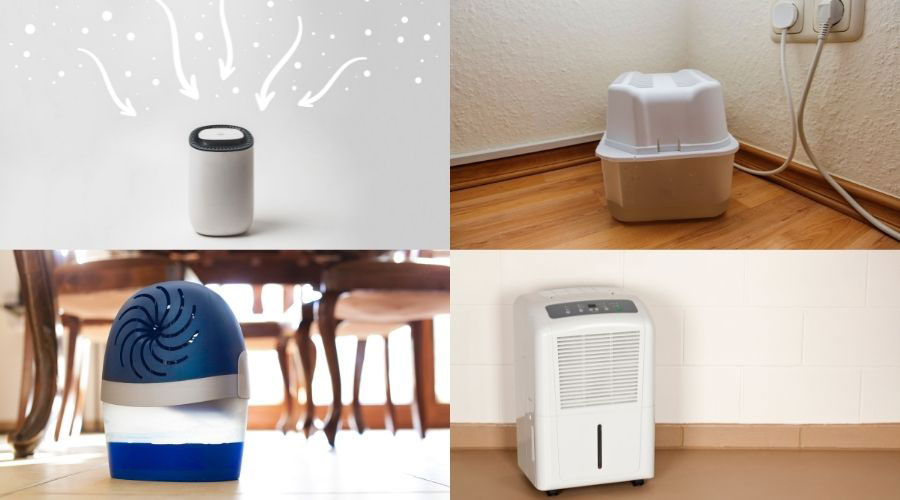
Wrong Dehumidifier Size
You may have purchased a dehumidifier that is either too small for the area in which you are attempting to utilize it or too large. Either way, your dehumidifier will not function correctly, and you will need to remedy this to experience optimal functionality.
Other Reasons
Suppose the size isn’t the problem and you’ve researched and purchased one perfect for the area you are removing moisture from. In that case, you can attempt any of the following to rectify the problem:
1. Remove the Cover
Removing the cover will give you access to the condenser inside and allow you to clean it and the associated evaporated coils.
Remember to do so carefully and make sure the unit is unplugged to ensure you are working on your device in a safe environment.
2. Lubricate the Fan Motor Bearings
Suppose the fan’s motor bearings aren’t sufficiently lubricated. In that case, they may grind or struggle to get the proper amount of movement to move air as intended. All you need to solve this issue is a few drops of any lightweight oil.
If you don’t have any on hand, you can typically buy some online or at any local store for about $5 and have a much more silent running fan for your troubles!
3. Ensure Your Humidistat Functions Properly
We’ve touched base on this one before, but the concept is much the same. Attach your volt-ohm meter to check if the terminals are functioning correctly. You can tell if they are or not by checking the readings.
Suppose you are registering 0 ohms throughout the entire test. In that case, your humidistat broke. You will then need a new one for your dehumidifier to work again.
On the other hand, if it has some spark of life and only reads 0 occasionally, it’s working as intended.
4. If it isn’t Working Properly, Call Someone or Replace the Item
Once again, if you’ve reached this point and still have a lackluster performance from your dehumidifier, your options are very much the same. You can pay the pied piper and repairman to get your unit back in proper order or buy a new one entirely.
Pros & Cons of Repairing & Buying New?
When it comes to fixing anything, the most significant concept to remember is the amount of time it will take to get the device back in functioning order. In this case, you want to set yourself on a relatively tight schedule.
Everyone’s time is valuable, even more so when doing DIY projects. It’s generally a rule of thumb that if your repair has or is going to take over three hours for you to complete, it isn’t worth your hassle in repairing it.
Now you can argue that it doesn’t matter if you were fixing on a day off, or perhaps with some free time. This may be eating into other areas of your life, such as spending time with family, a hobby, or extra money to afford a more elaborate dehumidifier.
Regardless, you are looking at two fundamental principles, cost and time. Suppose the going rate for your repairman is over $100 an hour, and it’s going to be a two-hour fix. In that case, buying that shiny new dehumidifier for $200 or less is an easy choice.
Alternatively, suppose you don’t know enough about fixing electronics, using tools, or navigating inside complex machines. In that case, you don’t want to waste your time and injure yourself.
Pros & Cons of Buying a New Dehumidifier
Buying new things is a thrilling experience itself. On the other hand, what about leaping out with the old and in with the new for a dehumidifier? Can the allure of a shiny new unit be worth the hassle of disposing of the old one and shopping around? Let us go over these pros and cons now:
| PROS | CONS |
|---|---|
| Brand new, unlikely to have issues. | You will have to pay a tidy some as it’s brand new. |
| It will last for roughly five years, assuming you take care of it and clean it routinely. | Getting rid of the old one will be troublesome. |
| It usually comes with a warranty, meaning future repairs are under control. | Although it will come with a standard one-year warranty, longer ones cost more. |
| You can purchase it with a design that takes home decor into consideration | If you aren’t familiar with how the new unit works, it may take some getting used to it. |
| Moving to a new location may render the current unit irrelevant or not practical. |
Pros & Cons of Repairing a Dehumidifier
It would be a shame to throw out something that only needed a little elbow grease and TLC to get it working again. However, how worthwhile is it to turn to the repairman when all seems bleak for your humidity-checking friend? Let us find out down below:
| PROS | CONS |
|---|---|
| You will be familiar with how this dehumidifier works. | If you are repairing yourself, lack of experience can land you right back at square one. |
| Assuming the fix is cheap or easy, you’d save quite a bit. | A large or expensive repair can be just as costly, if not more so, than a new unit. |
| If you are the one repairing it, you will gain valuable knowledge for future repairs. | Bad experiences can happen, and a lousy repair may cost you all the money of a fix, with only a few months of usage before the unit is again broken. |
| If you aren’t fixing it, you gain a connection to a handyman or business for future use. | You can repair not all issues sometimes a unit is unsalvageable, and it isn’t an option. |
Conclusion
Whether you indulge in tinkering with the device yourself or leave it to a professional, sometimes going the extra mile and putting in some effort may be worth it. These things may be money saved, experience gained, or wanting to have your home be mold-free.
Take some time, research your options, and attempt to find a solution that saves you the most time and money at the end of the day.
Remember that buying something new is just as much a fix as repairing the old one, primarily because you are remedying the original problem!