Your in-depth home inspection resource for home improvement, repair, maintenance, remodeling, DIY projects, and more!
-

Home Inspection Checklist (Free PDF Download)
A home inspection checklist can be used to evaluate a home’s structural and mechanical systems before you buy a personal home or investment property. It covers major plumbing, electrical, heating, and air conditioning systems and structural components such as the …
What's New
-
Are Home Inspections Public Record? 5 Things You Should Know
-
Are Home Inspections Required for Home Purchases?
-
Who Orders the Inspection When Buying a Home
-
Do Home Inspectors Check for Lead Paint During Inspections
-
Do Home Inspectors Check for Asbestos Materials
-
Do Home Inspectors Check Fireplaces & Chimneys?
-
What Do Home Inspectors Look For?
Key Takeaways: Home inspectors look at the home’s foundation, roof, walls, ceilings, floors, windows, doors, and major appliances. They operate …
-

Pre-Listing Inspection: Transform Your Home Selling Experience
A pre-listing inspection (aka pre-sale inspection) is a proactive step to evaluate the condition of your property before listing it …
-
7 Red Flags to Walk Away After a Home Inspection
Buying a house is a huge decision, and it’s important to have all the information before you commit. Knowing when …
-

21 Reasons Why Home Inspections Are Important
Home inspections are an important step when buying a home. Buyers need to understand why home inspection is important before …
-

Making Sense of Your Home Inspection Report
If you are a homeowner, you know those home inspections are crucial in the buying process. A home inspection report …
-

What is a Home Inspection? Home Inspectors in Real Estate
What is a home inspection anyway? A professional home inspection is a crucial step when buying a home, and it …
Structure
-
Roofing Calculator: Estimate Roof Area, Materials, and Cost
Welcome to our comprehensive guide on using a roofing calculator to estimate the area and materials required for your roof. This guide is tailored to help you navigate the process efficiently and accurately. Understanding the Roofing Calculator Inputs Estimating Roof Size and Materials Practical Application …
-
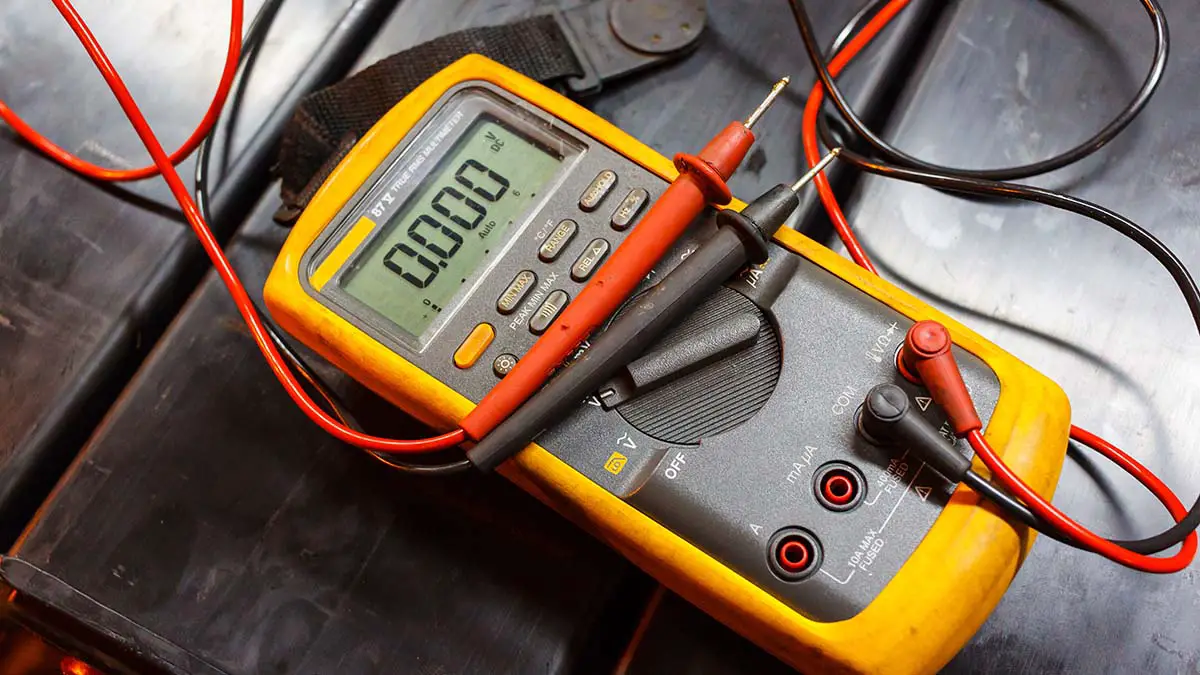
Watts to Amps Calculator: DC/AC Wattage to Amps Conversion
This Watts to Amps Calculator conversion tool converts electric power in watts (W) to electric current in amps (A). This …
-
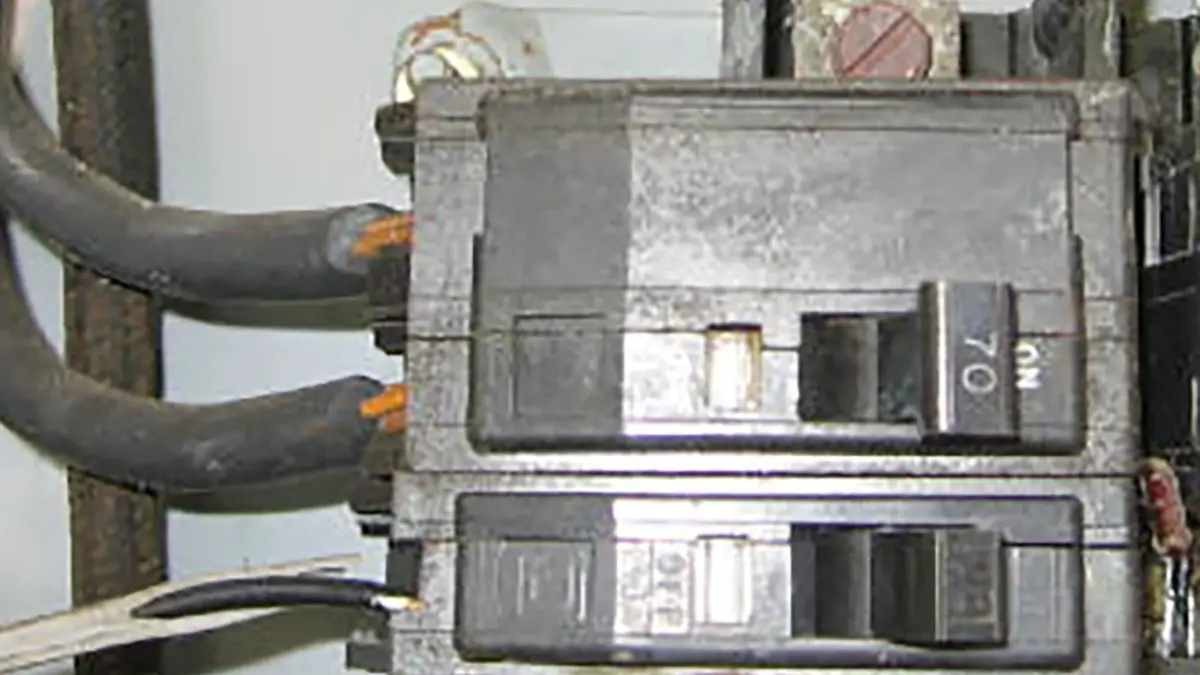
70 Amp Wire Size: Breaker & Wiring Gauge Guide
The best 70 amp wire size is 4 AWG copper wire, supporting up to 85 amps, or 2 AWG aluminum …
-
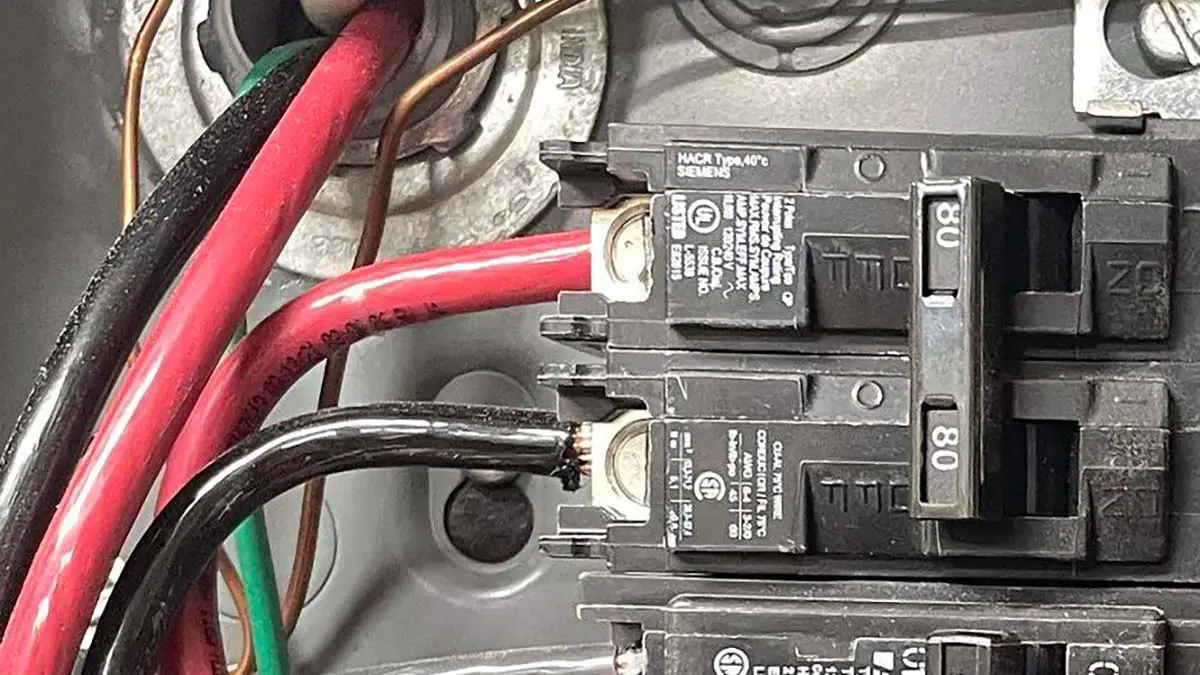
80 Amp Wire Size: Breaker & Wiring Gauge Guide
According to the National Electrical Code (NEC), an 80 amp wire size is 4 AWG copper or 2 AWG aluminum …
Home Improvement
-

What Size Mini Split For Garage: Everything You Should Know
Garage, Air Conditioners, Heating & Cooling
You’re about to embark on a journey to find what size mini split for garages. The importance of this decision cannot be overstated. Imagine transforming your garage into a comfortable workspace, a gym, or even an extra living area. All of this is possible with …
-

Cost to Paint House Interior: Interior Painting Cost Calculator
Calculator, Cost Guides, Painting
New paint can completely change the appearance of any room! However, the cost to paint house interiors may vary depending …
-

Best Flooring for Dogs: Making the Right Choice
As a dog owner, you understand that your furry companion is not just a pet but a cherished family member. …
-

Cleaning Bottom of Pool: Choosing the Right Type of Cleaner
Keeping your pool pristine is no small task, but it’s a crucial one. Imagine diving into crystal clear water, free …