When you need to clean a bathroom exhaust fan, it may seem overwhelming, but it doesn’t have to be. With some basic supplies and a few minutes of work, you can ensure your fan is fresh, clean, and functioning the way it should.
Now I know you probably think, “like you need one more thing to clean.” Well, it’s not too bad and should only take a few minutes to clean. Yes, bathroom fans need to be cleaned because that is one way of keeping them well-maintained and operating efficiently.
You may wonder, how often does a bathroom vent fan need to be cleaned? Bathroom vent fans need to be cleaned once a year. In bathrooms not used often, you can likely get by once every two years.
A clean bathroom extractor fan removes excess moisture, reducing mold growth in the bathroom.
Dirty Bathroom Vent Fans are a Fire Hazard
Leaving a vent fan on for more than 20 minutes can cause the fan motor to overheat and fail. The buildup of dirt inside an exhaust vent fan is flammable. A dirty fan motor overheats could short out or start a house fire.
According to a 2014 Countryside Fire Protection District report, three house fires were linked to bathroom exhaust fans costing more than $100,000 in smoke and property damages. 1
In Ohio, Columbus fire crews reported nine structure fires caused by bathroom vent fans in 2018. As of April 2019, the same district reported eight structure fires caused by bathroom vent fans, totaling over $330,000 in smoke and property damages. 2
How to Clean a Bathroom Exhaust Fan
Here are some easy steps to clean your bathroom vent fan.
Recommended tools:
- Voltage tester
- Protective eyewear
- Step ladder
- Paint brush
- Shop Vac or Vacuum
- Phillips Screwdriver
- Electric Air Cleaner (Preferred Method)
- Vacuum with a wand attachment
- Rags
- Bucket
- Warm water
- Dish soap
1. Turn Off the Electrical Current to Your Fan
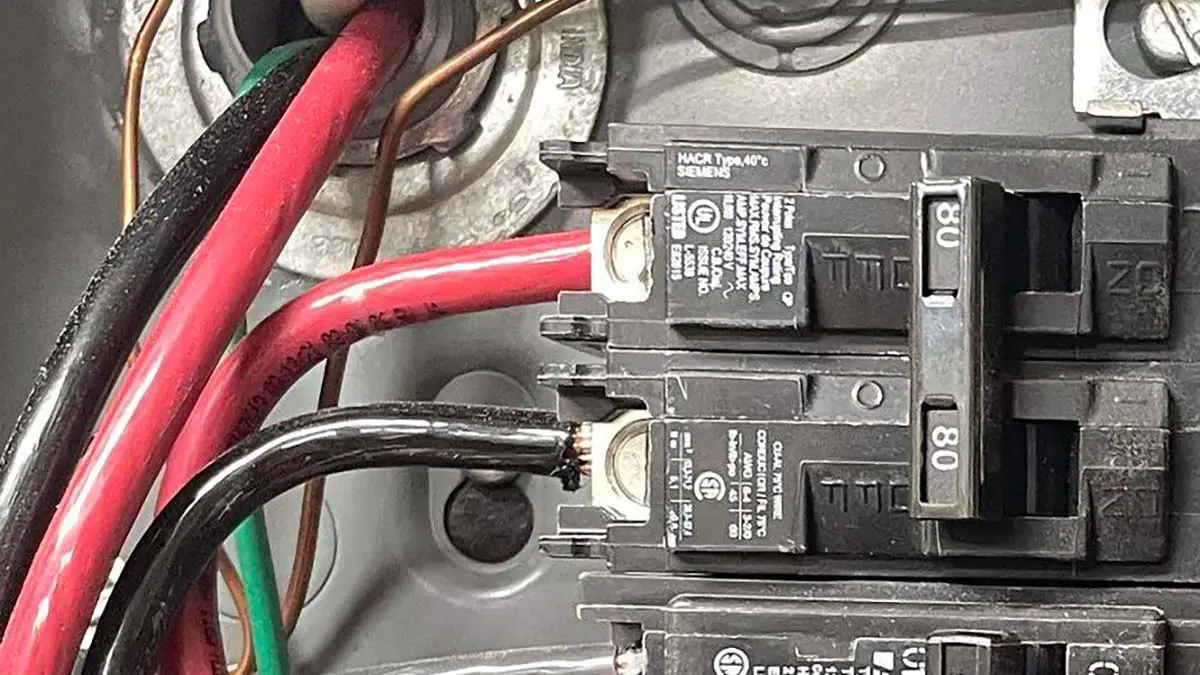
Before cleaning your bathroom vent, we recommend you shut off the power to the bathroom fan at the wall switch. You may need to shut off the power to the bathroom at the circuit breaker. You may need a flashlight, so have one close by.
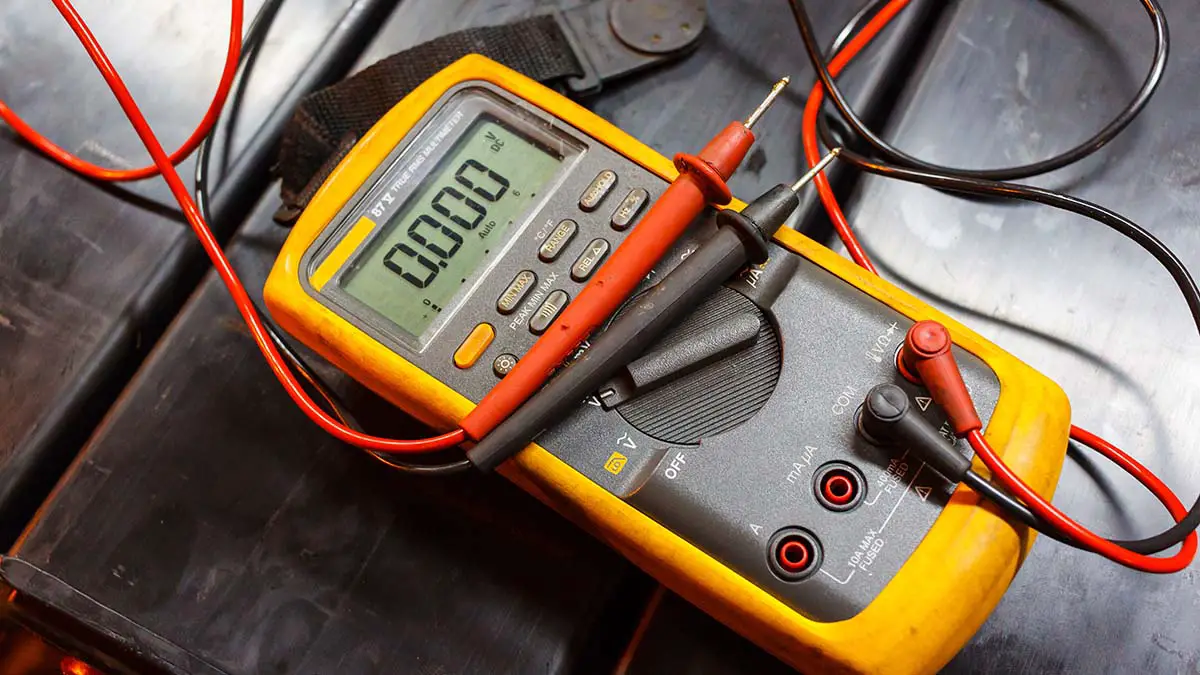
You can confirm power is off to the vent fan with a non-contact voltage pen like the Klein Non-Contact Voltage Tester.
2. Remove the Vent Fan Cover
You’ll need to remove the cover on the vent fan using a sturdy step ladder. Some vent fan covers are held in place with screws. However, most have large pin clips that slide in place. Be sure to use eye protection when cleaning the fan.
If your cover has a light assembly we do not recommend you wash it. Instead use a paint brush and a shop vac or vacuum with a hose attachment to brush away as much dust as possible. Hold the shop vac hose close to the brush to catch as much falling dust as possible.
Slide the bathroom fan cover down to access the clips to release the pin clips. Press the clips in on both sides to release the hooks from the fan housing. Unplug the light assembly if your fan has this option.
If the fan motor has a plug-in, unplug it as well. Holding the shop vac hose close, use the paint brush to brush away as much dirt as possible.
3. Clean Visible Dirt Away with Compressed Air
One method for cleaning the hard to reach dust in the fan motor assembly and surrounding recessed housing is with an electric air duster. Using an air duster allows you to clean the accumulated dust buildup without getting the fan wet, which could damage the motor.
The powerful air can remove a large amount of dust quickly.
- Remove the vent cover and use the electric air duster to clean it
- Remove and clean the exhaust fan blades
- Clean around the motor to remove any dust or dirt
- Reassemble
4. Clean the Vent Fan Cover with Soapy Water
If needed, once the cover has been removed, wash it in a bucket or deep sink with warm soapy water. You can use just a few drops of dish soap and warm water. Use a damp microfiber cloth to scrub off hard to remove dirt. Set the vent cover aside to air dry.
5. Clean the Vent Fan Blades or Motor Assembly
Remove the fan blade from the motor. In some models, you’ll remove the complete motor assembly. You can’t remove the motor assembly or fan blades in some fans. A multi-tool screwdriver can help.
For fan motor assemblies that can’t be removed, use the paintbrush or electric air duster to remove as much dirt buildup as possible. An angled paint brush, compressed air, or duster can reach tight crevices. Use the shop vac hose to capture as much dirt as possible. Use a damp cloth to remove any caked-on dirt remaining.
If you can remove the fan blade only, wash the fan blade in a deep sink with mild soapy water. Like before, use a rag to remove hard dirt. Set aside to air dry.
6. Reattach the Fan Blade or Motor Assembly
If you did not remove the blade, you could skip this step. Now that the fan’s housing is clean, it’s time to reassemble the vent fan.
Dry and reattach the vent fan blade if you remove it by pushing the fan blade into place on the motor arm to secure it in place. Be sure the blade is securely on so it doesn’t hit the fan cover when in use.
7. Reinstall the Vent Cover
Dry and reinstall the vent fan cover. The clips slide back into place. Slide the cover back up snugly to the ceiling. Secure the screws if needed.
8. Finally, Test the Vent Fan
Once assembled, turn the breaker or wall switch back on to test the vent fan. Allow the fan to run for a couple of minutes to verify nothing is loose.
Cleaning bathroom fans also helps them to last longer. The more clogged a bathroom exhaust fan is, the harder its motor has to work. This can very well shorten its lifespan.
Don’t Forget to Check Your Outside Vent Covers
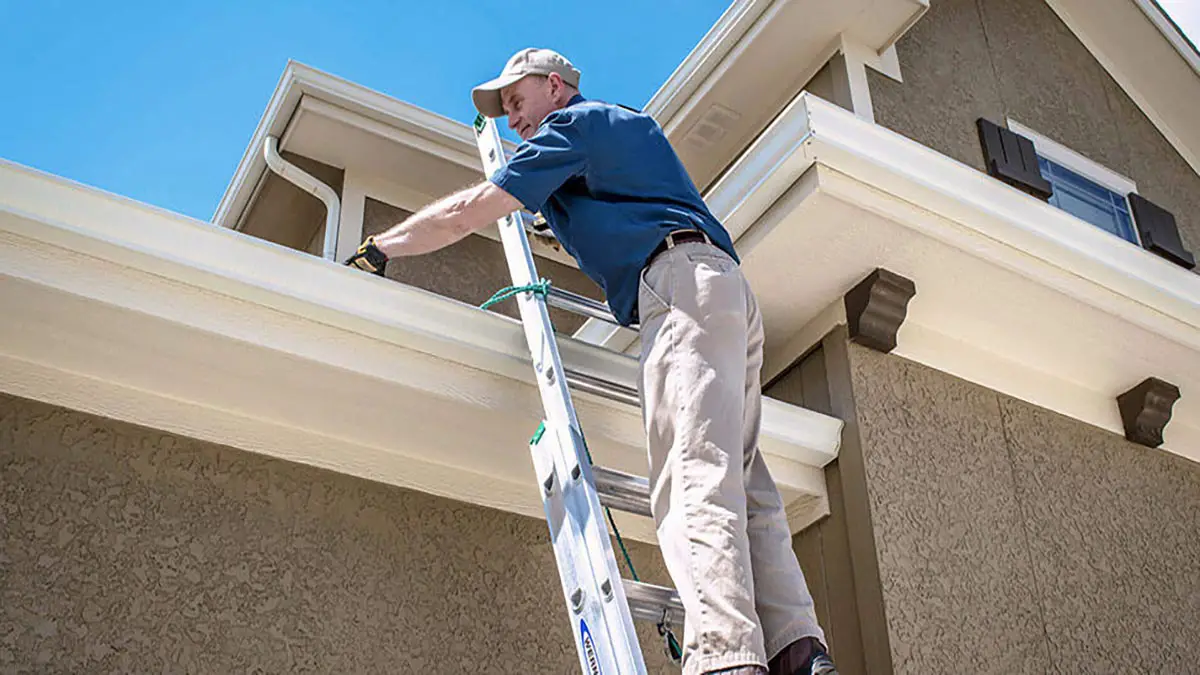
Outside vent covers is a common place for birds to nest. Bird nests can block the airflow making the exhaust fan ineffective. A vent cover needs to have a screen to prevent birds from nesting. Use a ladder to reach the vent a check for debris like twigs, straws, and leaves.
A screened vent is not suitable as a dryer vent because lint will build up behind the screen and block the airflow. Fo exhaust fans, a vent like this is perfect to use.
How Often to Clean Your Bathroom Fan?
That said, I suggest you clean your bathroom exhaust fans thoroughly at least once a year to remove all of the grime, hair, or particles that have built up. You also have to consider how often you use the bathroom, as fans in bathrooms rarely used may not need regular cleaning.
If we are talking about the bathroom you often use, it is best to clean it once a year or maybe even twice, depending on how fast the grime builds up.
How Long Do Bathroom Exhaust Fans Last?
A bathroom exhaust fan can last ten years, but it could also last much longer, depending on how well it is maintained. However, a vent fan’s lifespan can quickly change due to frequent use, regular cleaning, and fan size.
Bathroom fans that are frequently used will wear out faster than those that are not always used. Remember that bathroom fans depend on a motor that will eventually fail due to constant wear and tear. Many people will leave bathroom fans on all day or all night.
Replace Your Worn Out Bathroom Fan
If your bathroom ventilation fan is old or looks dingy, it may be time to replace it. Older fans will start to turn yellow after about ten years. We tested and researched many bathroom exhaust vents and found these to be our favorites.
$188.99
|
$129.50
|
|
Please read our full review and buying guide of the best bathroom exhaust fans.
Conclusion
Cleaning your bathroom vent fan will keep it running smoothly for many years. It doesn’t have to be overwhelming and shouldn’t take you long to do. We’ve provided you with two methods to clean your bathroom exhaust fan. The rechargeable electric air cleaner is also great for other purposes around the house.